
Data Science folk used Notebooks for documentation and to show re-runnable research. Azure Data Studio included this notebook functionality and added SQL kernel where with a little bit of faffing you could run PowerShell and then a Python kernel that enabled PowerShell. It seems that notebooks are so cool that everyone is creating them these days! I was browsing twitter when I saw this tweet.
.NET Notebooks Preview 2 is here! Preview 2 includes 🎉@PowerShell_Team, @nteractio, and a new tool. Check out our blog to learn more. Congratulations to @jonsequitur @colombod and our entire teamhttps://t.co/WqNWQWR3Bo@dotnet #jupyter #PowerShell #interactiveprogramming.
— Maria Naggaga (@LadyNaggaga) February 6, 2020
PowerShell 7 Notebooks 🙂
A notebook experience for PowerShell 7 that sounds amazing. This will enable a true cross-platform PowerShell Notebook experience which is lacking from the Python version as it uses Windows PowerShell on Windows and PowerShell Core on other OS’s
The first thing I asked was – Will this come to Azure Data Studio. I got an immediate response from Sydney Smith PowerShell Program Manager saying it is on the roadmap
Moving this kernel into ADS is on our roadmap! Right now our kernel uses hosted pwsh 7 but we would love to know if you have scenarios that don’t work with 7
— Sydney Smith (@sydneysmithreal) February 6, 2020
Install dependencies
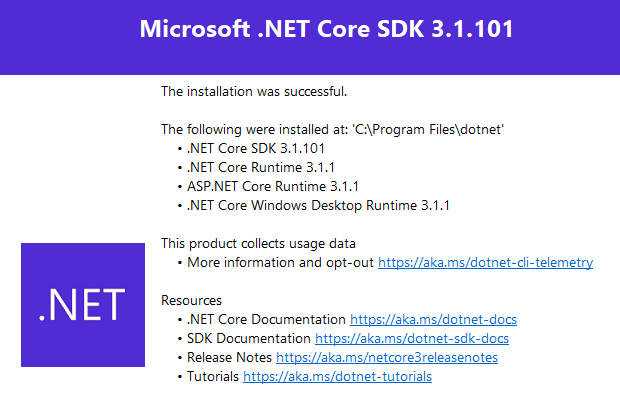
To be able to run the notebook, you need to install some dependencies. First install the .NET CORE SDK which you can download from https://dotnet.microsoft.com/download This needs admin permissions to install.
You also need a Python installation – You can use Anaconda, which you can download from here https://www.anaconda.com/distribution/ This does not need admin to install
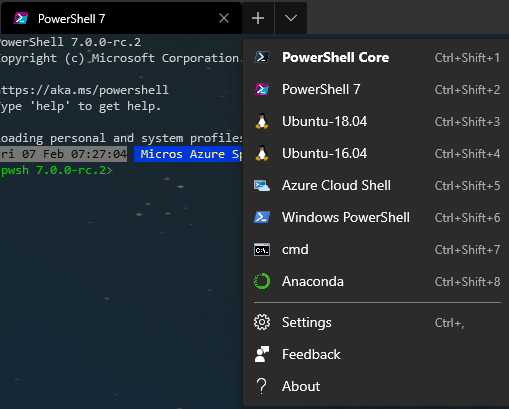
Add Anaconda to Windows Terminal
I have added the Anaconda prompt to Windows Terminal so that I have one entry point for all my CLIs. Open the settings file and add the code below. (It will also give you an icon and background.
        {
            // Make changes here to the Anaconda.exe profile
            "guid": "{0caa0dad-35be-5f56-a7ff-afceeeaa6101}",
            "name": "Anaconda",
            "commandline": "cmd.exe /K C:\\Users\\mrrob\\Anaconda3\\Scripts\\activate.bat",
            "hidden": false,
            "backgroundImage": "C:\\Users\\mrrob\\Anaconda3\\Menu\\anaconda-navigator.ico",
            "icon": "C:\\Users\\mrrob\\Anaconda3\\Menu\\anaconda-navigator.ico",
            "backgroundImageAlignment": "topRight",
            "backgroundImageStretchMode": "uniform",
            "backgroundImageOpacity": 0.1
        }
and it appears in the drop down
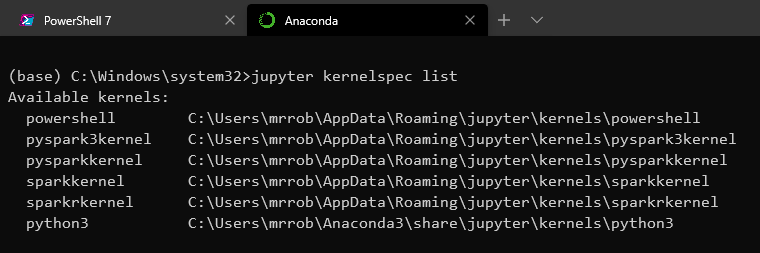
With Anaconda installed, check that that the kernel is available on your path. If like me you have Azure Data Studio installed, you will have additional kernels but the important one line here is
python3 C:\Users\USERNAME\Anaconda3\share\jupyter\kernels\python3
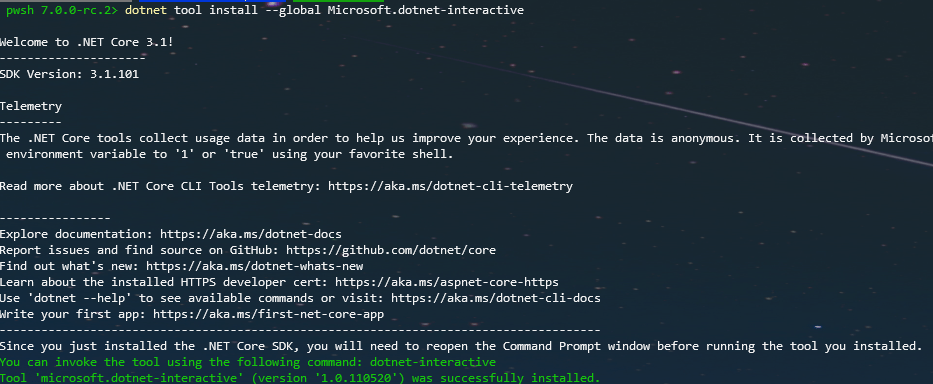
In Windows Terminal move to a PowerShell 7 prompt and install the dotnet interactive tool
dotnet tool install --global Microsoft.dotnet-interactive
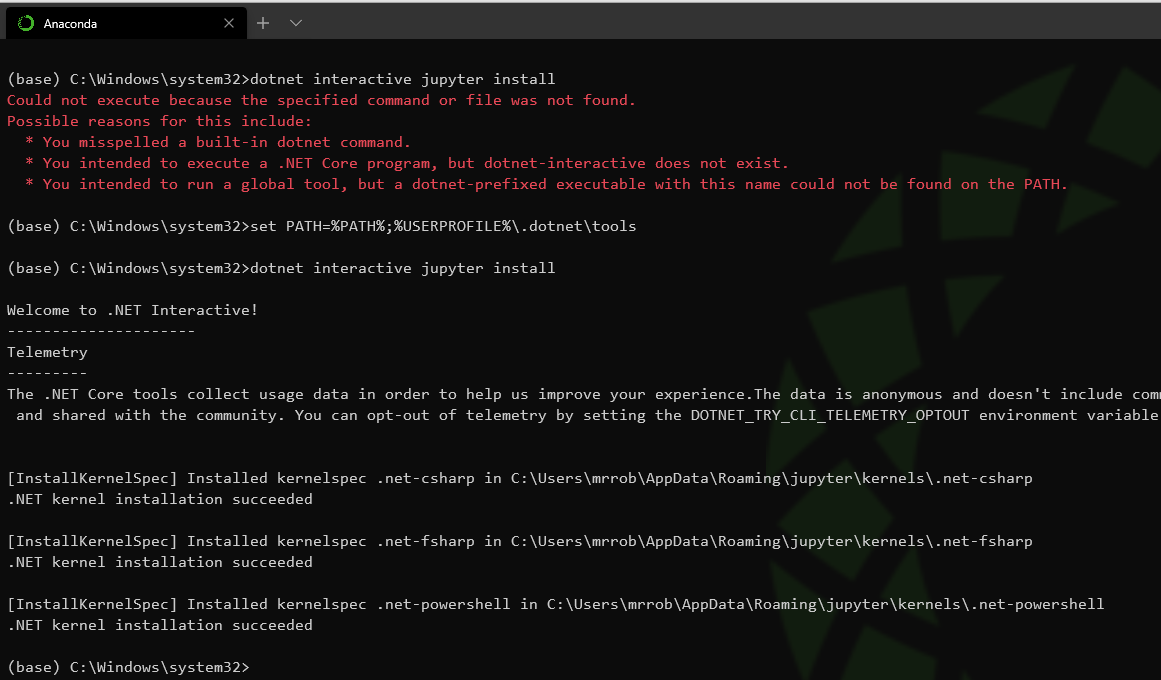
Then you can install the .NET kernel in your Anaconda prompt using this command
dotnet interactive jupyter install
Sometimes new things have errors
I had an error when I tried this first time
Could not execute because the specified command or file was not found.
Possible reasons for this include:
* You misspelled a built-in dotnet command.
* You intended to execute a .NET Core program, but dotnet-interactive does not exist.
* You intended to run a global tool, but a dotnet-prefixed executable with this name could not be found on the PATH.
This is easily fixed by adding %USERPROFILE%\.dotnet\tools to my path with set PATH=%PATH%;%USERPROFILE%\.dotnet\tools
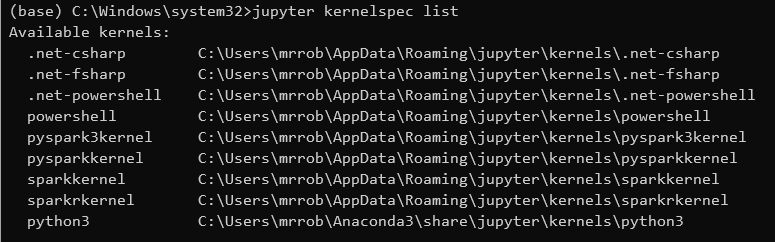
Running jupyter kernelspec list shows that the .NET kernel is installed for C Sharp, F Sharp and .NET PowerShell
Lets open a Notebook
Now you want to play with it!
You can run the lab environment using `jupyter lab`
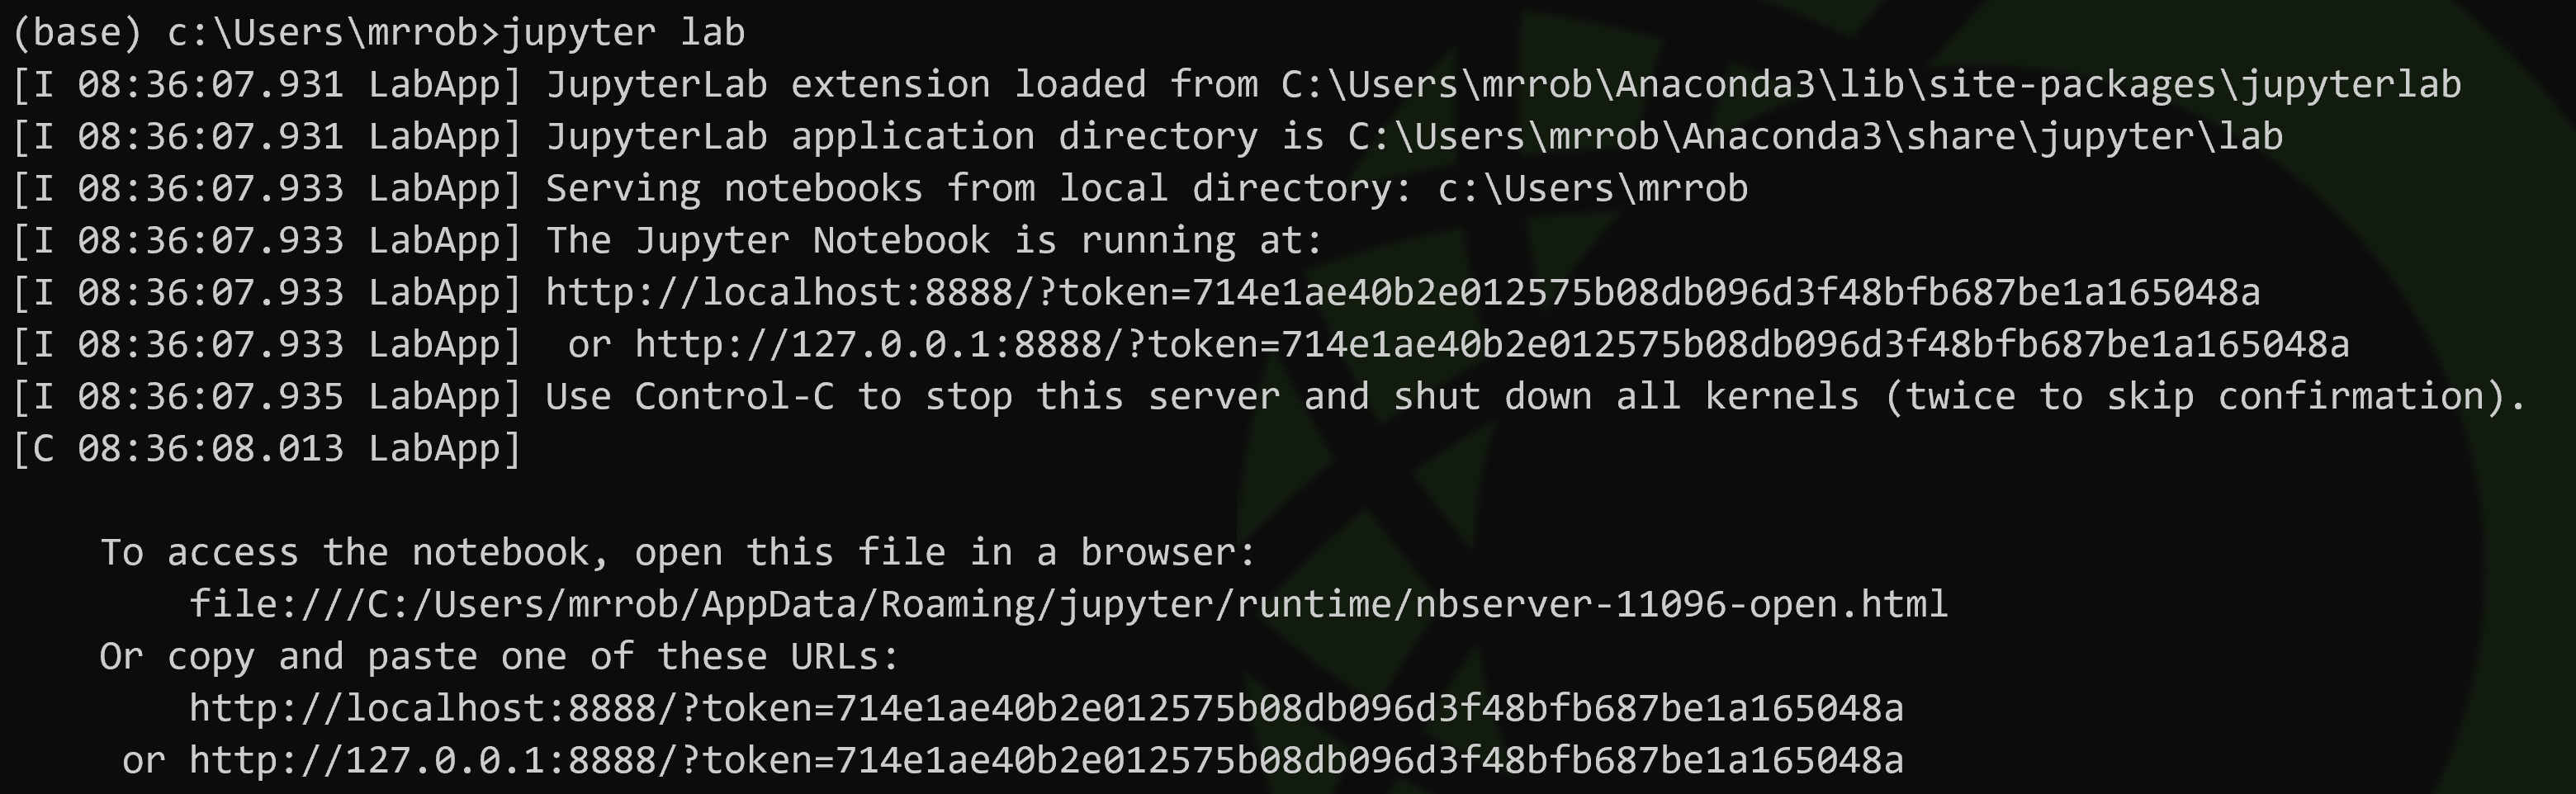
This opens a browser

You can open existing Azure Data Studio PowerShell notebooks (but not SQL ones)
Sometimes new things have errors Part 2
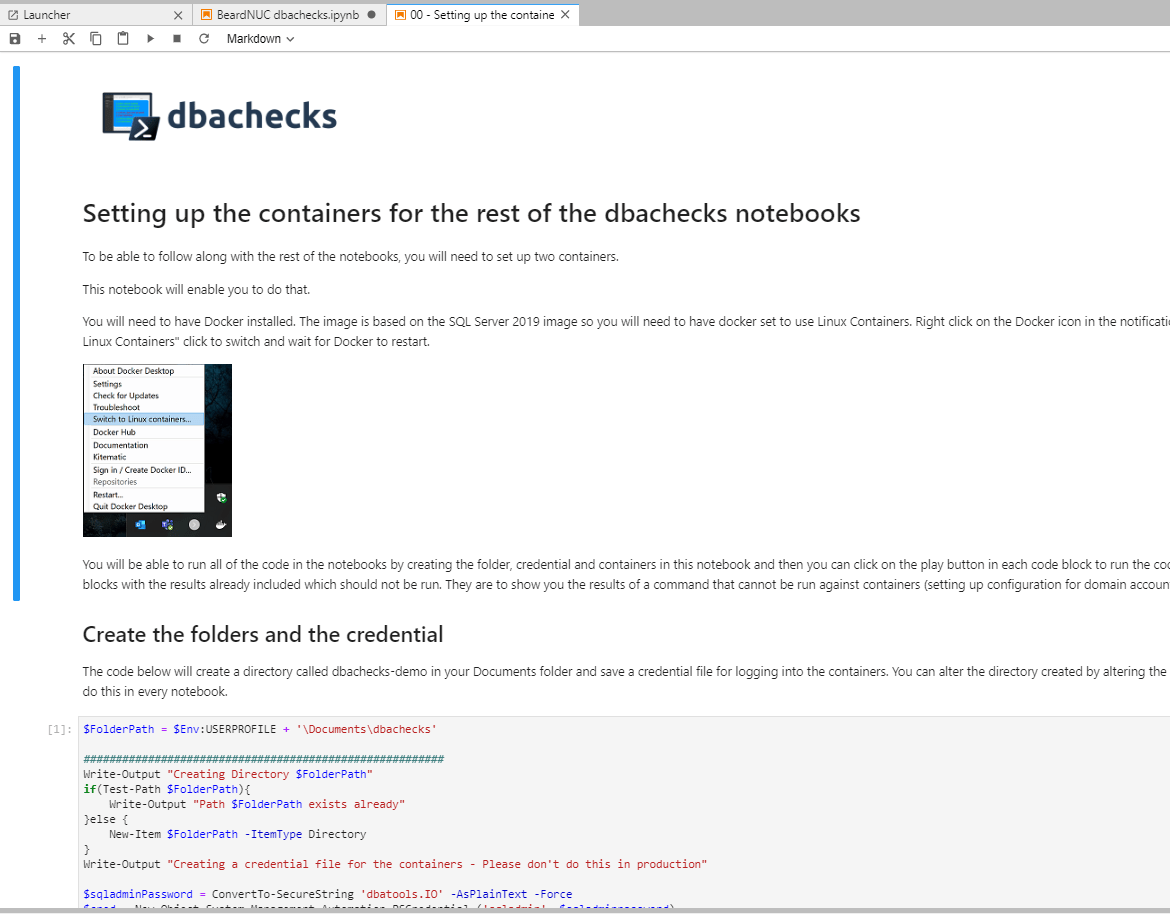
Unfortunately, I get errors when trying to import Pester which means I can not use my dbachecks notebooks in this blog post. I have raised an issue on the repo here.
Create a New Notebook
But it is easy to create a new Notebook
In the launcher page click the .NET PowerShell button

Which will open a new Notebook in the directory that you launched the lab from. You can then add Code or Markdown as I have described before here.
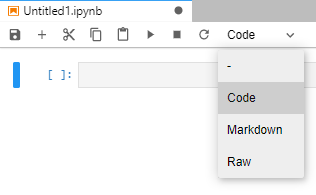
Then you can add code, markdown and images to create your notebook.
Once you have finished using the notebook lab, you can shut it down in the Anaconda prompt with CTRL + C

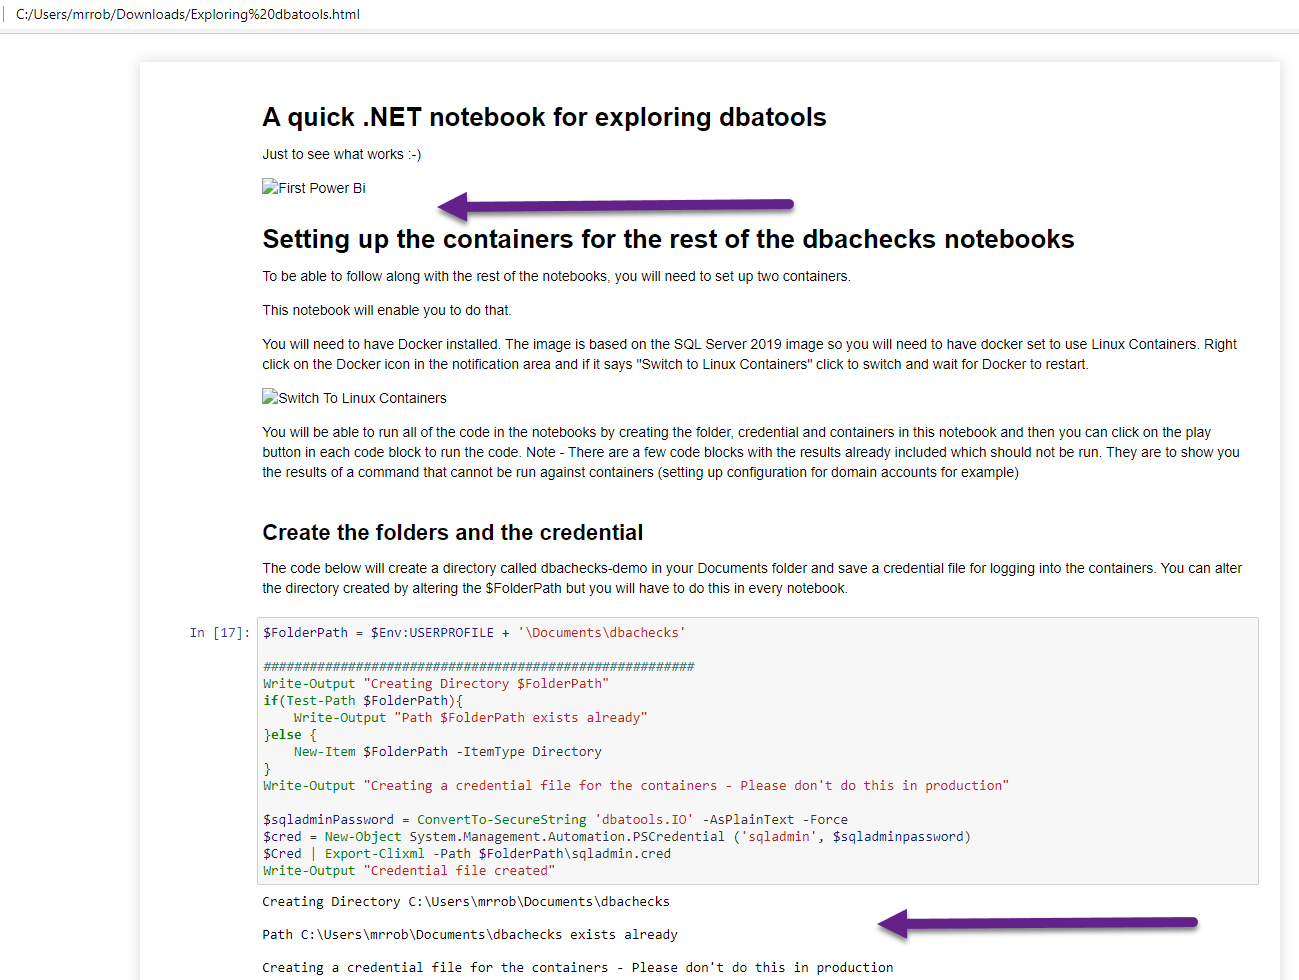
Here is a video of running a notebook which anyone can use to create a couple of Docker containers running SQL 2019 and query them with dbatools. You can find the notebook further down this post.
Sharing Notebooks
You can create notebooks to run common tasks. Even better, from the lab you can convert the notebook including the results to a variety of formats to share with other none-technical people. I used this functionality this week to export Azure Data Studio Notebooks to HTML and PDF for a Project manager 🙂
You can find the Export Notebook command in the File menu
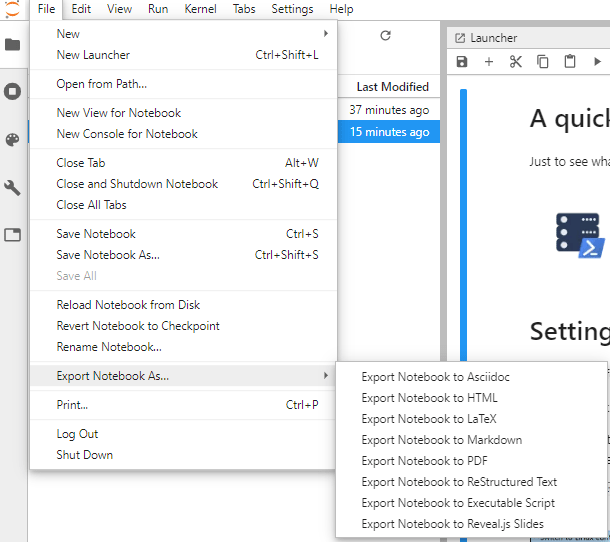
Exporting to HTML did not export the images but it does include the results
You can share notebooks via GitHub – Either in a gist like this
or by providing a straight link to the notebook in GitHub https://github.com/SQLDBAWithABeard/Notebooks/blob/master/notebooks/Exploring%20dbatools.ipynb
You can also use Binder https://mybinder.org/
This uses Docker to create an interactive Notebook. Create a GitHub repo like https://github.com/SQLDBAWithABeard/Notebooks (or just clone it) Copy your notebooks into the notebooks folder and push the changes to GitHub and then go to https://mybinder.org/ and add your URL to the repository.
You can see what it looks like by clicking the button below which Binder creates for you
![]()
Unfortunately the kernel only supports Python for the moment but you can see the possibilities 🙂