What is T-SQL Tuesday?
T-SQL Tuesday is a monthly blog party hosted by a different blogger each month. This blog party was started by Adam Machanic (blog|twitter). You can take part by posting your own participating post that fits the topic of the month and follows the requirements Additionally, if you are interested in hosting a future T-SQL Tuesday, contact Adam Machanic on his blog.
This month’s blog party is hosted by Chris Yates blog |twitter who asked people to share something newly learned.
I love being a part of the SQL community. It gives me the opportunity to learn as much as I want to about anything I can think of within the data field. In the last couple of months I have presented at Newcastle User Group and learnt about migrating SQL using Powershell with Stuart Moore. At our user group in Exeter http://sqlsouthwest.co.uk/ we had Steph Middleton talking about version control for databases and lightning talks from Pavol Rovensky on Mocking in C# ,John Martin on Azure fault domains and availability sets using a pen and a whiteboard!, Annette Allen on Database Unit Testing,Terry McCann on SQL Certifications. We also had Jonathan Allen talking about some free tools and resources to help manage both large and small SQL environments. I went to SQL Relay in Southampton and saw Stuart Moore (again!) Scott Klein Alex Yates James Skipworth and I joined the PASS DBA fundamentals virtual chapter webinar for Changing Your Habits to Improve the Performance of Your T-SQL by Mickey Stuewe and that’s only the ‘in-person’ learning that I did. I also read a lot of blog posts!
But instead of repeating what I learnt from others within the community I thought I would write a blog post that I have been meaning to write for a few weeks about a solution pre-built into Windows that appears to not be well known. Problem Step Recorder.
What is PSR?
I found out about a little known tool included in Windows Operating System a couple of months ago which enables you to record what you are doing by taking screenshots of every mouse click. The tool is Step Recorder also known as PSR. It is included by default in Windows 7 , Windows 8 and 8.1 and Windows Server 2008 and above.
What does it do?
Simply put, it records “This is what I did” There are many situations when this can be useful
- You can use this during installations to help create documentation. “This is what I did” when I installed X and now you can follow those steps and I know I haven’t missed anything.
- You can use it when communicating with 3rd parties or other support teams. “This is what I did” when I got this error and here are all of the steps so that you can re-create the issue and I know that I haven’t missed anything
- You can use this when resolving high priority incidents. “This is what I did” when System X broke, it includes all of the times of my actions. I still keep my notepad by my keyboard out of habit but I have a record of the exact steps that I took to try to resolve the issue which will be very useful for reporting on the incident in the near future and also placing into a Knowledge Base for others to use if it happens again and I know I haven’t missed anything
- For assisting family members. Like many, I am “The IT guy” and PSR enables me to provide clear instructions with pictures showing exactly where I clicked to those family members who are having trouble with “The internet being broken”
It does this by automatically taking a screen shot after every mouse click or program event with a timestamp and a description of what happened. It does not record keystrokes though so if you need to record what you have typed there is some manual steps required
So how do you access PSR?
Simple. Type “psr” into the run box, cmd or PowerShell and it will open
Once you click on Start Record it will start recording your clicks and taking screenshots. However I always open the settings by clicking on the drop down to the left of the help icon first and change the number of recent screen captures to store to the maximum value of 100.
If you do not you will get no warning but PSR will only save the last 25 screenshots it takes and your results will look like the below. It will still record your actions but not keep the screenshots.
Step 16: (09/11/2014 13:47:45) User left click on “Chris Yates (@YatesSQL) | Twitter (tab item)”
No screenshots were saved for this step.
Step 17: (09/11/2014 13:47:47) User left click on “The SQL Professor | ‘Leadership Through Service’ (text)”
No screenshots were saved for this step.
Step 18: (09/11/2014 13:47:47) User left click on “T-SQL Tuesday #60 – Something New Learned | The SQL Professor (text)” in “T-SQL Tuesday #60 – Something New Learned | The SQL Professor – Google Chrome”
You can also set the name and location of the saved file in the settings but if you leave it blank it will prompt for a location and name once you click Stop Record
How do I add keyboard input?
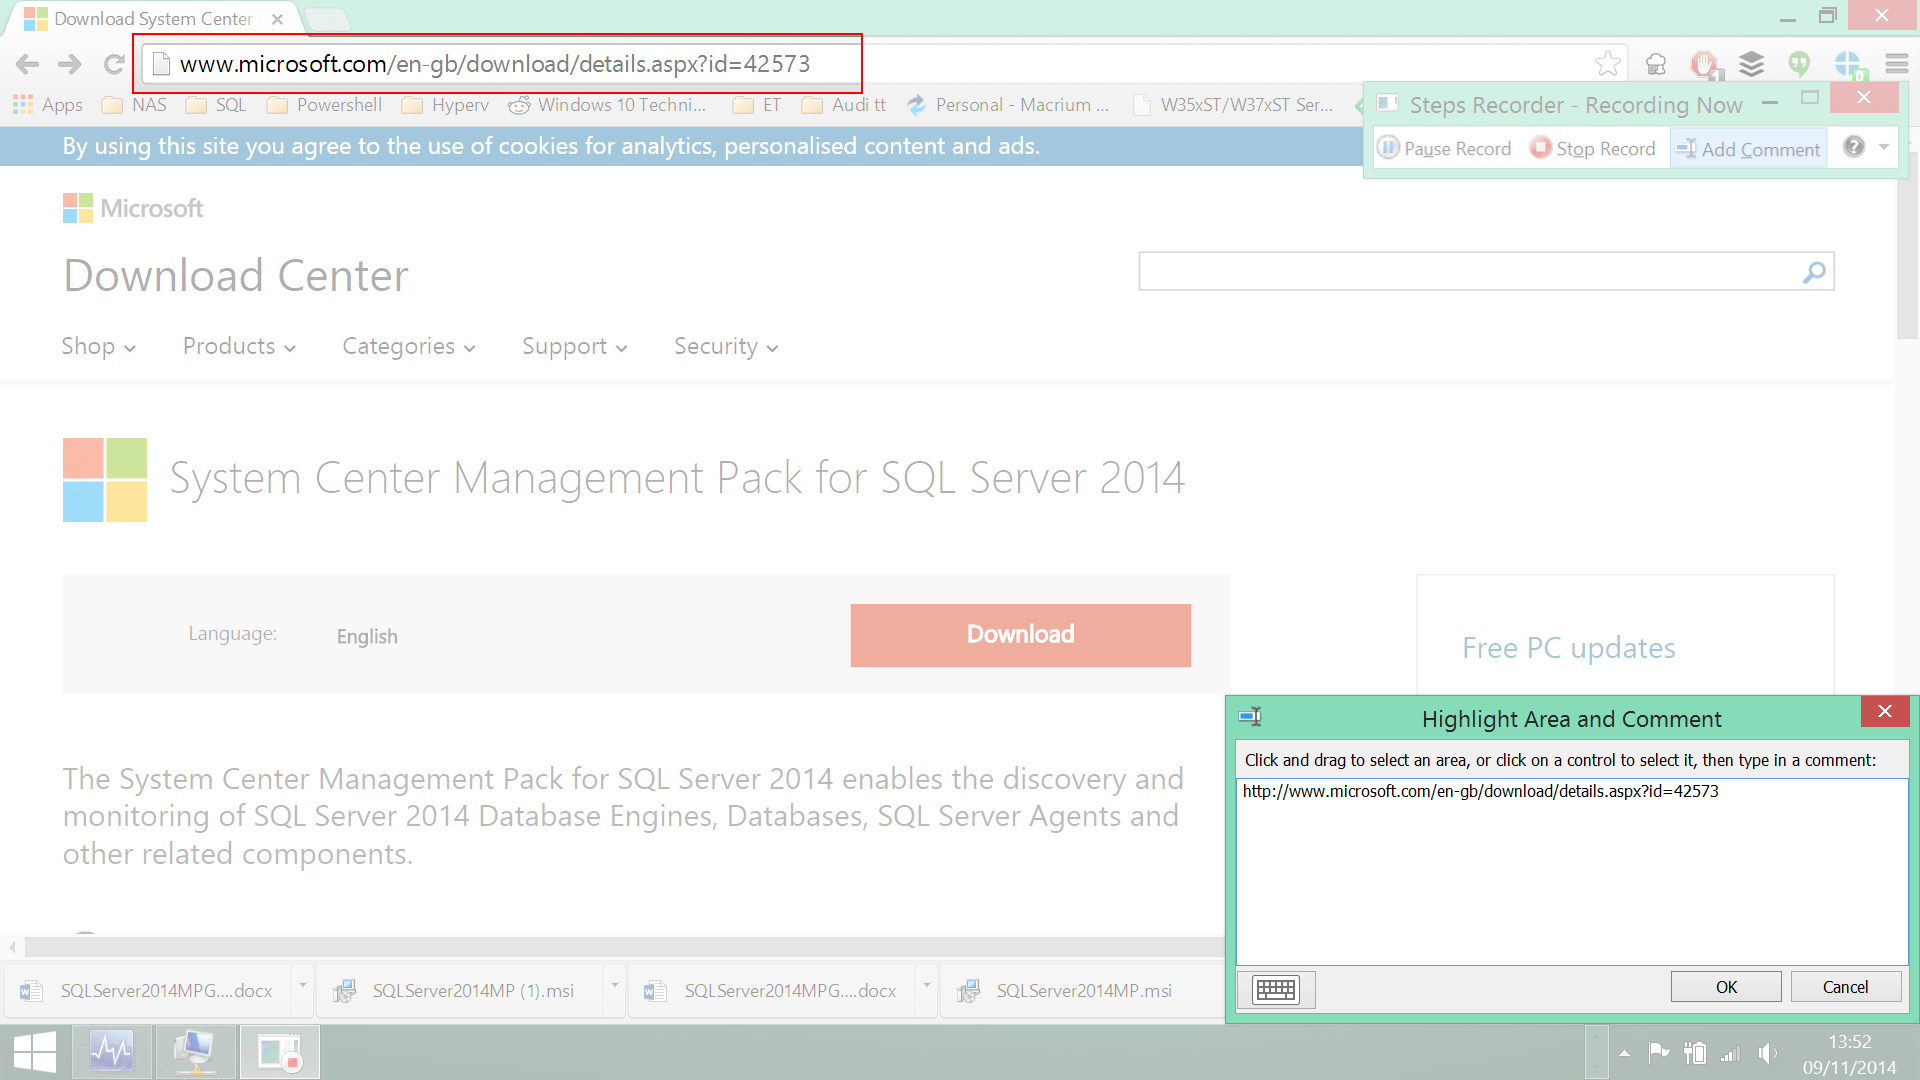
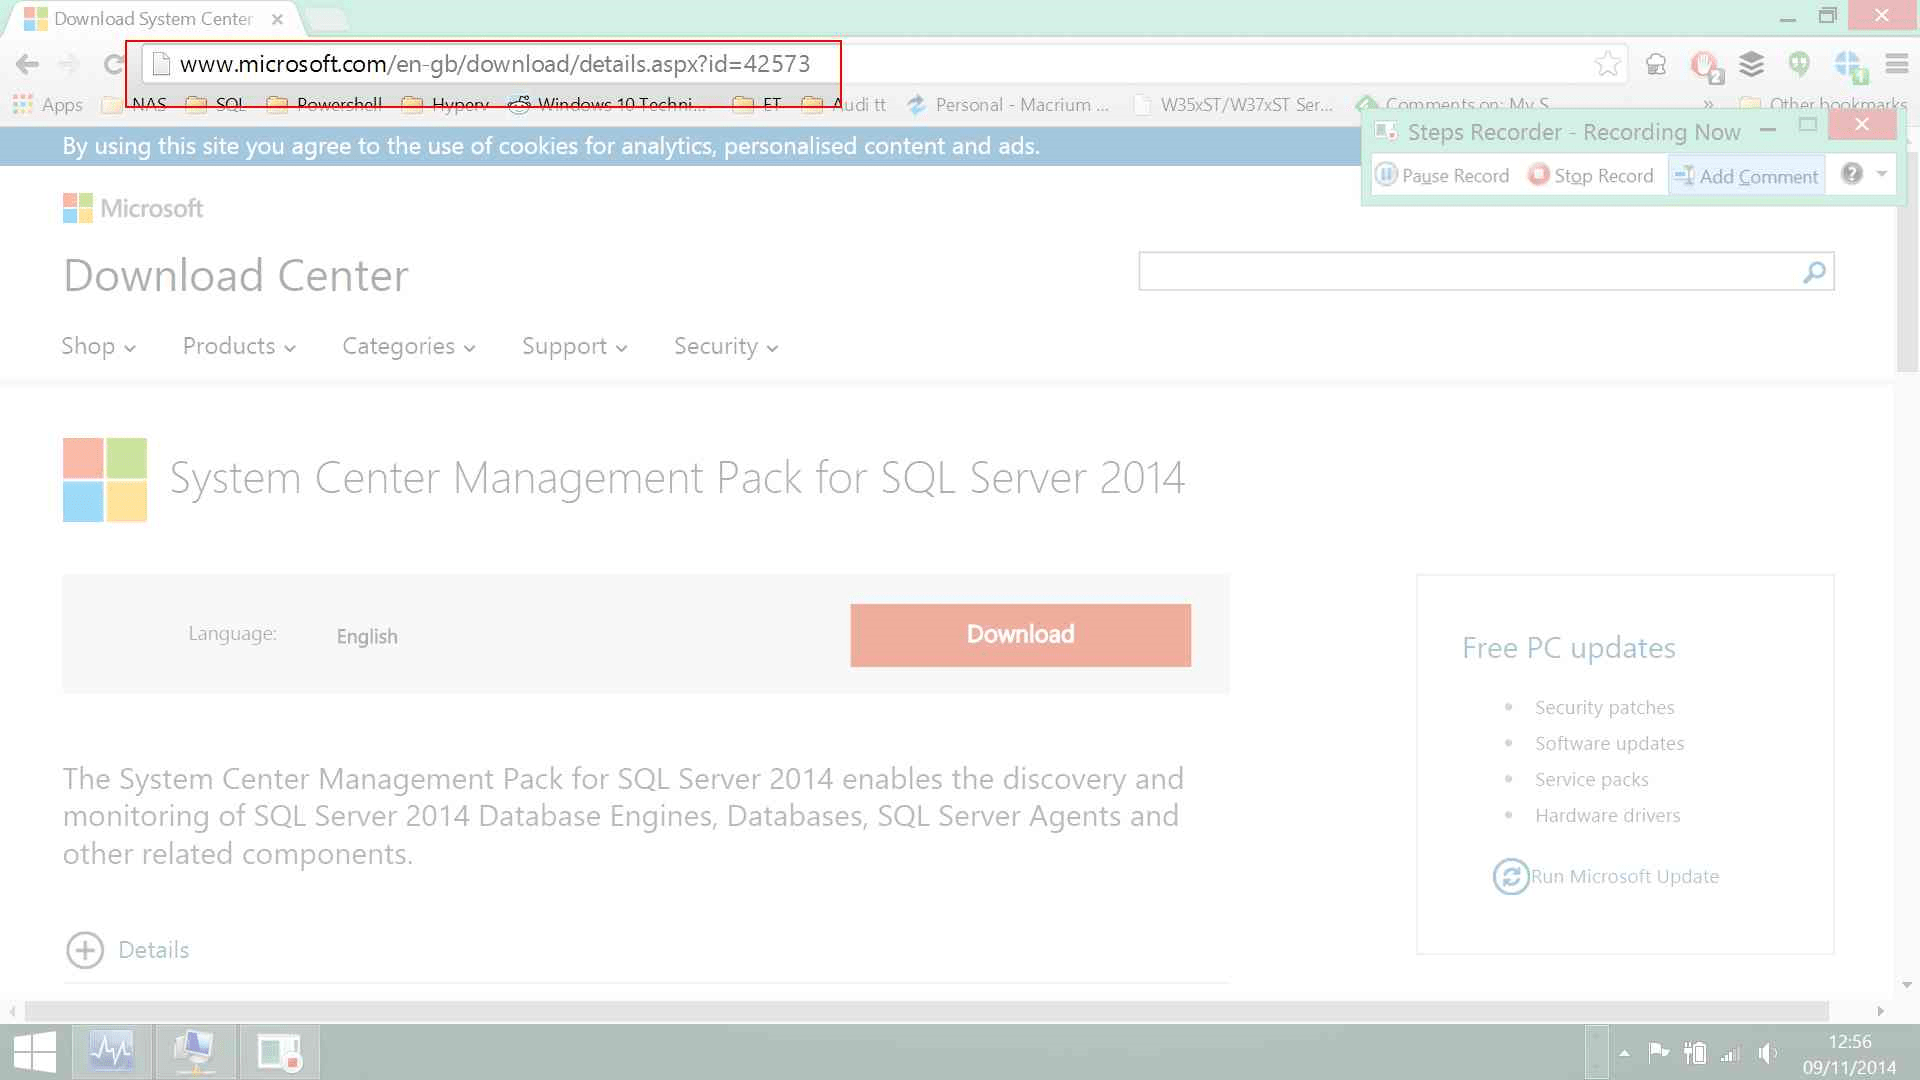
PSR allows you add keyboard input manually. You may need this if you need to include the text you have entered into prompts or address bars or if you wish to add further comment. You can do this by clicking add comment, drawing a box around the relevant part of the screen for the text input and inputting the text into the box
In the results this looks like
Step 1: (09/11/2014 12:56:22) User Comment: “http://www.microsoft.com/en-gb/download/details.aspx?id=42573”
What do the results look like?
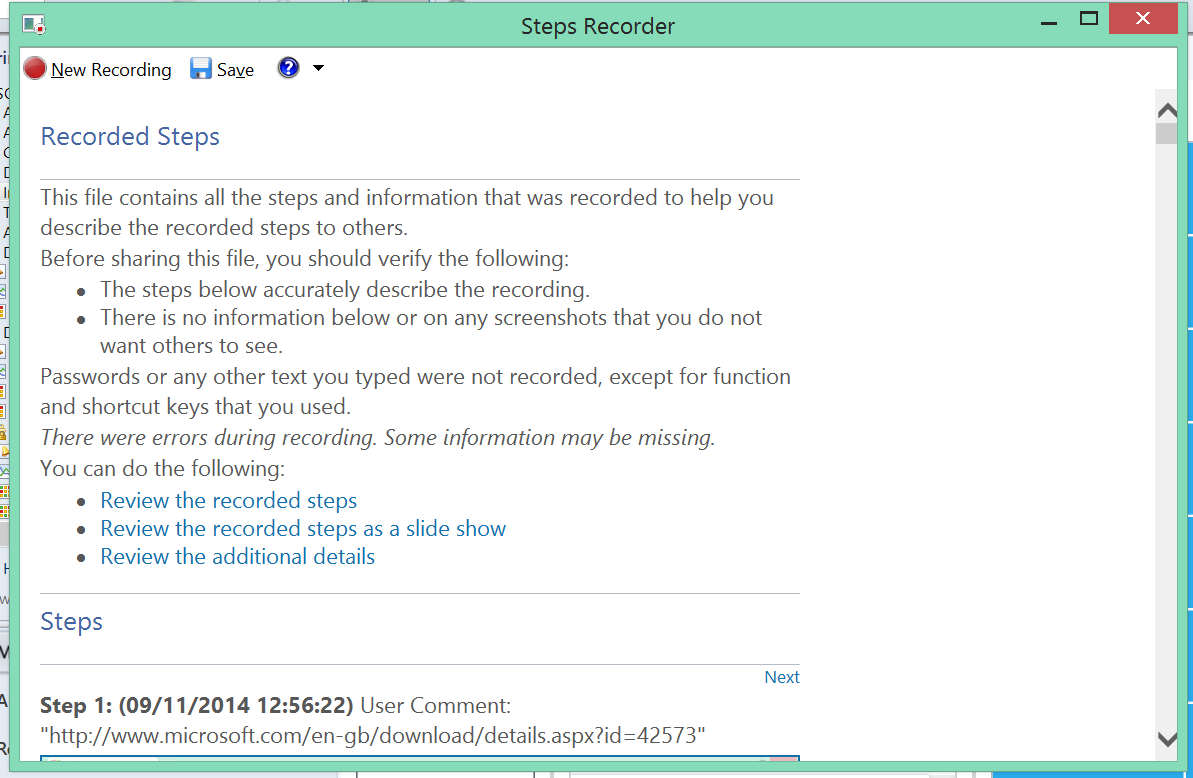
Once you have finished the actions that you want to record (or when you think you are close to 100 screenshots) click stop record and the following screen will be displayed
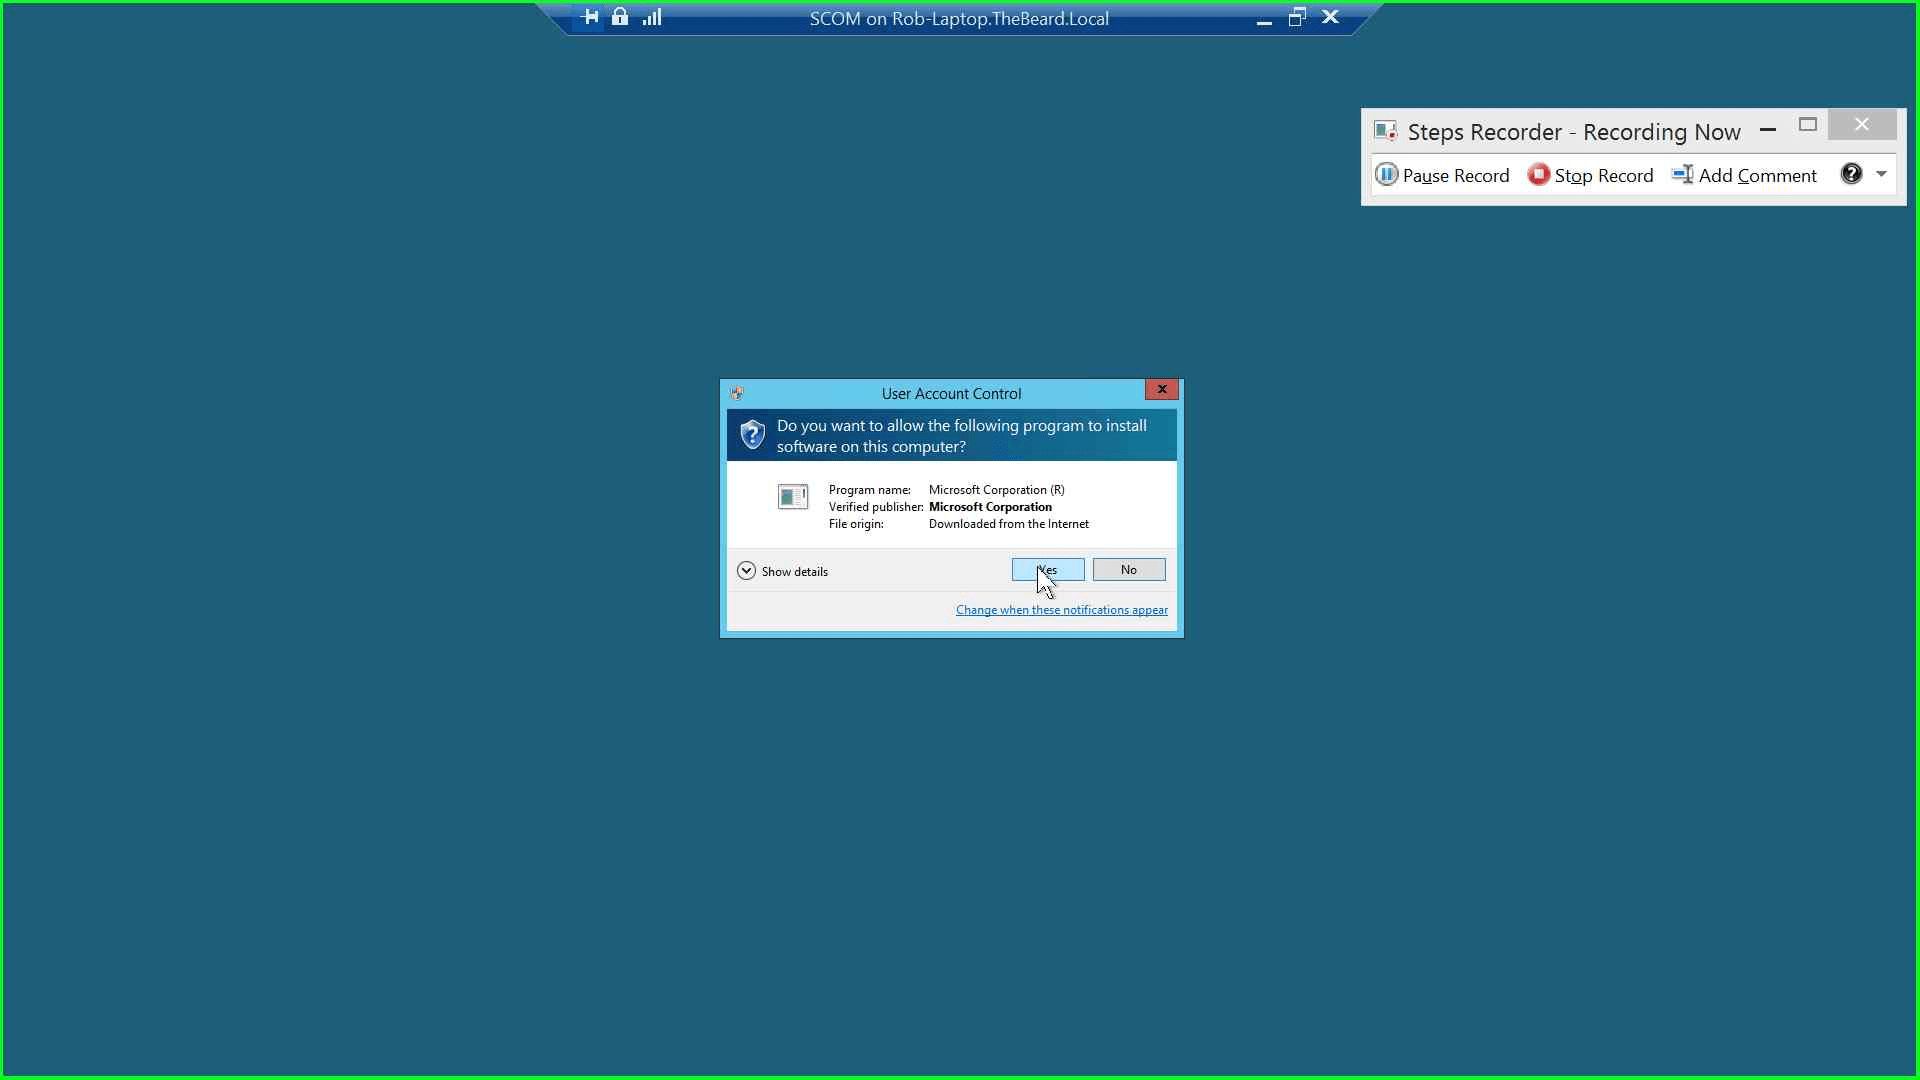
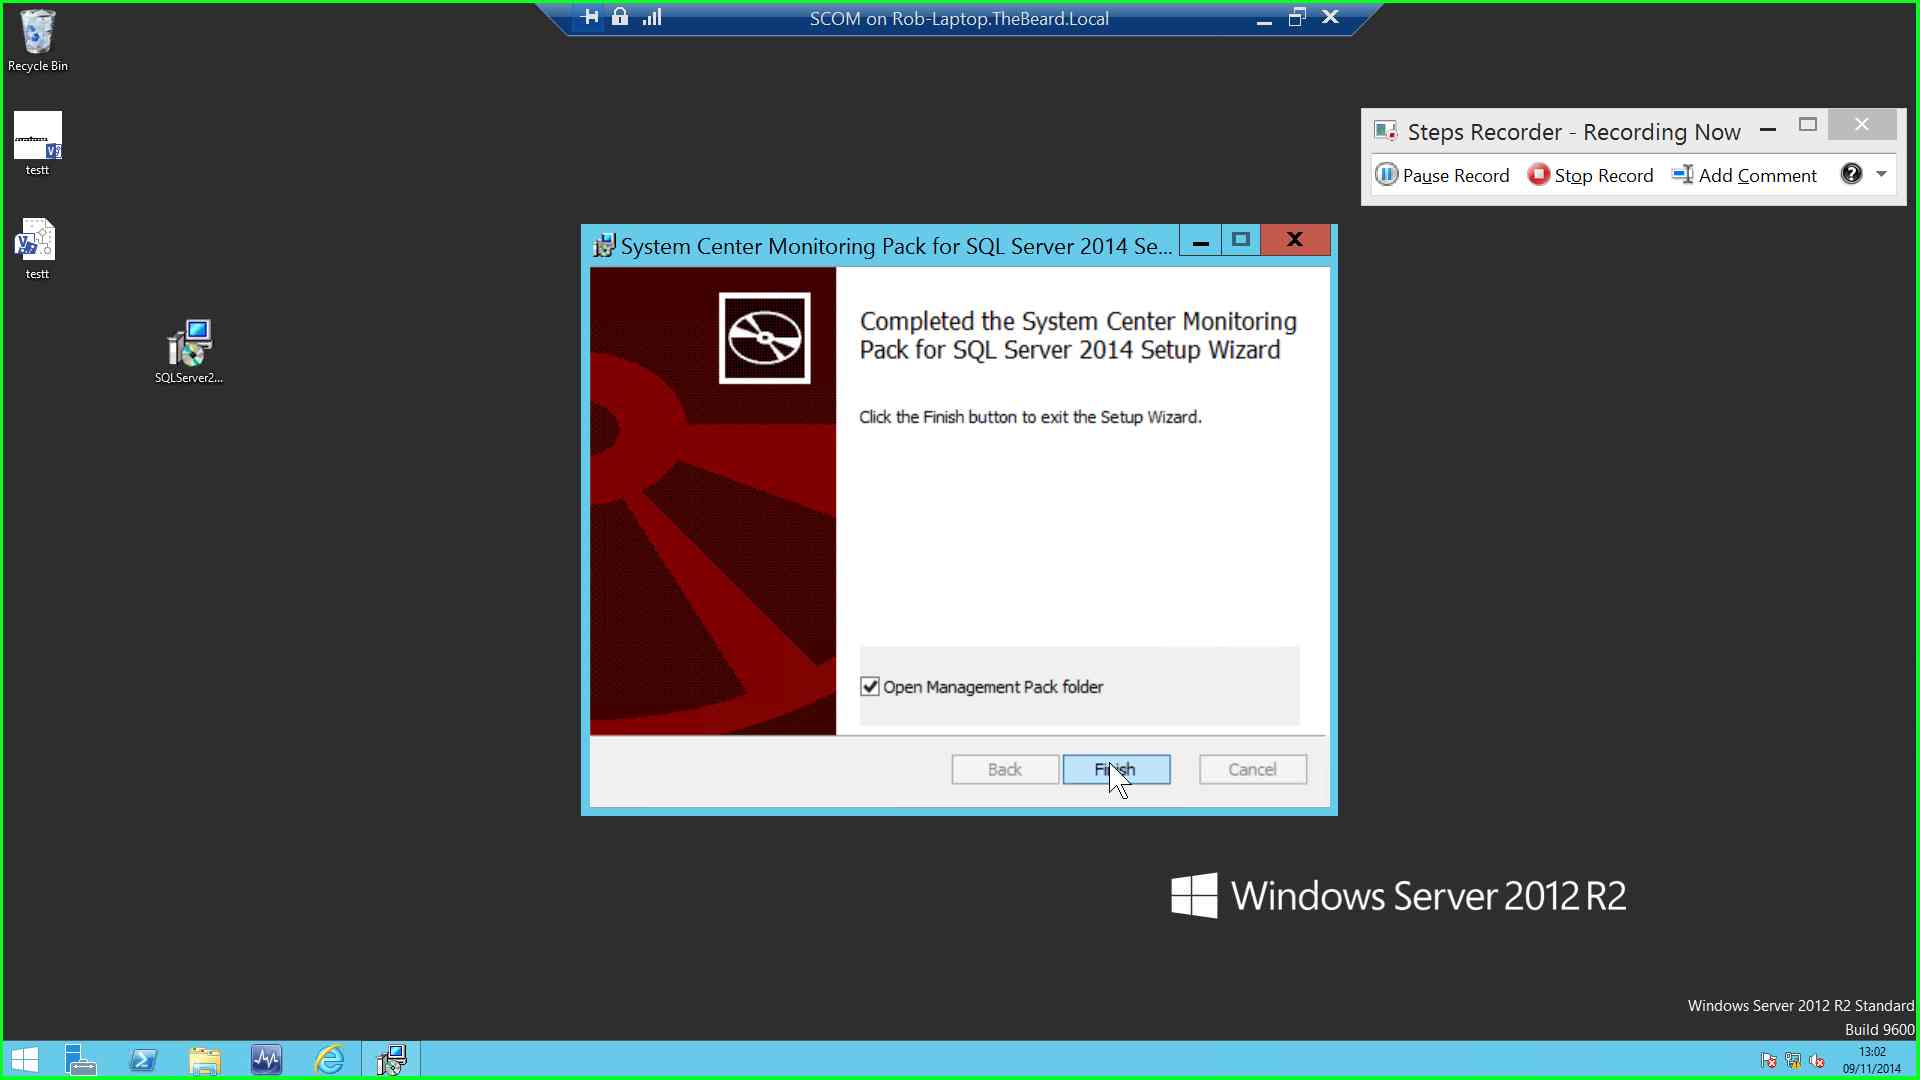
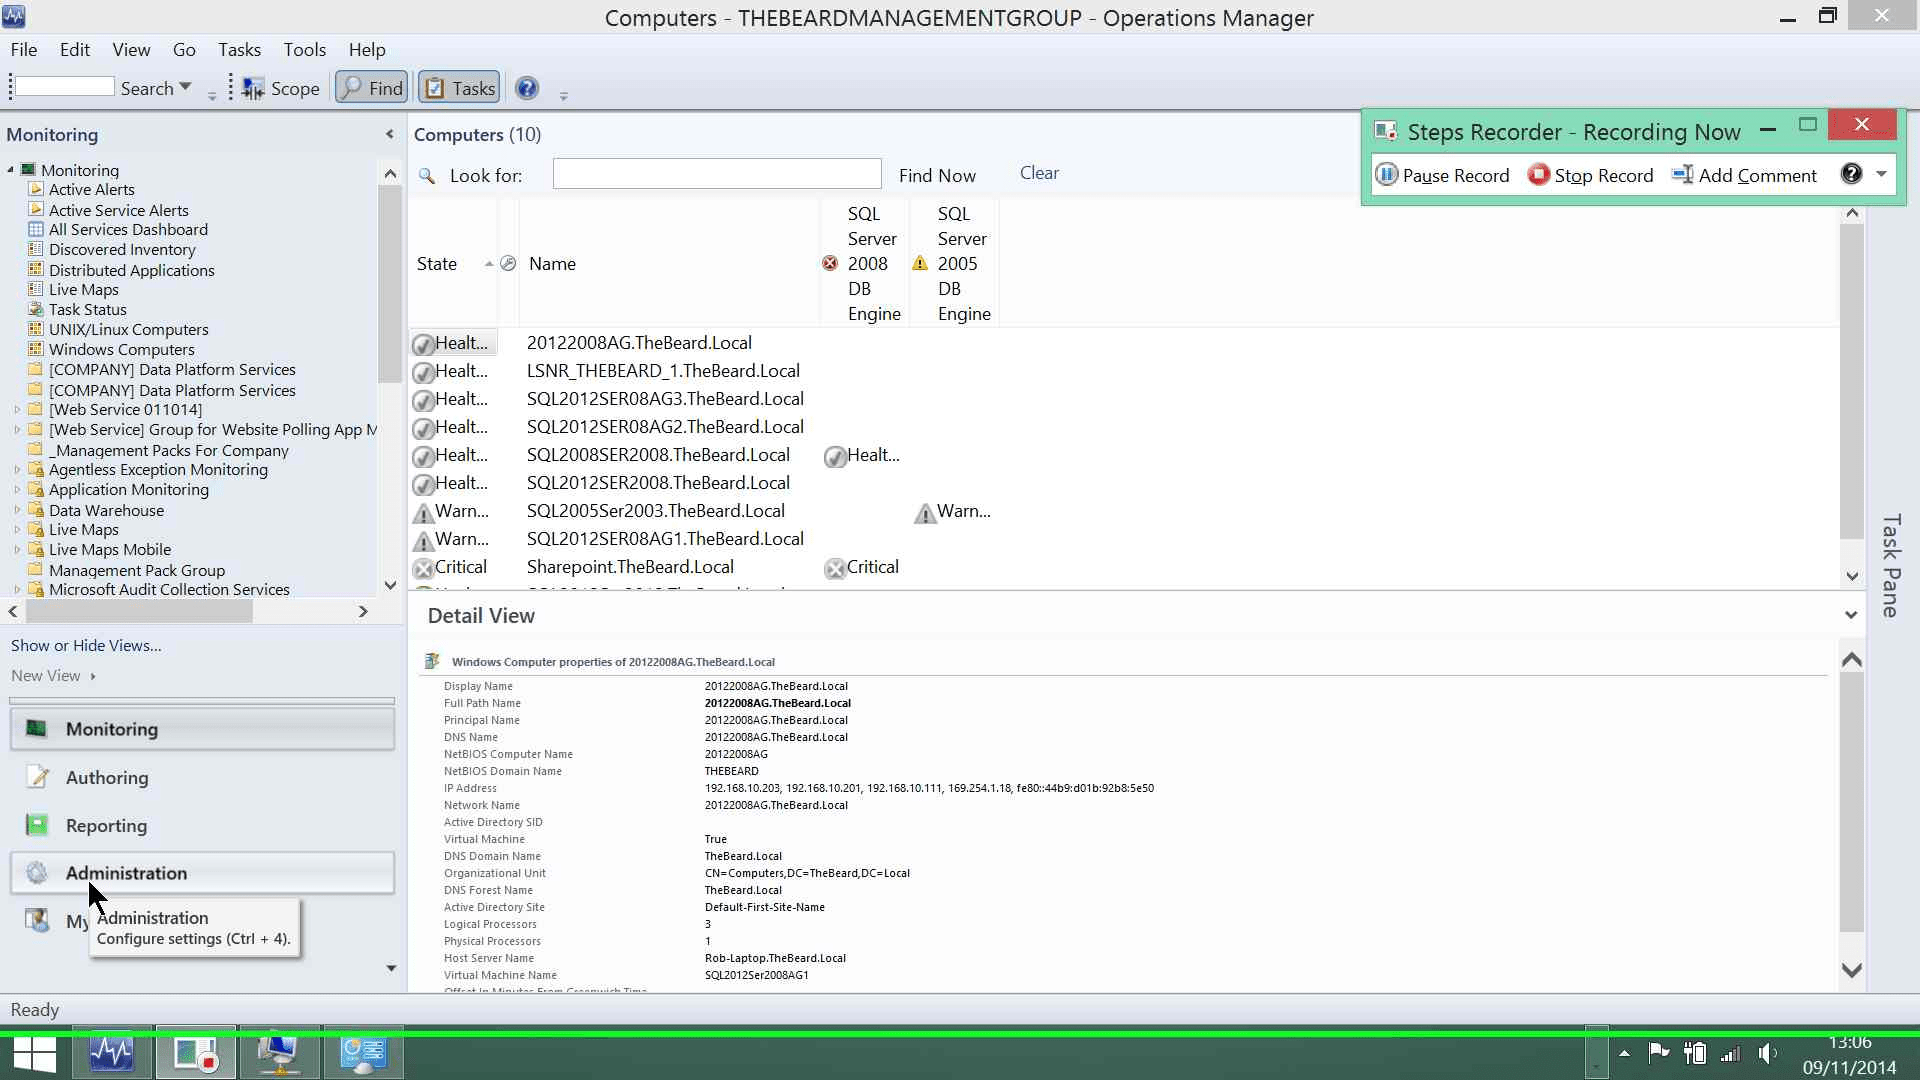
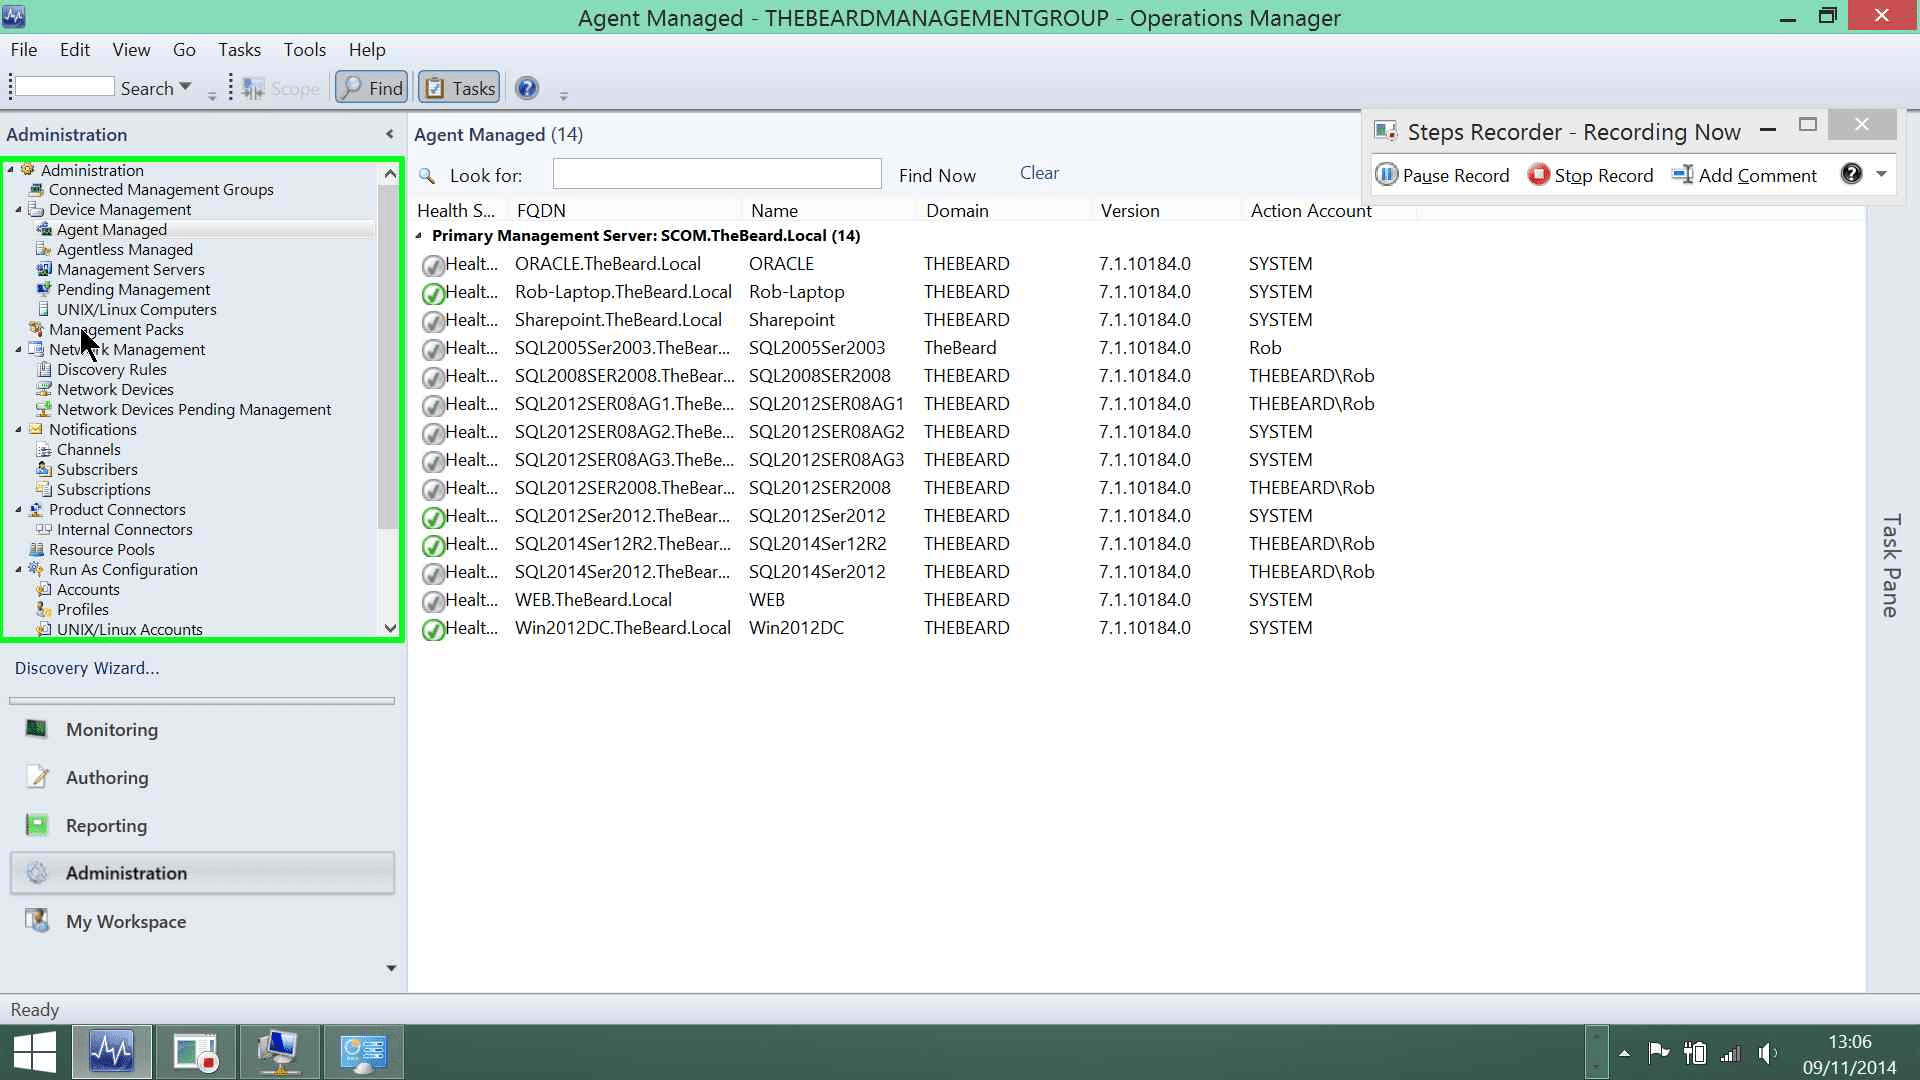
This allows you to review what PSR has recorded. You can then save it to a location of your desire. It is saved as a zip file which has a single .mht file in it. You can open the file without unzipping the archive and it will open in Internet Explorer. As you can see from the shots below you can run PSR on your client and it will still record actions in your RDP sessions although it does not record as much detail. The first two are on my SCOM server in my lab and the second two are on the laptop using the SCOM console
Step 11: (09/11/2014 13:02:13) User left click on “Input Capture Window (pane)” in “SCOM on ROB-LAPTOP – Virtual Machine Connection”
Step 12: (09/11/2014 13:02:16) User left click on “Input Capture Window (pane)” in “SCOM on ROB-LAPTOP – Virtual Machine Connection”
Step 13: (09/11/2014 13:06:25) User right click on “Management Packs (tree item)” in “Agent Managed – THEBEARDMANAGEMENTGROUP – Operations Manager”
Step 14: (09/11/2014 13:06:27) User left click on “Import Management Packs… (menu item)”
You can then use the zip file as you wish. Maybe you email it to your third party support team (once you have edited any confidential data) or you can attach it to your incident in your IT Service Management solution or attach it to a report. If you wish to create documentation you can open the .mht file in Word, edit it as you see fit and save it appropriately.
So that is one of the many things that I have learnt recently and I am looking forward to seeing what others have learnt especially as many will have just been to the SQL PASS Summit. You will be able to find the other posts in this blog party in the comments on Chris’s page


