Reading this blog post by Shawn Melton Introduction of Visual Studio Code for DBAs reminded me that whilst I use Visual Studio Code (which I shall refer to as Code from here on) for writing PowerShell and Markdown and love how easily it interacts with Github I hadn’t tried T-SQL. If you are new to Code (or if you are not) go and read Shawns blog post but here are the steps I took to running T-SQL code using Code
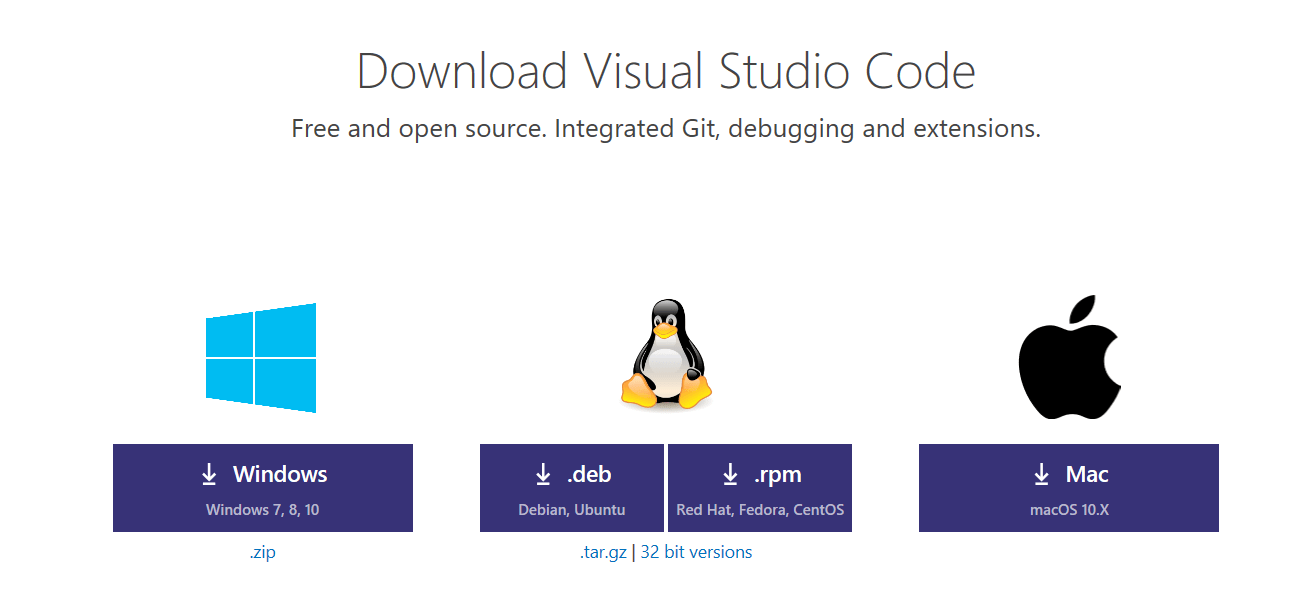
To download Code go to this link https://code.visualstudio.com/download and choose your operating system. Code works on Windows, Linux and Mac
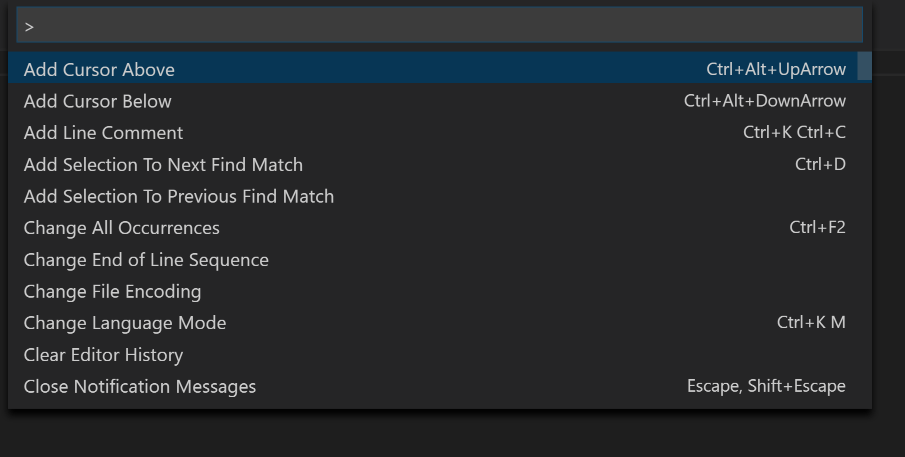
Once you have downloaded and installed hit CTRL SHIFT and P which will open up the command palette
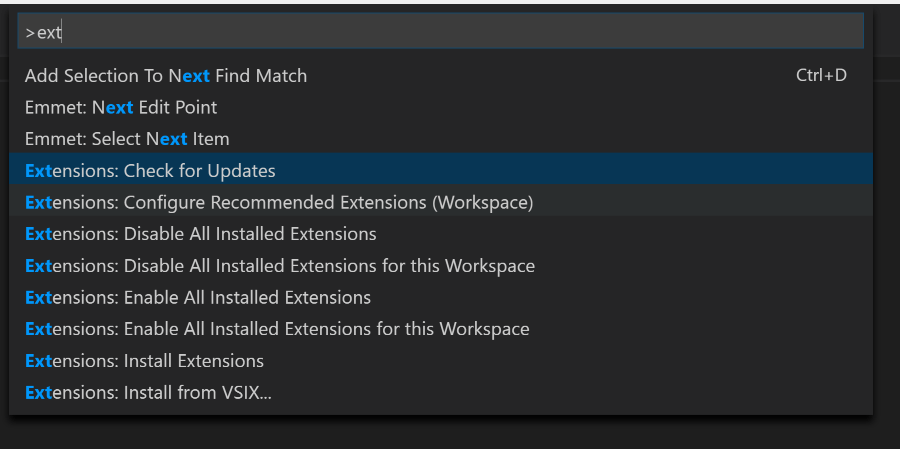
Once you start typing the results will filter so type ext and then select Extensions : Install Extension
Which will open the Extensions tab ( You could have achieved the same end result just by clicking this icon)
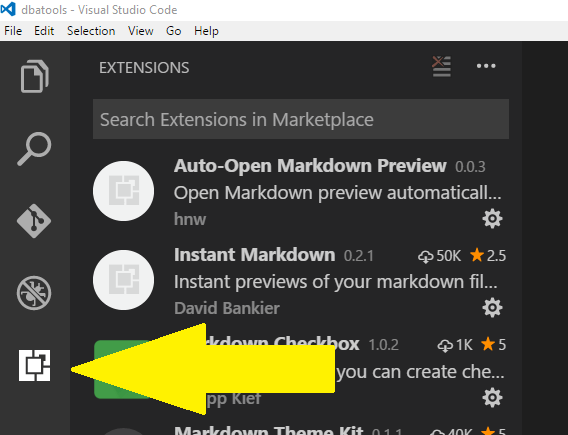
But then you would not have learned about the command palette 🙂
So, with the extensions tab open, search for mssql and then click install
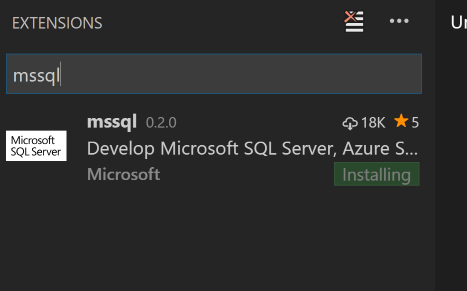
Once it has installed the button will change to Reload so click it
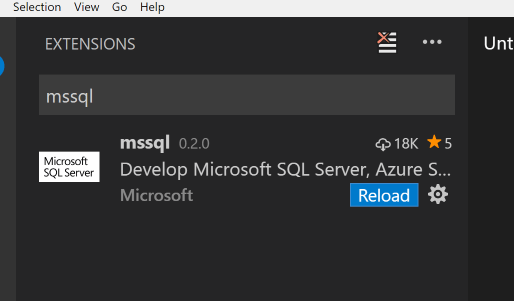
And you will be prompted to Reload the window
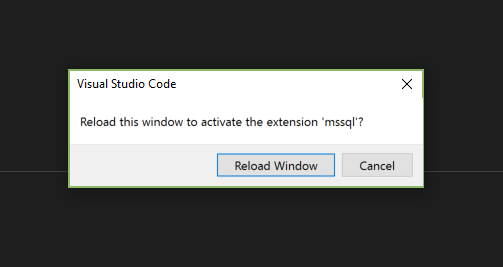
Accept the prompt and then open a new file (CTRL N) and then change the language for the file.
You can do this by clicking CTRL K and then M (Not CTRL K CTRL M) or click the language button
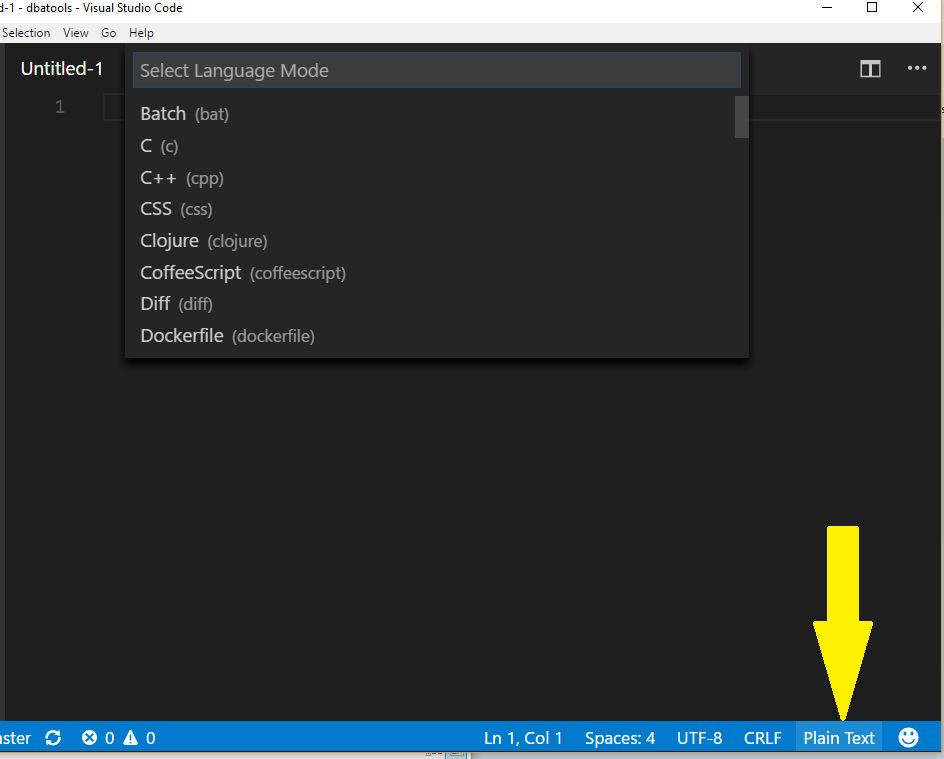
And then choose SQL
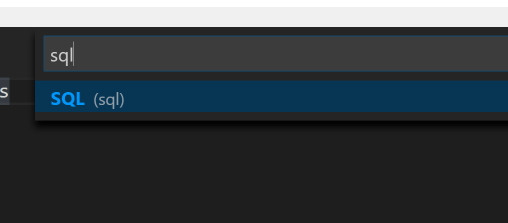
This will start a download so make sure you are connected (and allowed to connect to the internet)

Once it has finished it will show this

And offer you the chance to read the release notes

Which you can get for any extension anytime by finding the extension in the extensions tab and clicking on it. This has links to tutorials as well as information about the release
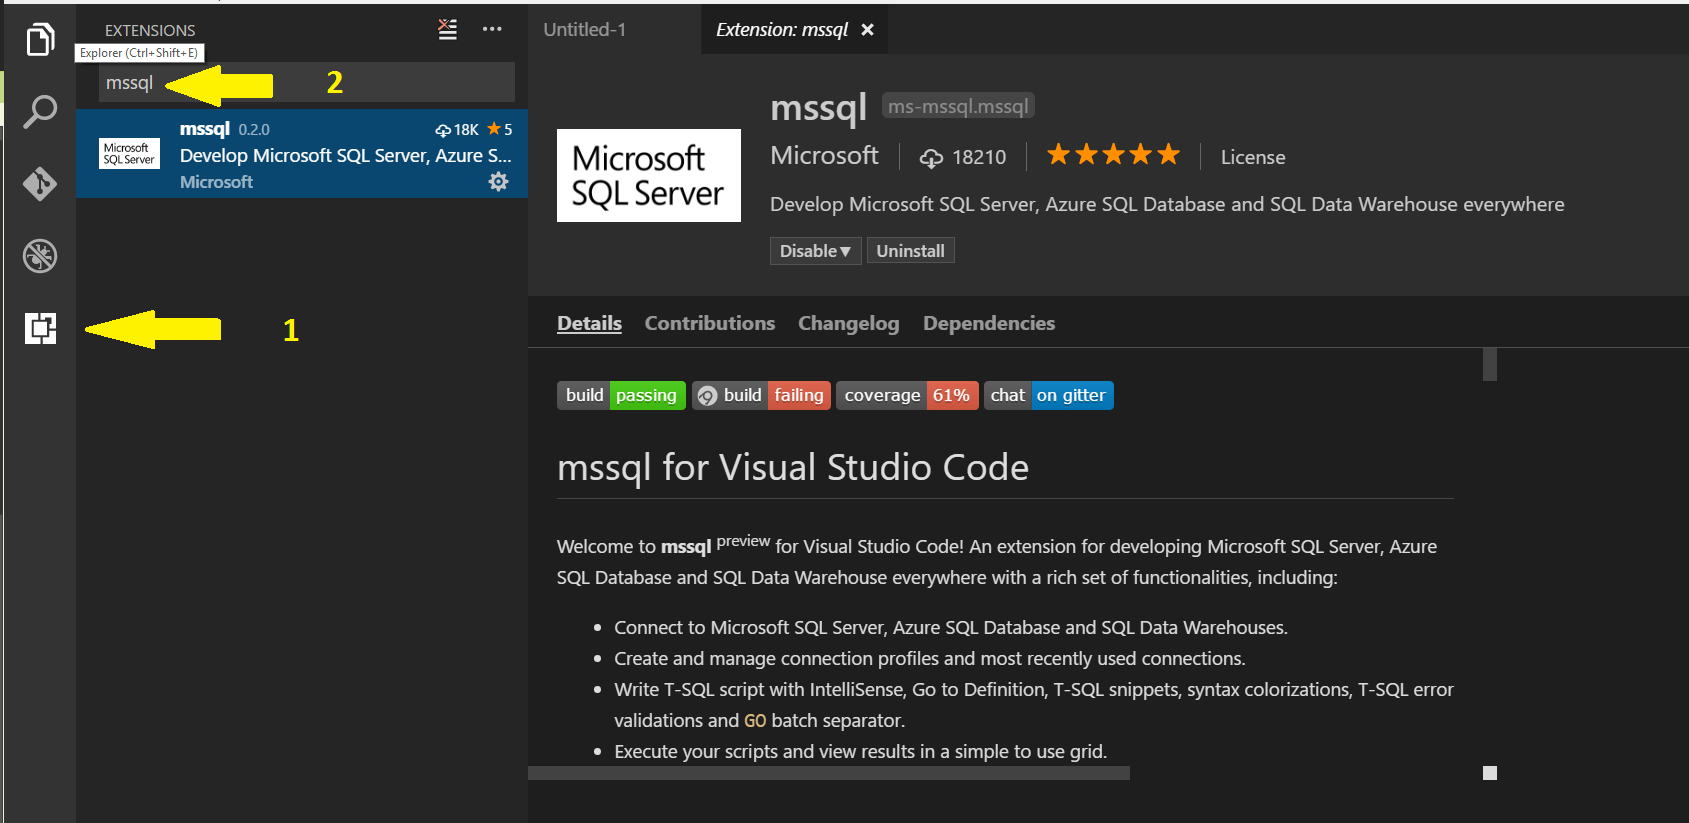
The mssql extension enables Intellisence for T-SQL when you open a .sql file or when you change the language to SQL as shown above for a new file

Write your T-SQL Query and press CTRL SHIFT and E or Right Click and choose Execute Query. This will ask you to choose a Connection Profile (and display any existing profiles)

Choose Create Connection Profile and answer the prompts
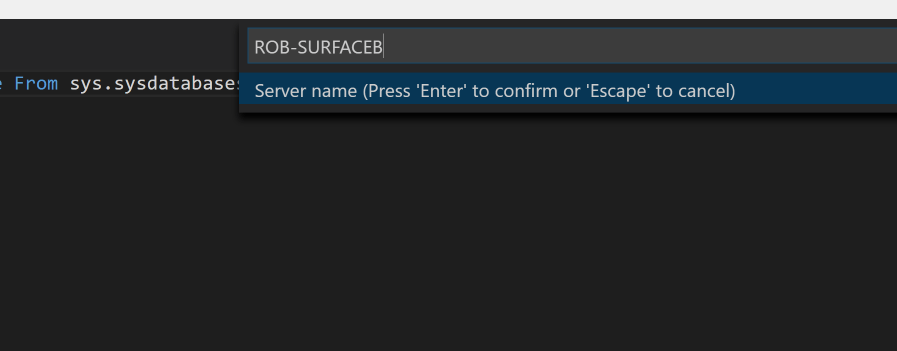
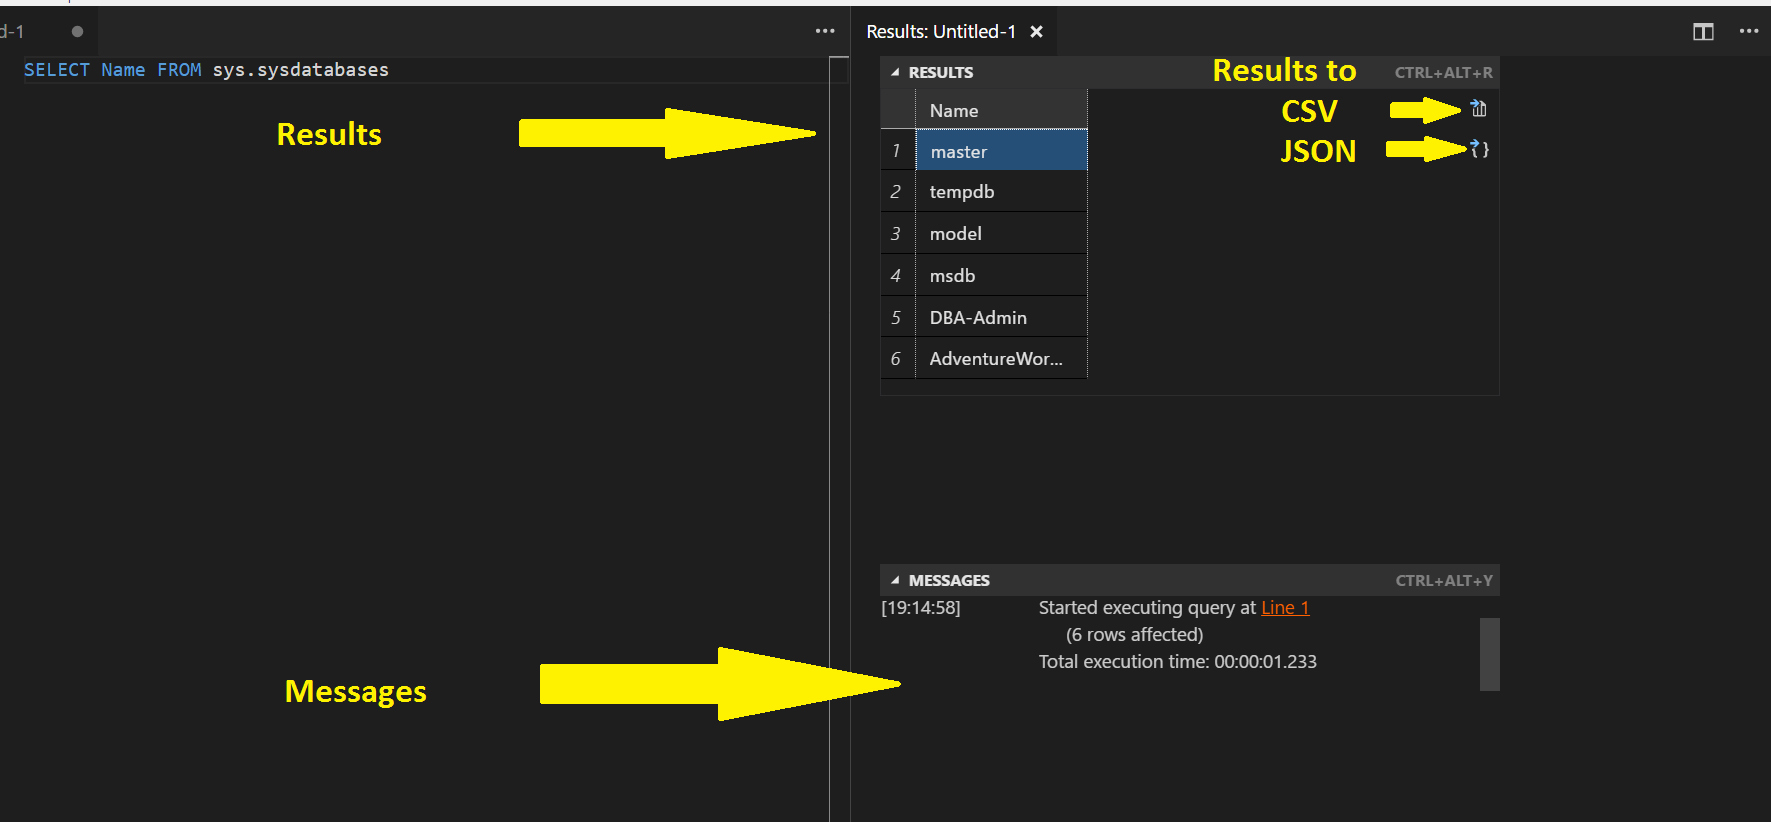
The query will then run

You can then output the results to csv or json if you wish
You can find a video showing this whole process with some typos and an error here