
I enjoy maintaining open source GitHub repositories such as dbachecks and ADSNotebook. I absolutely love it when people add more functionality to them.
To collaborate with a repository in GitHub you need to follow these steps
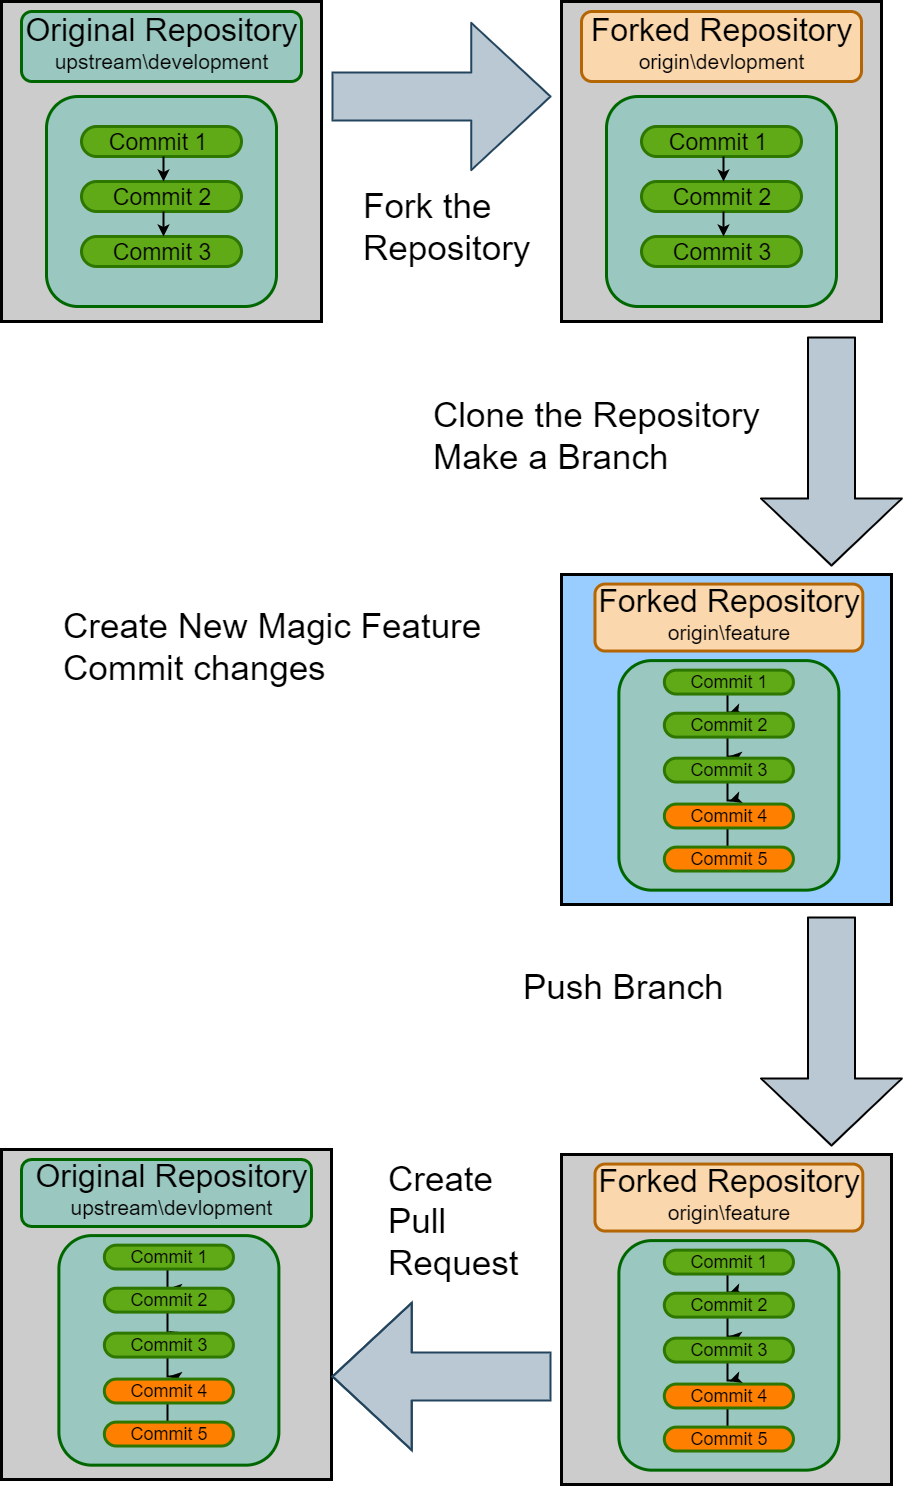
- Fork the repository into your own GitHub
- Clone the repository to your local machine
- Create a new branch for your changes
- Make some changes and commit them with useful messages
- Push the changes to your repository
- Create a Pull Request from your repository back to the original one
You will need to have git.exe available which you can download and install from https://git-scm.com/downloads if required
Fork the repository into your own GitHub
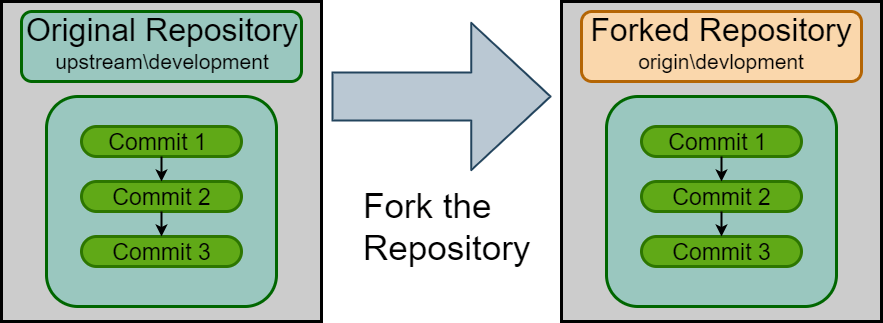
A fork is a copy of the original repository. This allows you to make changes without affecting the original project. It does not get updated when the original project gets updated (We will talk about that in the next post) This enables you to code a new feature or a bug fix, test it locally and make sure it is working.
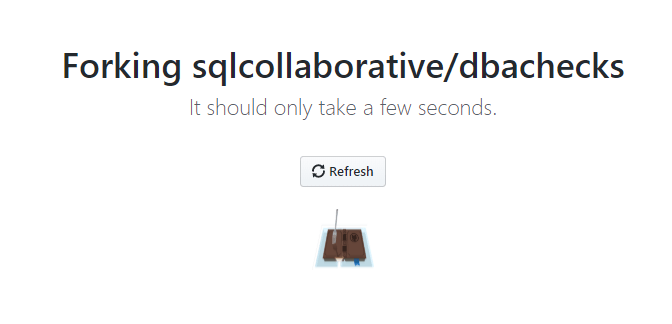
Let’s take dbachecks as our example. Start by going to the project in GiHub. In this case the URL is https://github.com/sqlcollaborative/dbachecks You will see a Fork button at the top right of the page

When you click the button the repository is copied into your own GitHub account
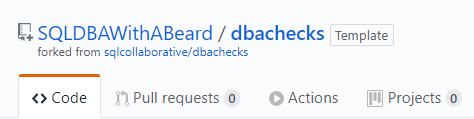
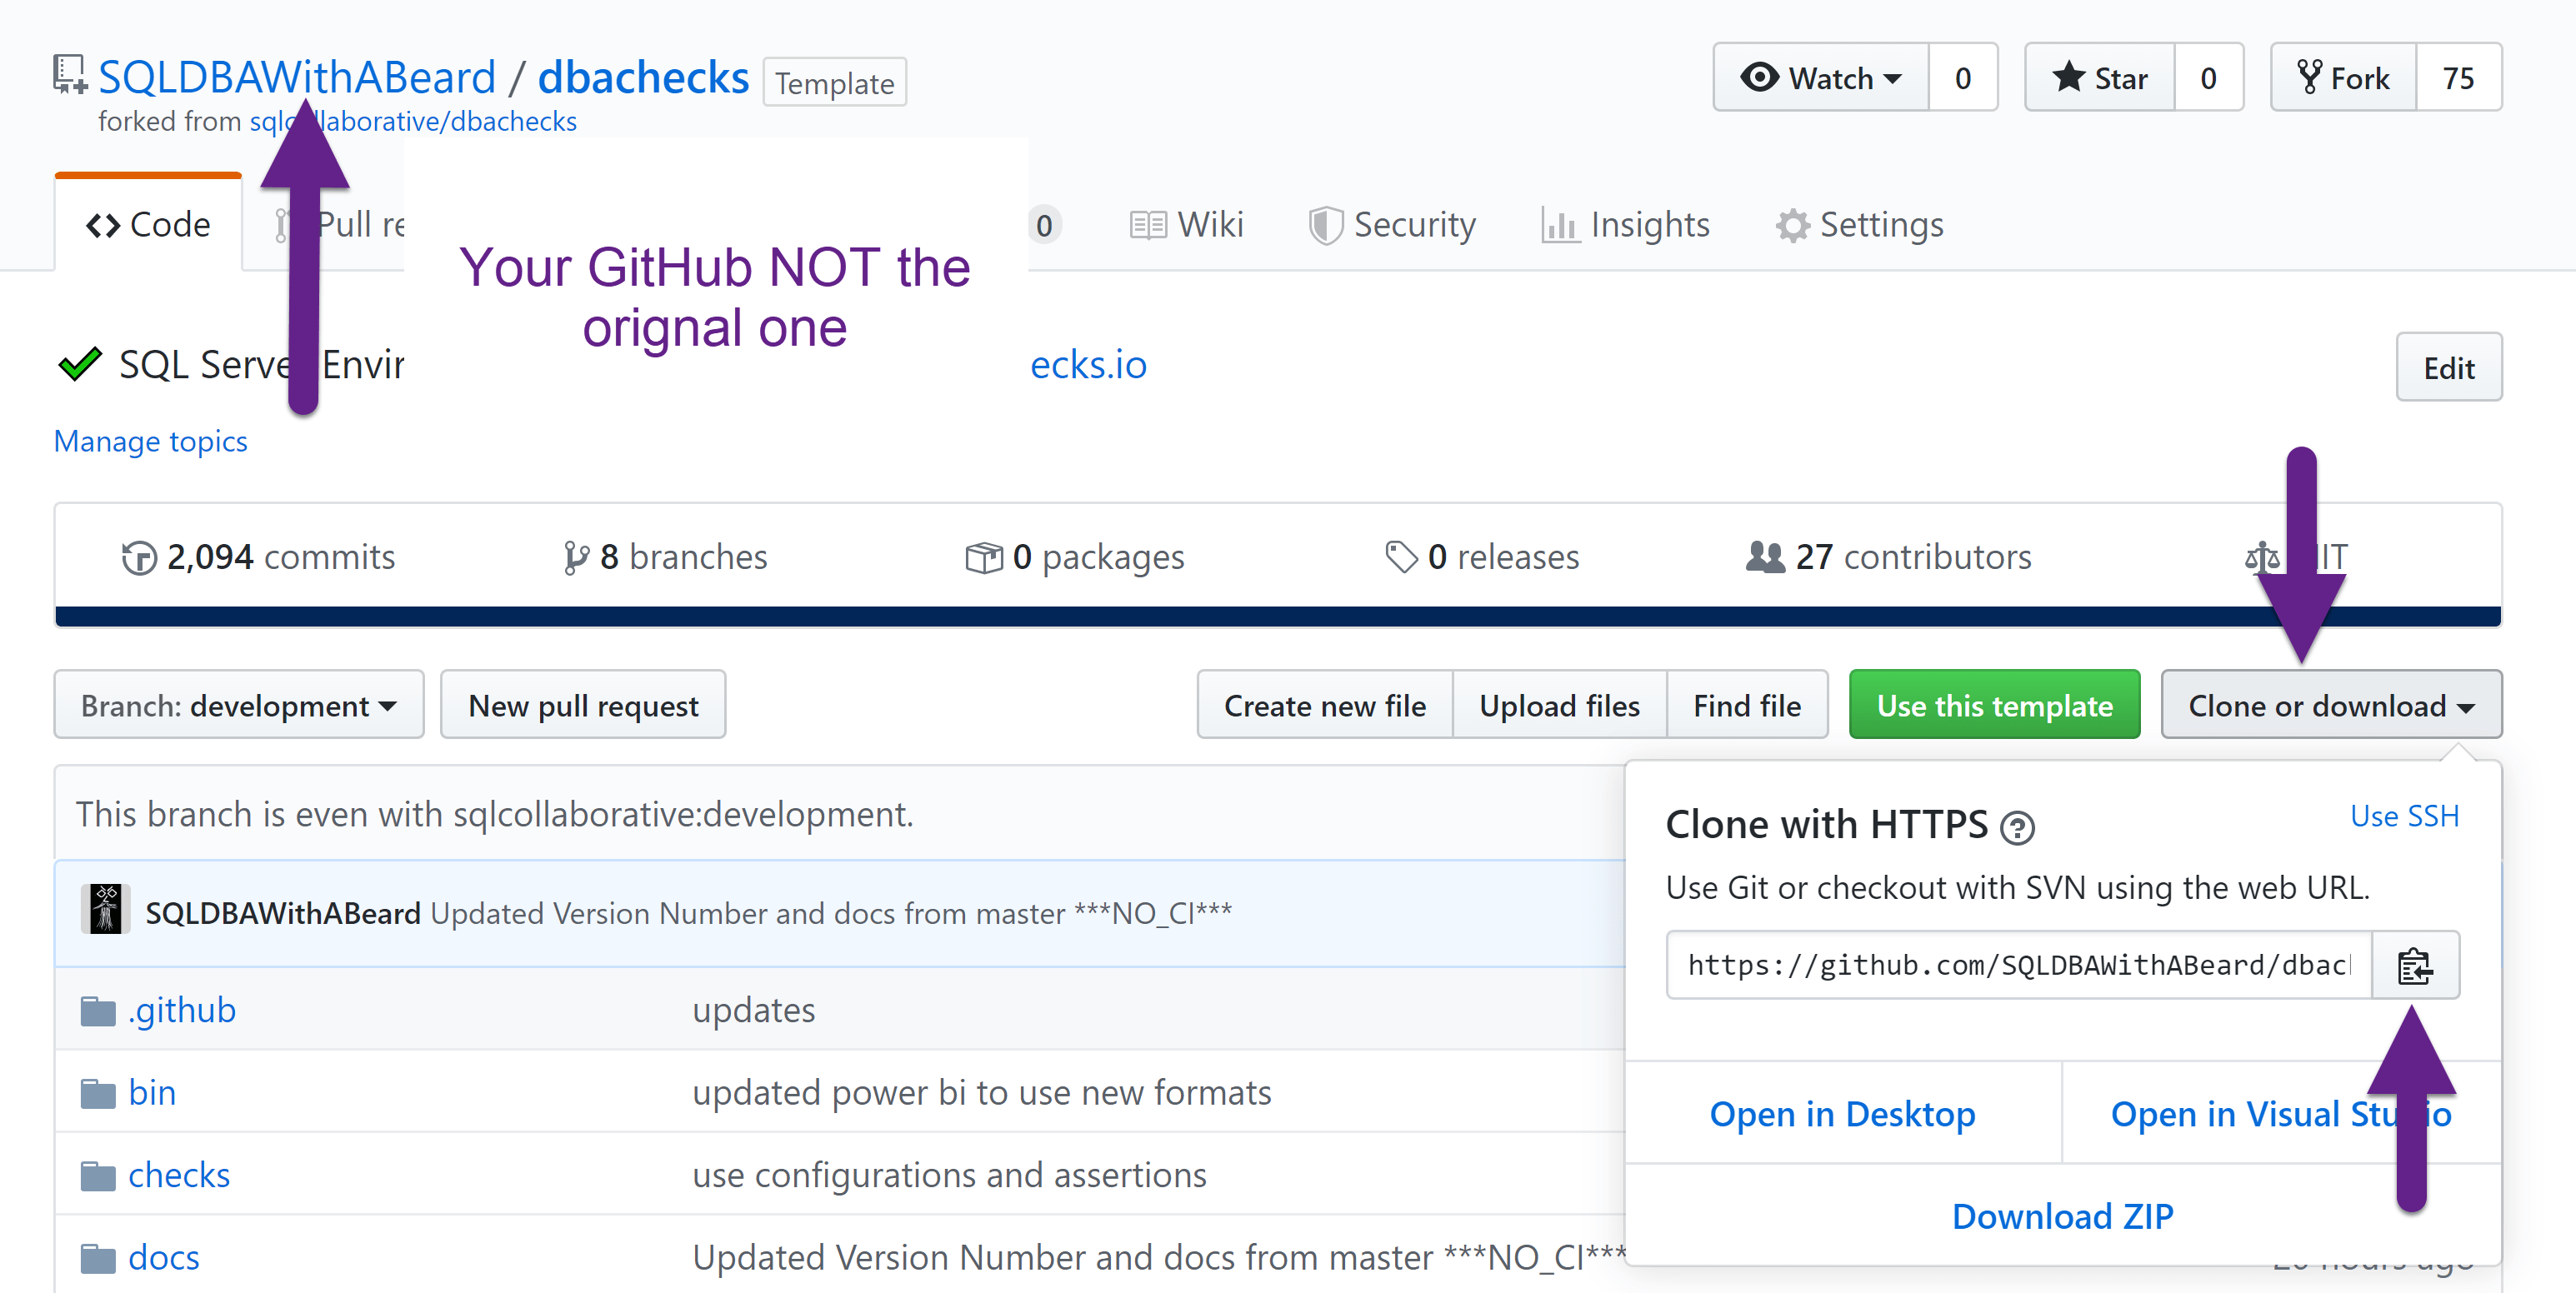
The page will open at https://github.com/YOURGITHUBUSERNAME/NameOfRepository in this case https://github.com/SQLDBAWithABeard/dbachecks You will be able to see that it is a fork of the original repository at the top of the page
Clone the repository to your local machine

Forking the repository has created a remote repository stored on the GitHub servers. Now that the repository has been forked you need to clone it to your local machine to create a local repository so that you can start coding your amazing fix. When you have finished you can then sync it back to your remote repository ready for a Pull Request back to the original repository.
In your browser, at your remote repository that you just created (https://github.com/YOURGITHUBUSERNAME/NameOfRepository if you have closed the page) click on Clone or Download and then the icon to the right to copy the url
You can clone your repository in VS Code or Azure Data Studio by clicking F1 or CTRL + SHIFT + P in Windows or Linux and ⇧⌘P or F1 on a Mac
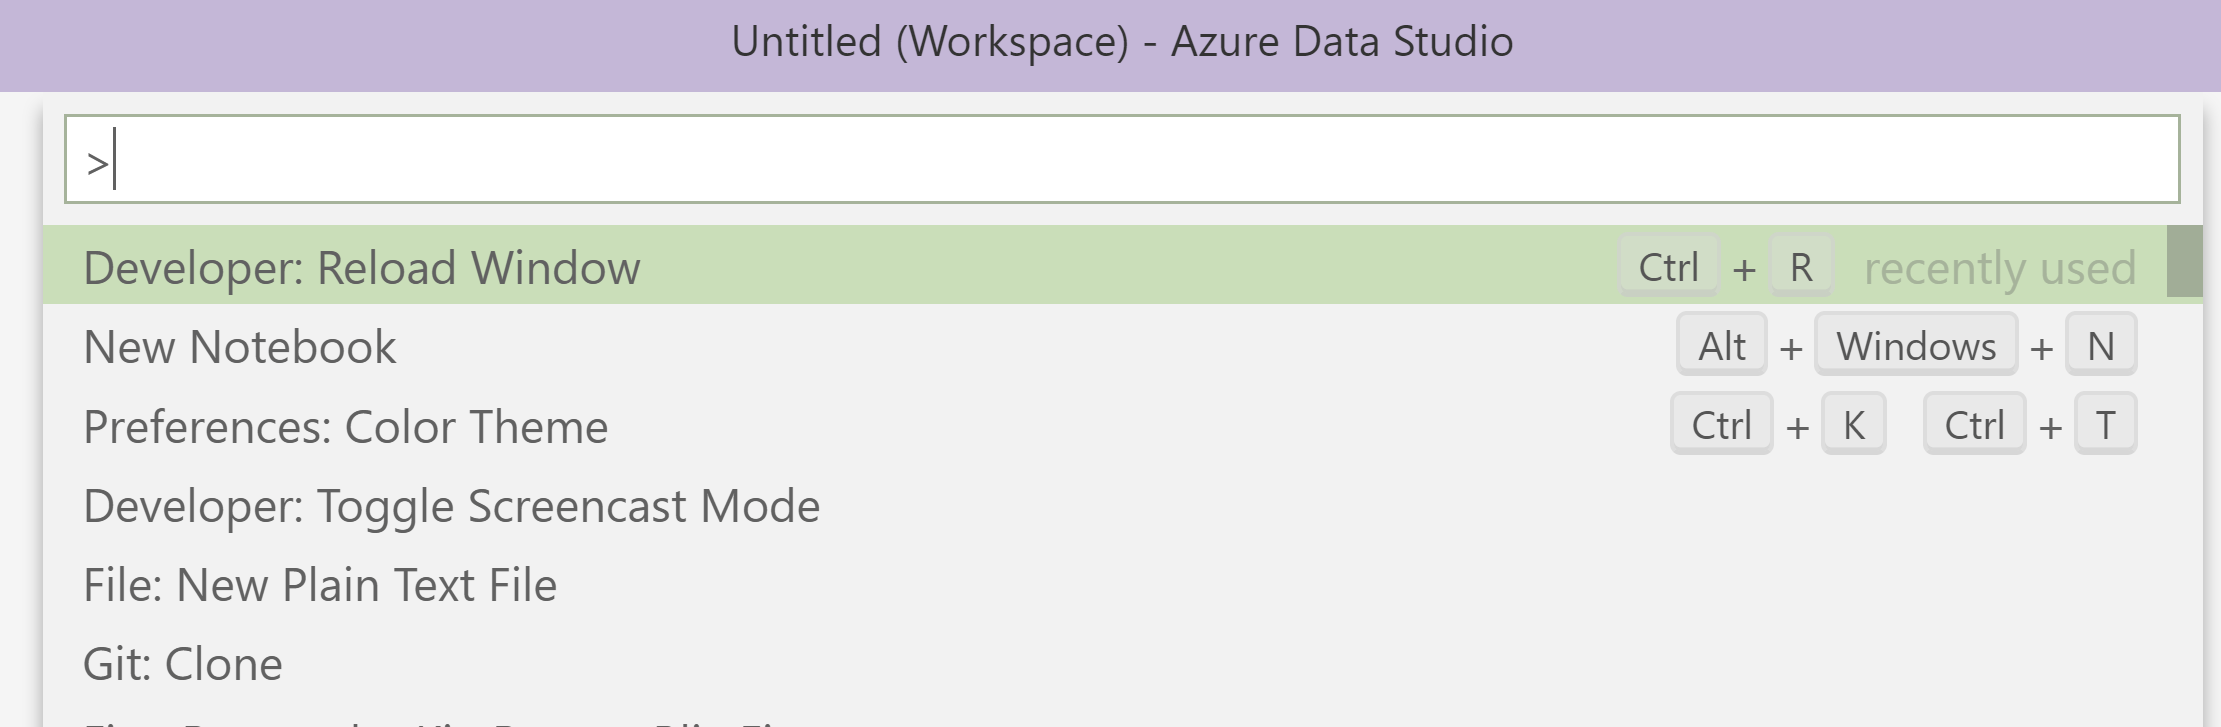
then start typing clone until you see Git:Clone and press enter or click

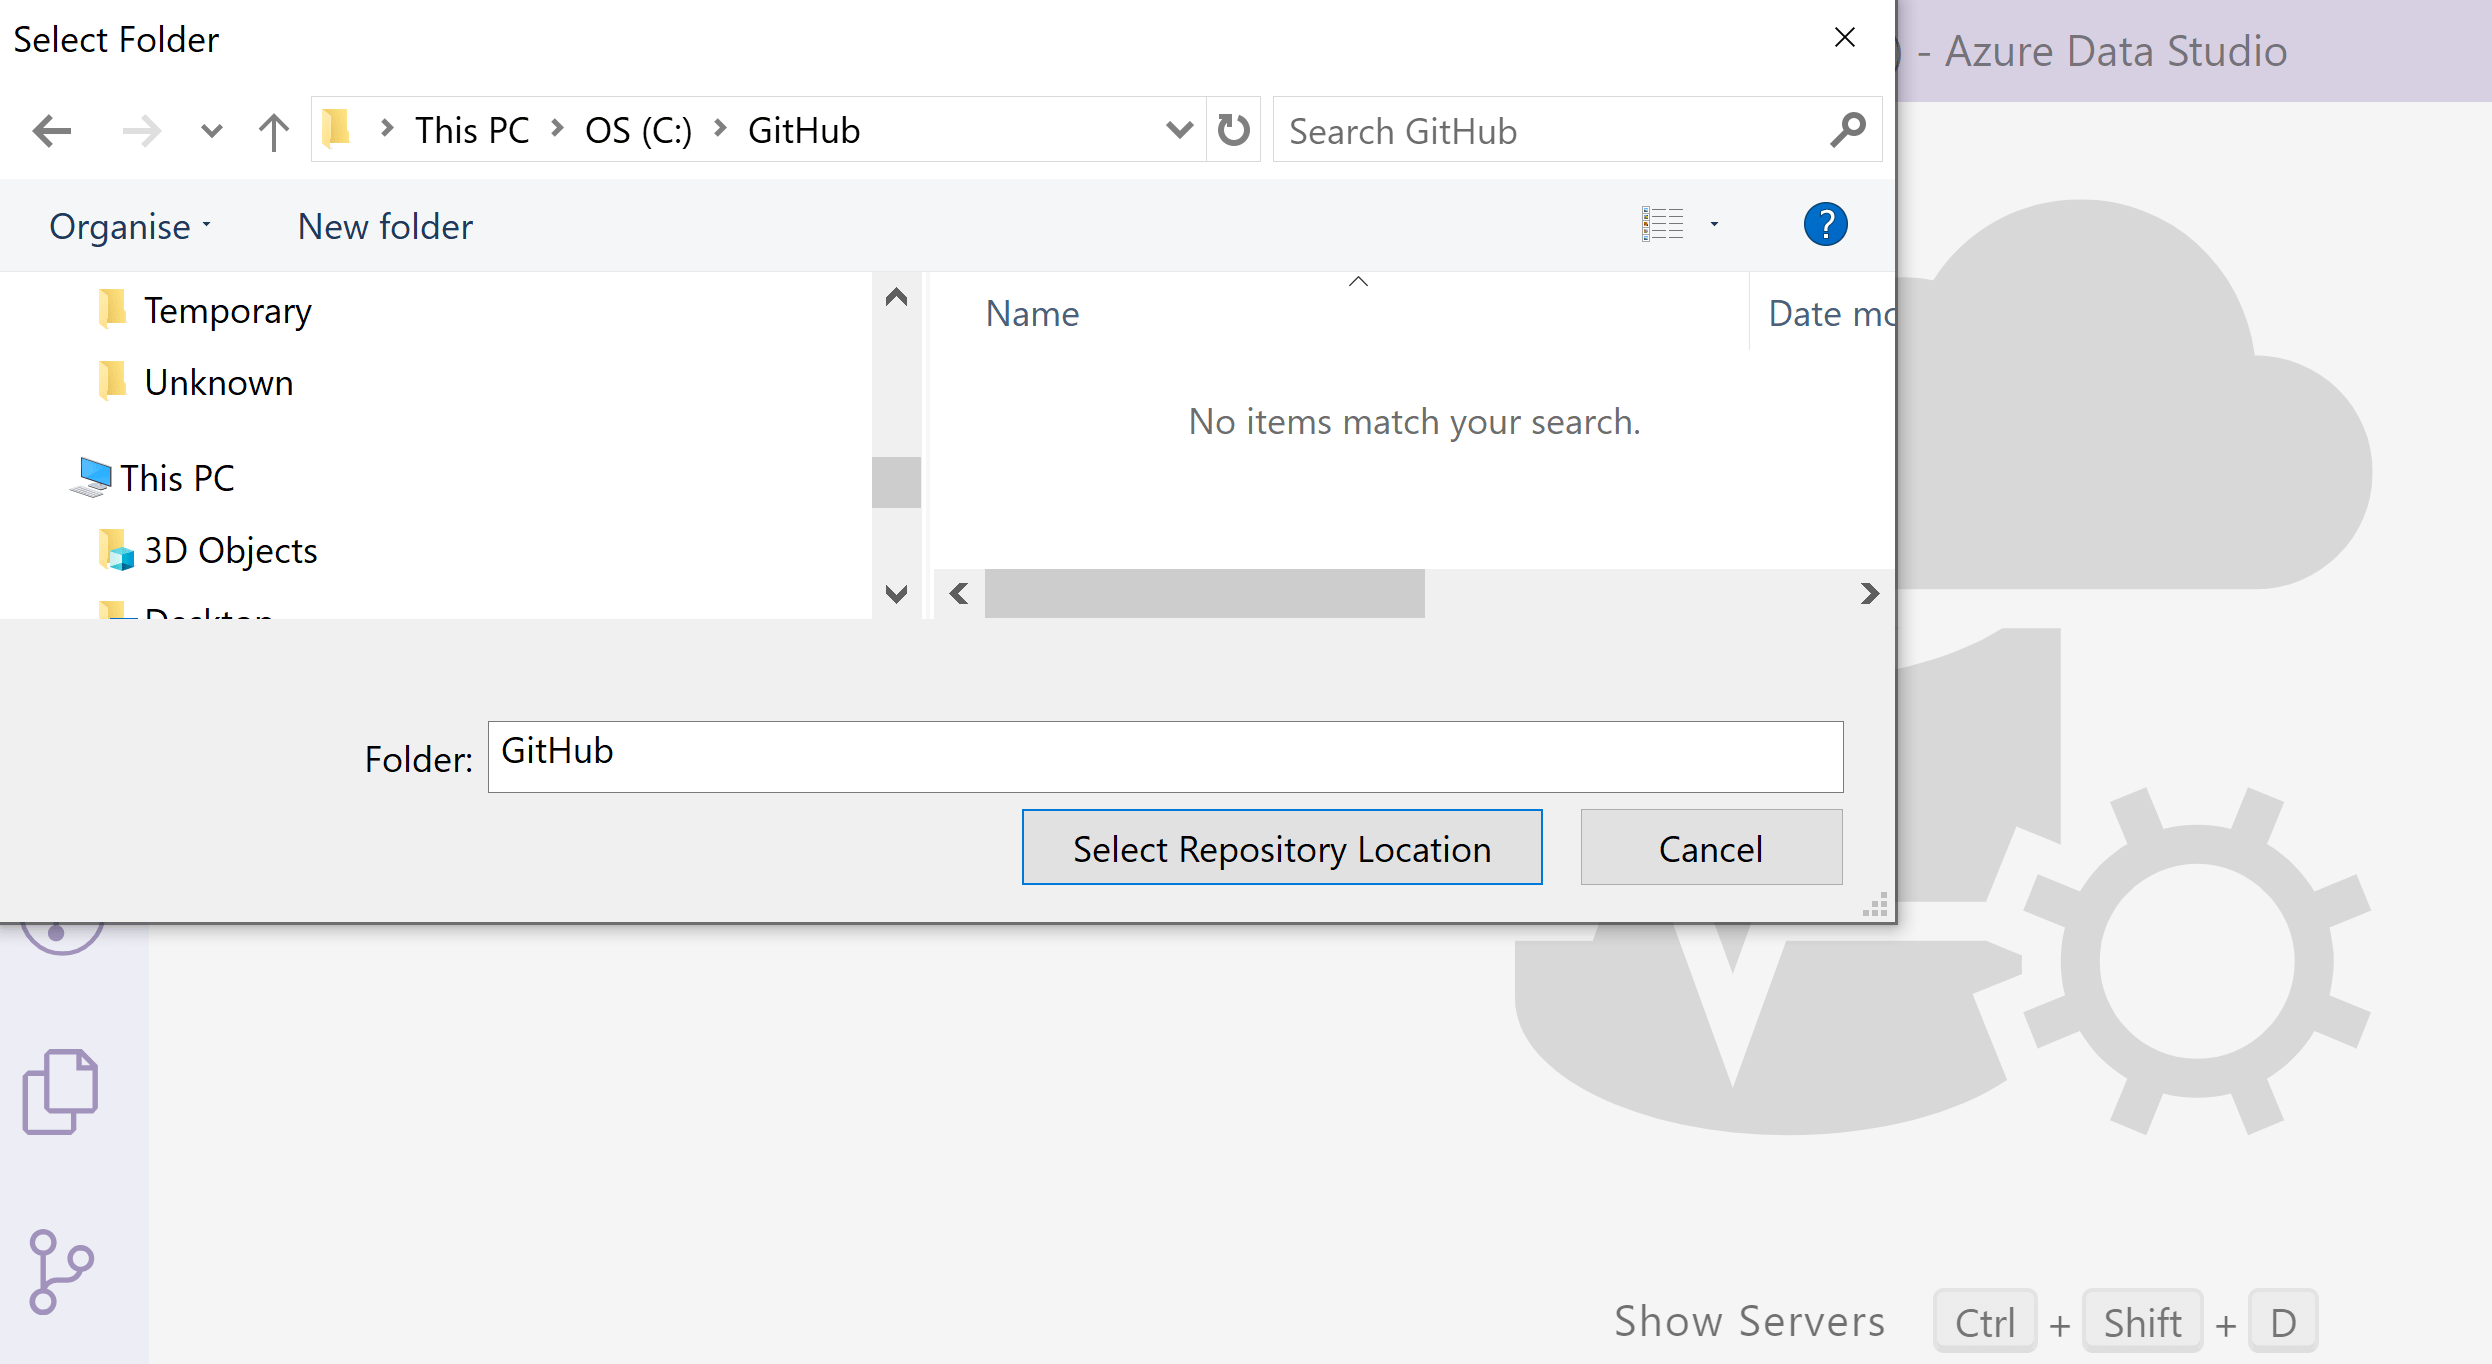
Paste in the URL that you just copied and click enter. A dialog will open asking you to select a folder. This is the parent directory where your local repository will be created. The clone will create a directory for your repository so you do not need to. I suggest that you use a folder called GitHub or something similar to place all of the repositories that you are going to clone and create.
When it has finished it will ask you if you wish to open the repository
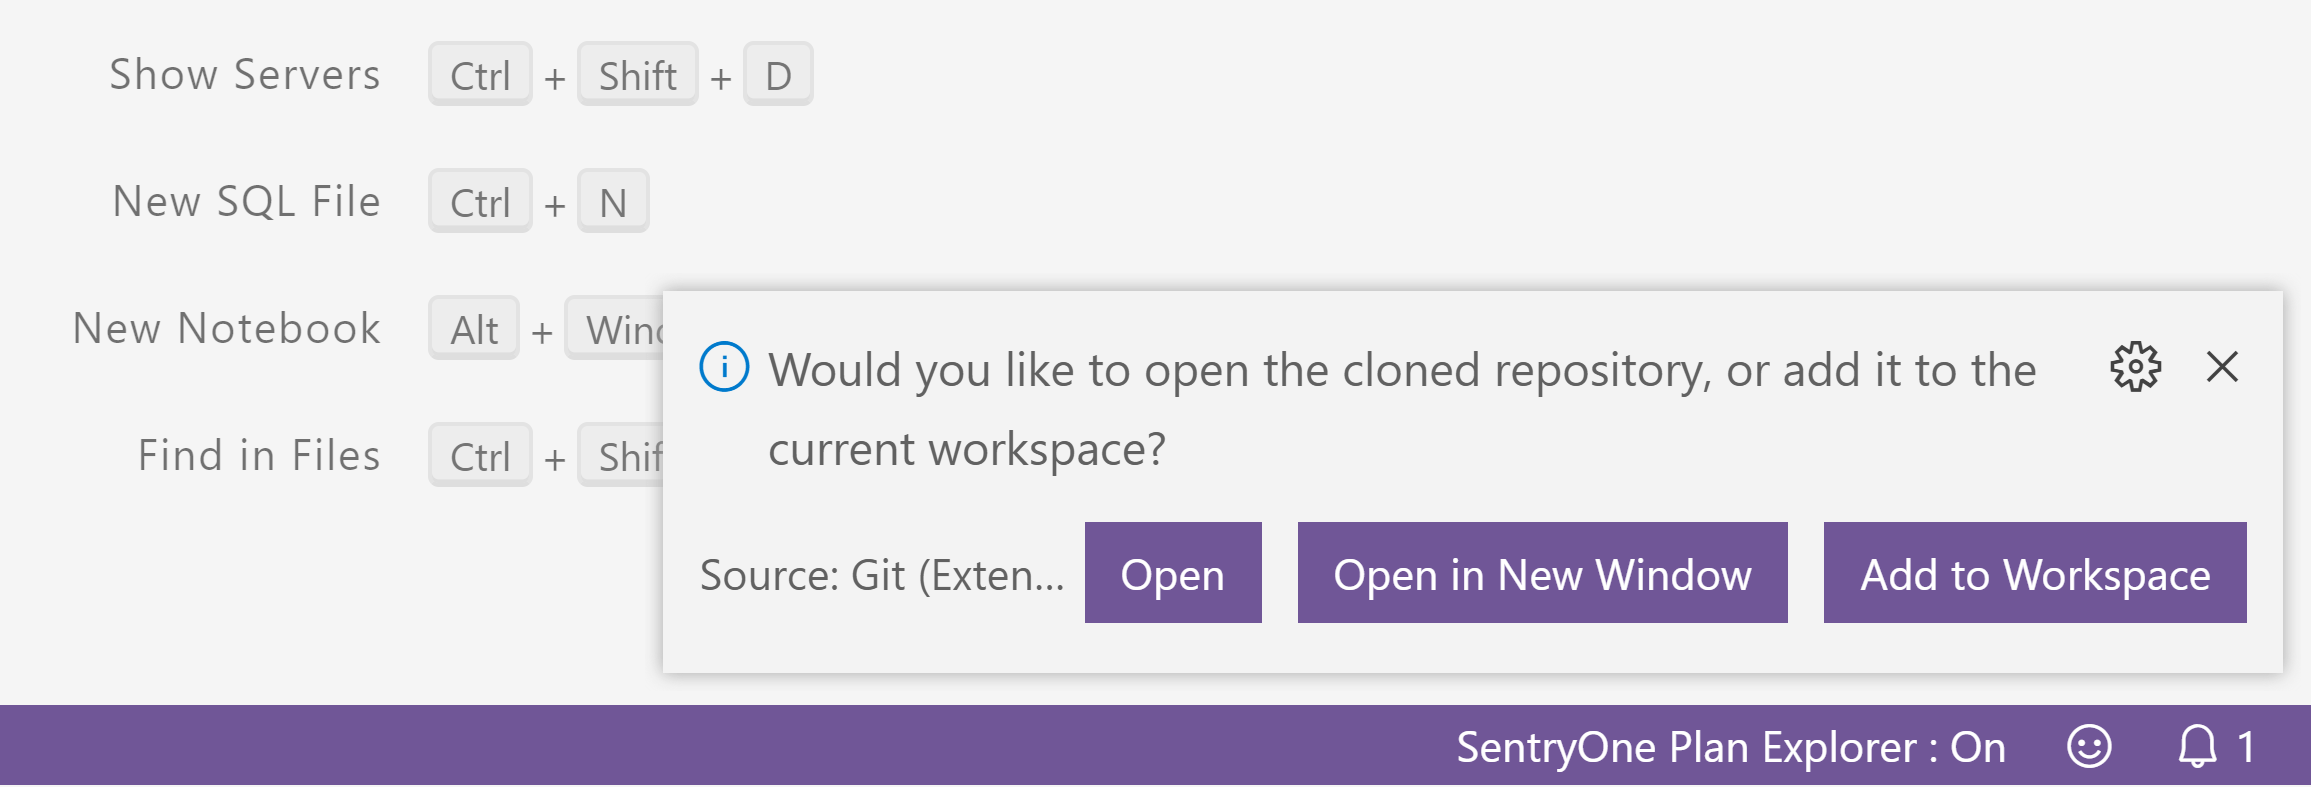
if you click Open it will close anything that you have already got opened and open the folder. If you click Add to Workspace it will add the folder to the workspace and leave everything you already had open as it was and surprisingly clicking Open in New Window will open the folder in a new instance of Visual Studio Code or Azure Data Studio!
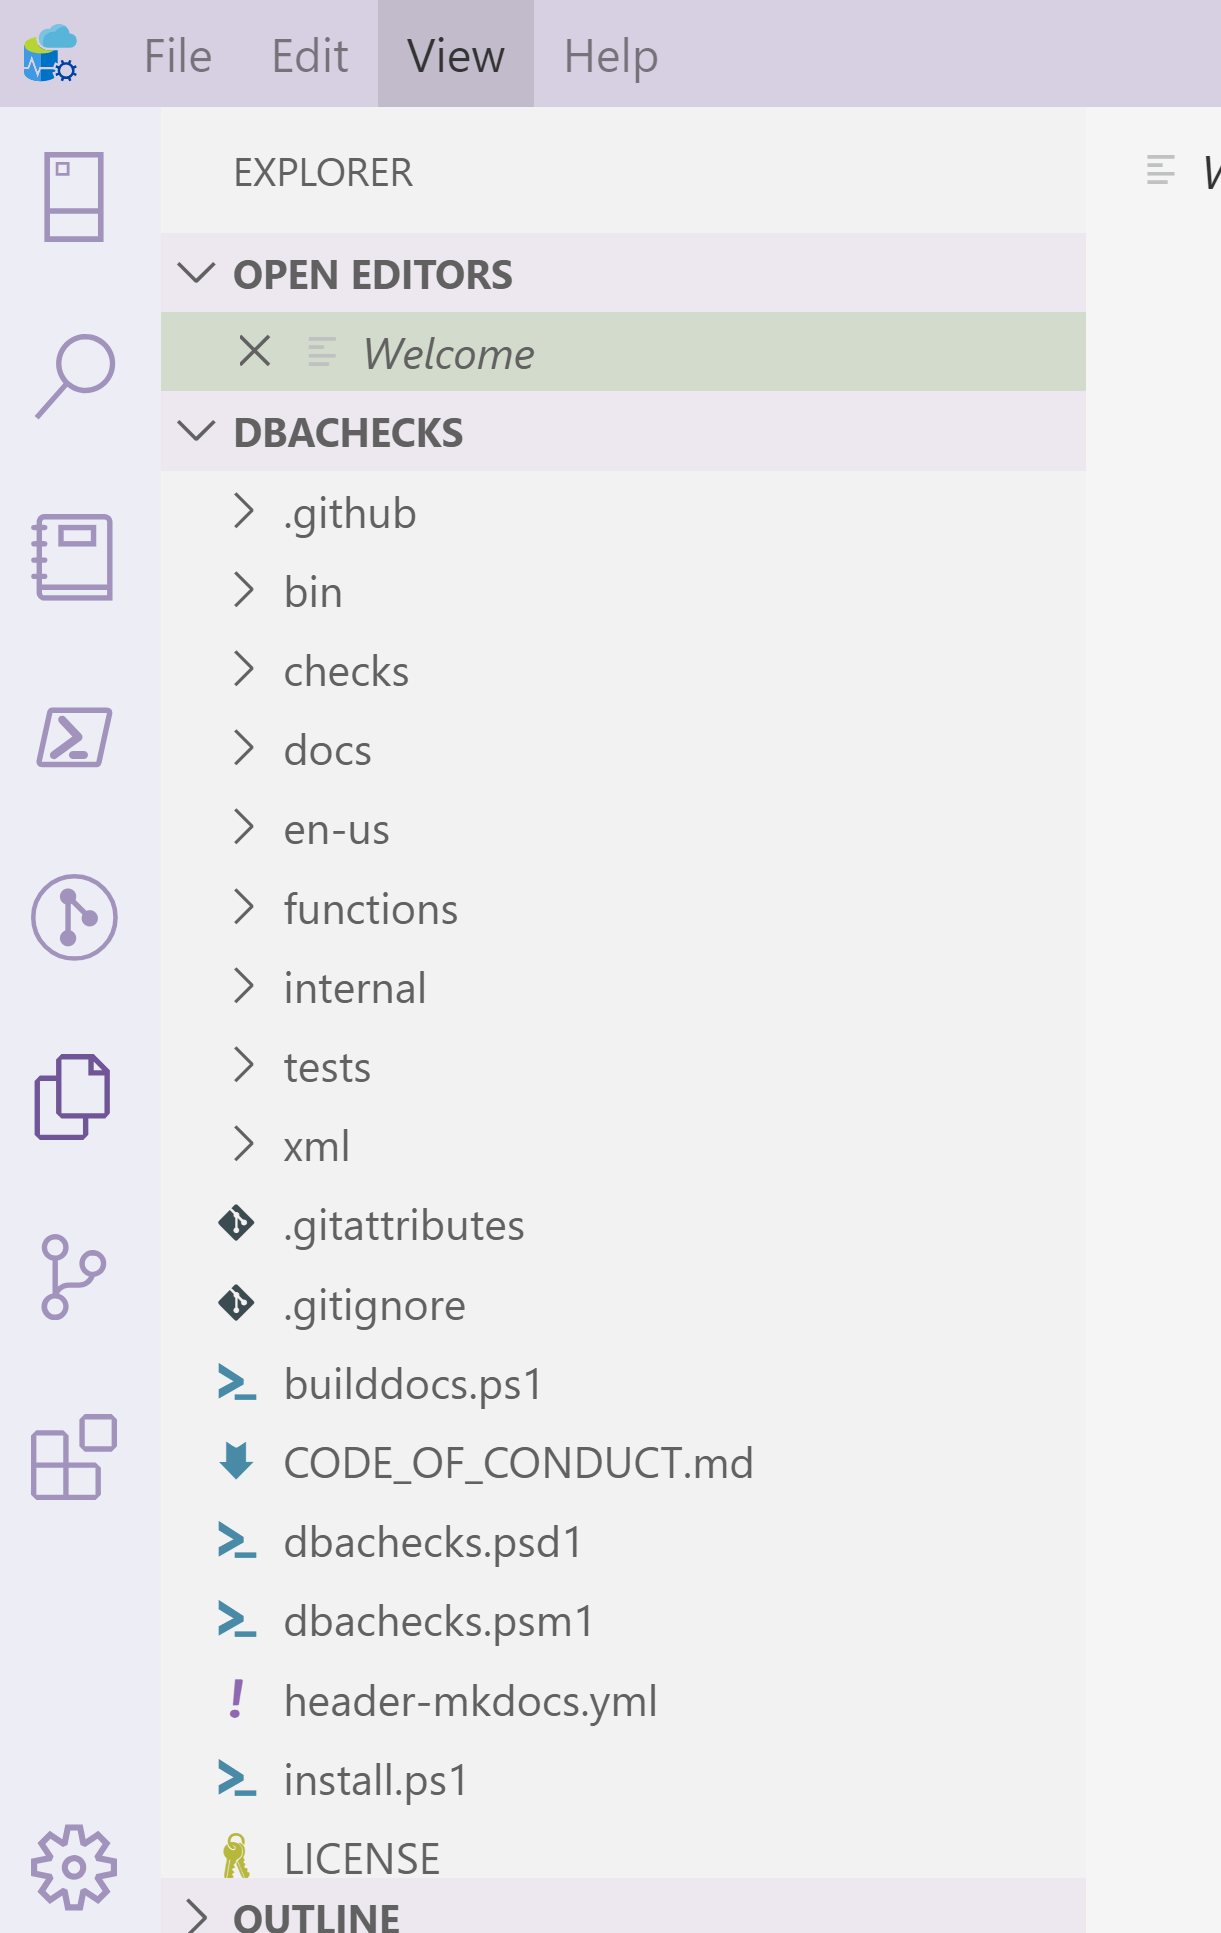
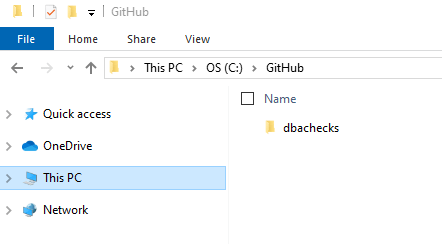
and you will also be able to see the local repository files on your computer
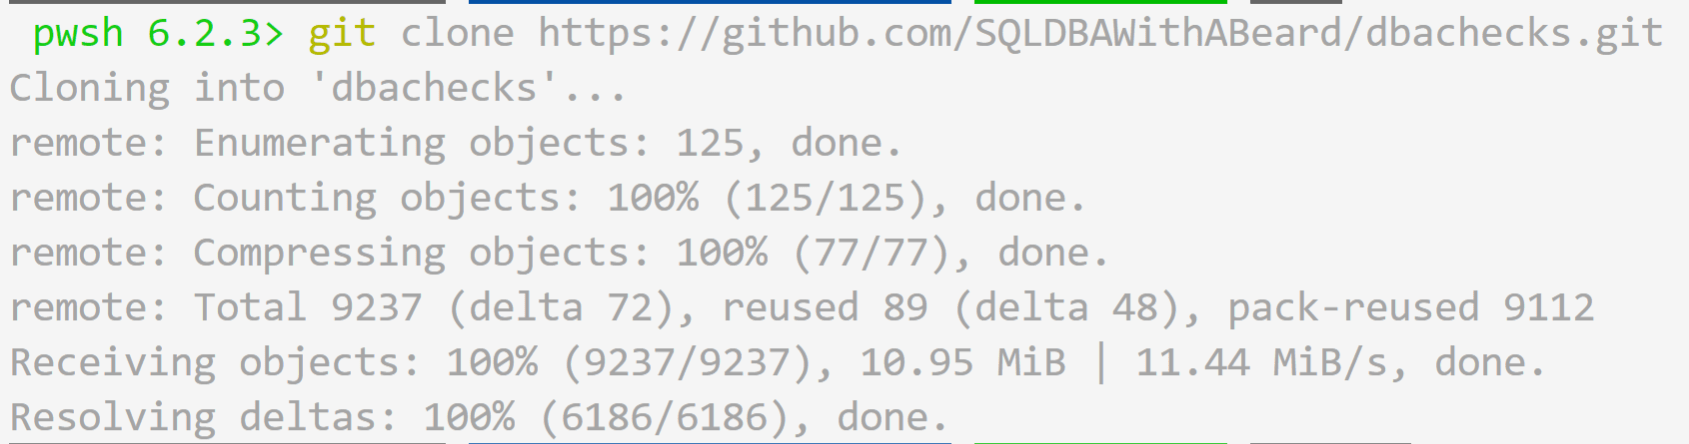
You can clone the repository at the command line if you wish by navigating to your local GitHub directory and running git clone TheURLYouCopied
Now your local repository has been created, it’s time to do your magic coding.
Create a new branch for your changes
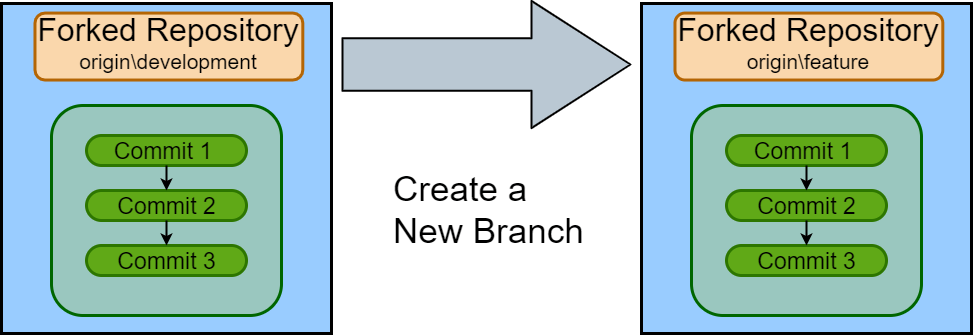
It is a good idea to create a branch for your amazing new feature This enables you to work on coding for that feature in isolation. It has the added advantage that if you mess it right royally up, you can just delete that branch and start again with a new one!
To create a branch in VS Code or Azure Data Studio you can click on the branch name at the bottom left.
Or open the Command Palette and type Branch until you see Git: Create Branch

You will be prompted for a branch name

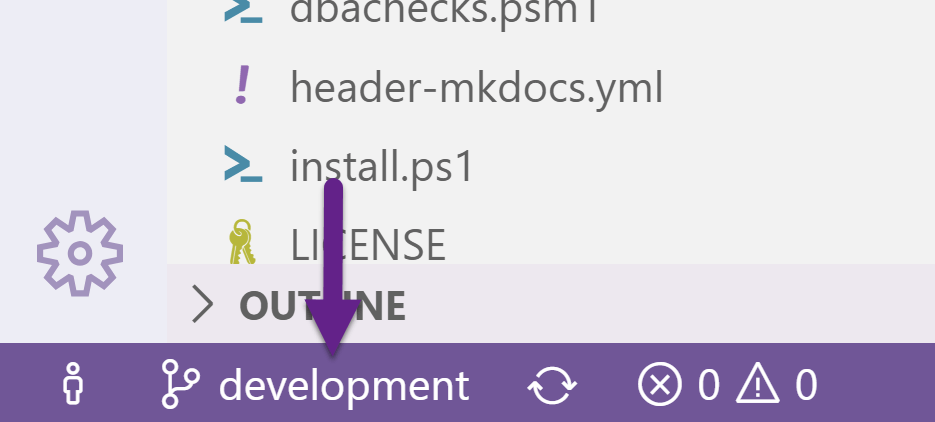
I like to choose a name that relates to the code that I am writing like configurable_engine or removeerroringexample You can see the name of the branch in the bottom left so that you always know which branch you are working on.
The icon shows that the branch is only local and hasn’t been pushed (published) to the remote repository yet
Make some changes and commit them with useful messages
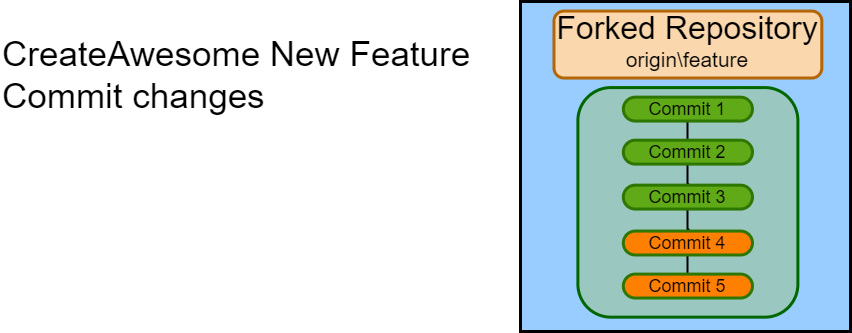
Now you can start writing your code for your awesome new feature, bug fix or maybe just documentation improvement. Keep your commits small and give them useful commit messages that explain why you have made the change as the diff tooling will be able to show what change you have made
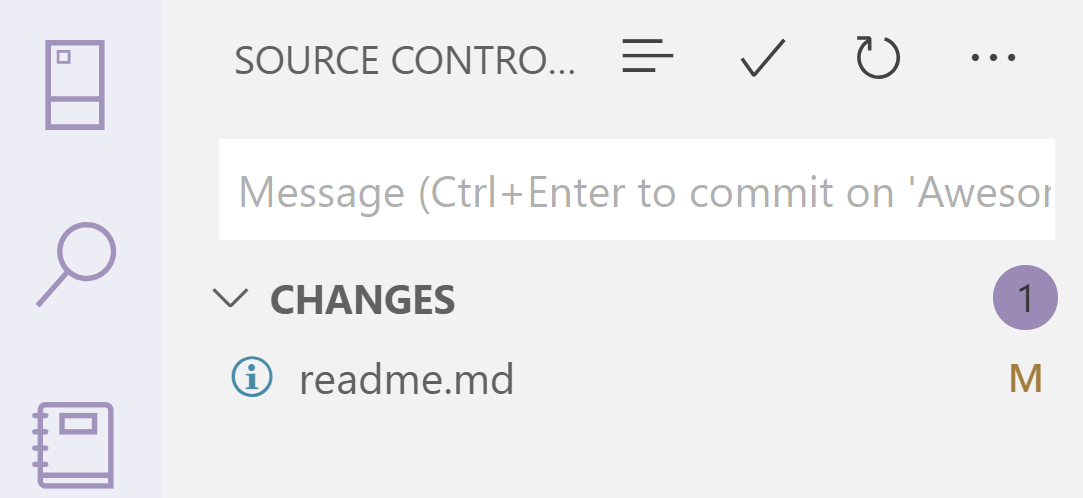
Write your code or change the documentation, save the file and in Visual Studio Code or Azure Data Studio you will see that the source control icon has a number on it
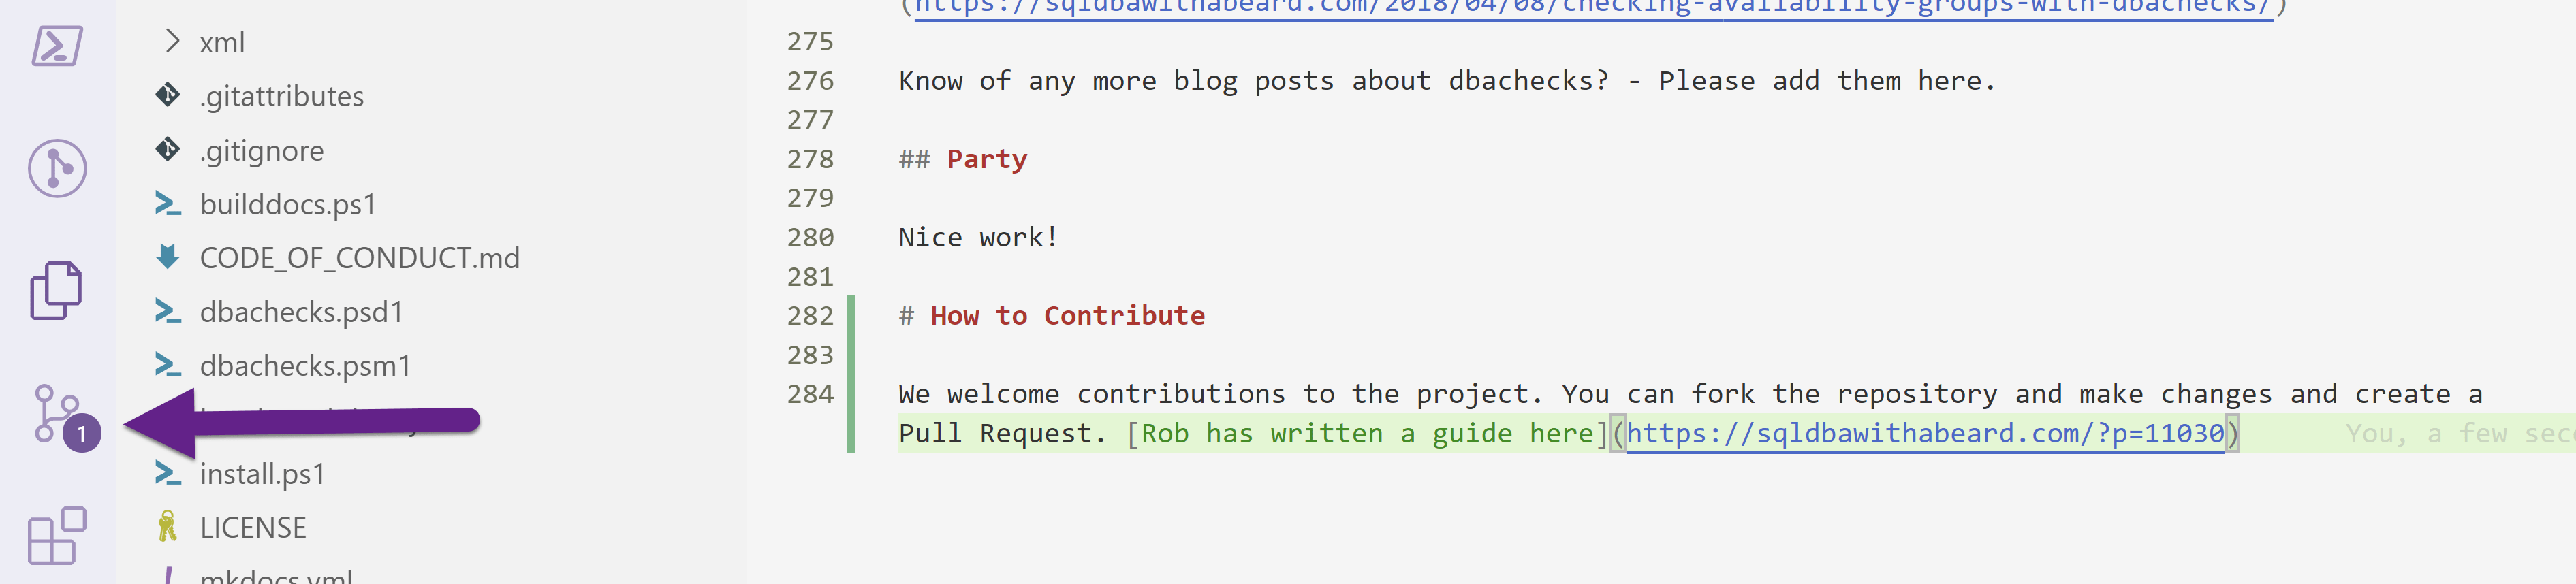
Clicking on the icon will show the files that have changes ready
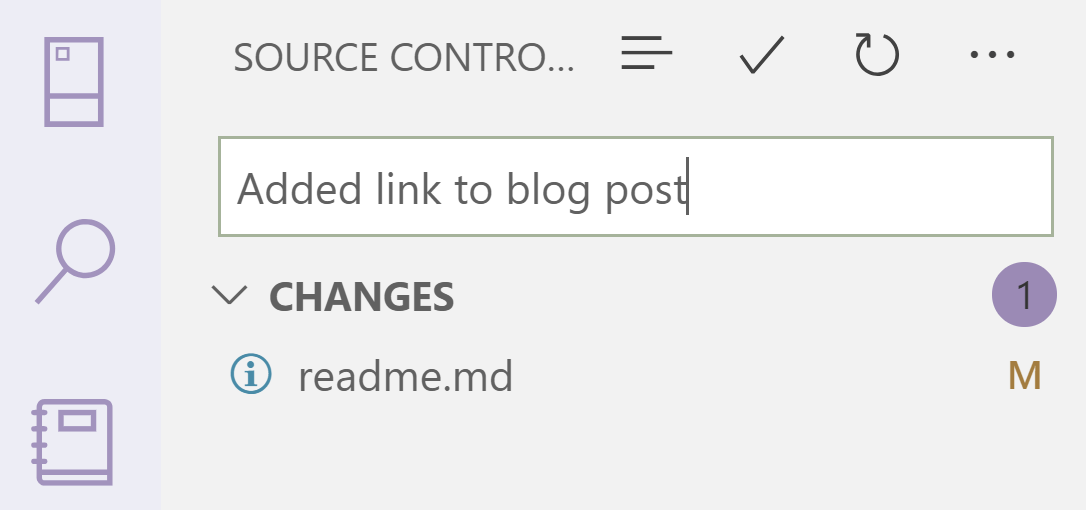
You can write your commit message in the box and click CTRL + ENTER to commit your changes with a message
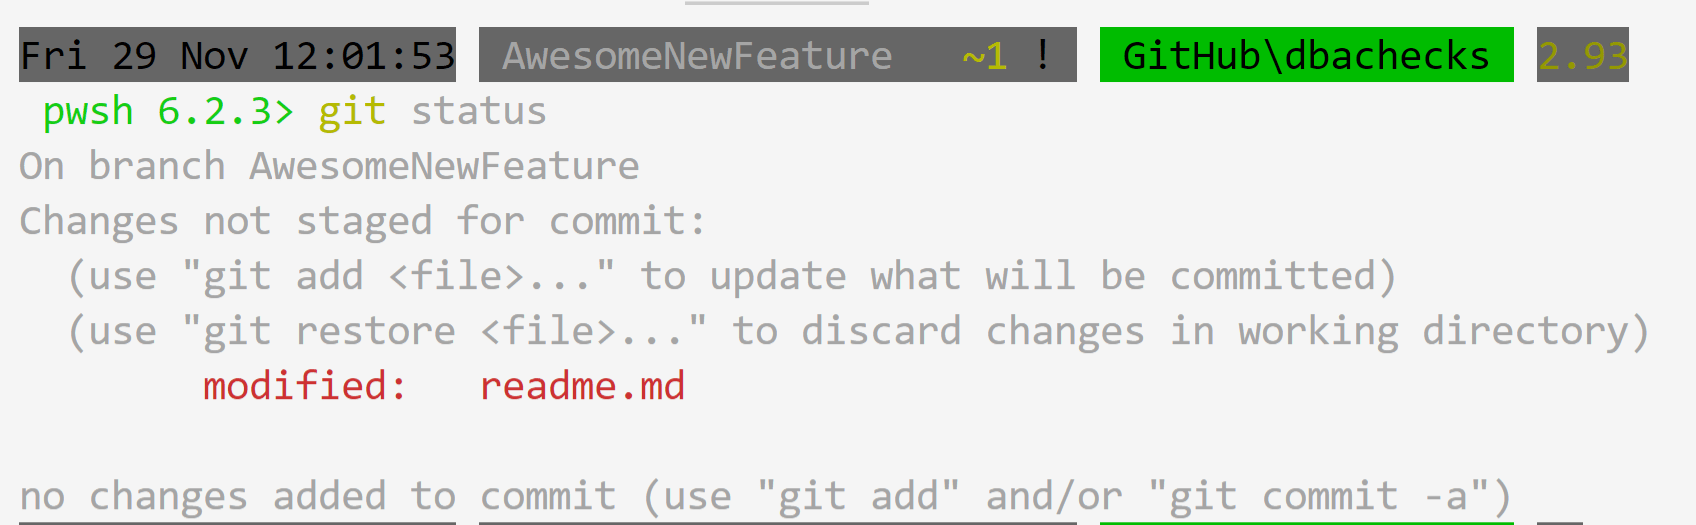
If you want to do this at the command line, you can use git status to see which files have changes
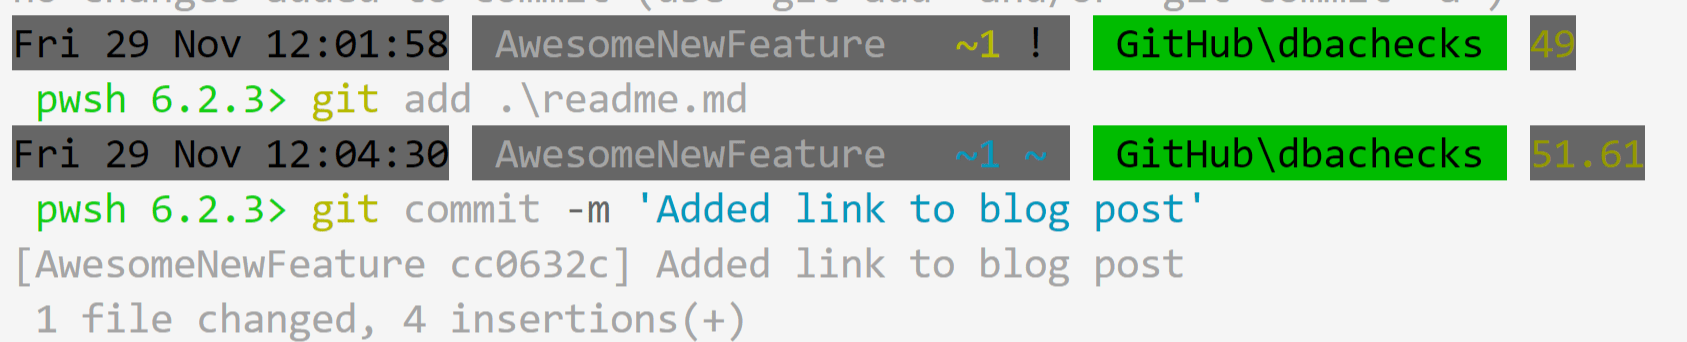
You will need to git add .or git add .\pathtofile to stage your changes ready for committing and then git commit -m 'Commit Message' to commit them
Notice that I did exactly what I just said not to do! A better commit message would have been So that people can find the guide to forking and creating a PR
Push the changes to your repository
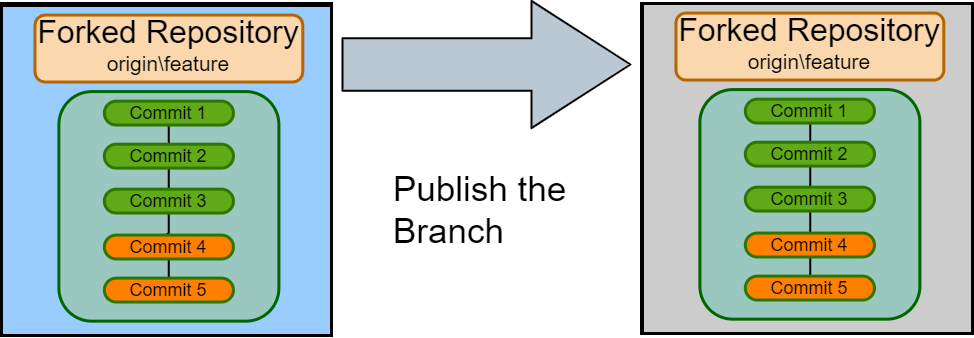
You only have the changes that you have made in your local repository on your computer. Now you need to push those changes to GitHub your remote repository. You can click on the publish icon

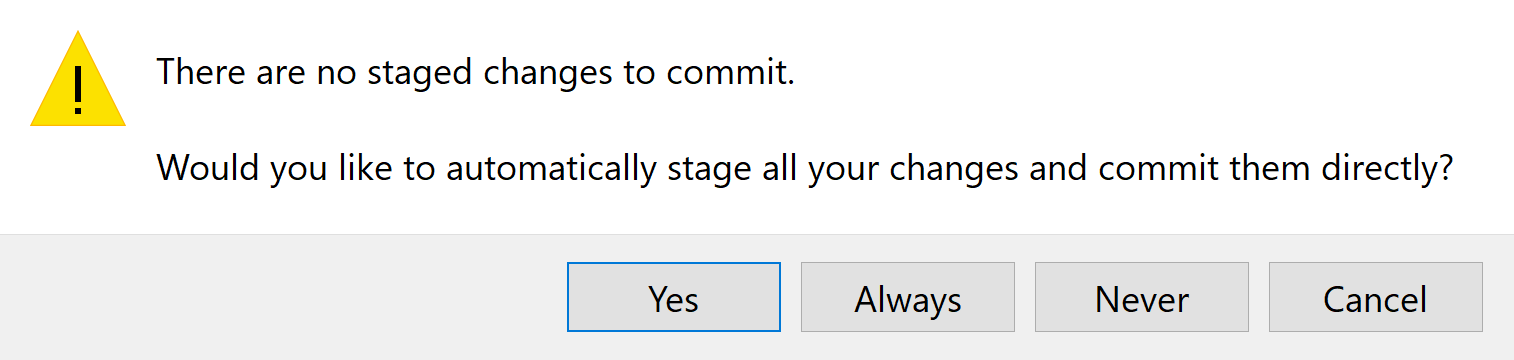
You will get a pop-up asking you if you wish to stage your changes. I click Yes and never Always so that I can use this prompt as a sanity check that I am doing the right thing
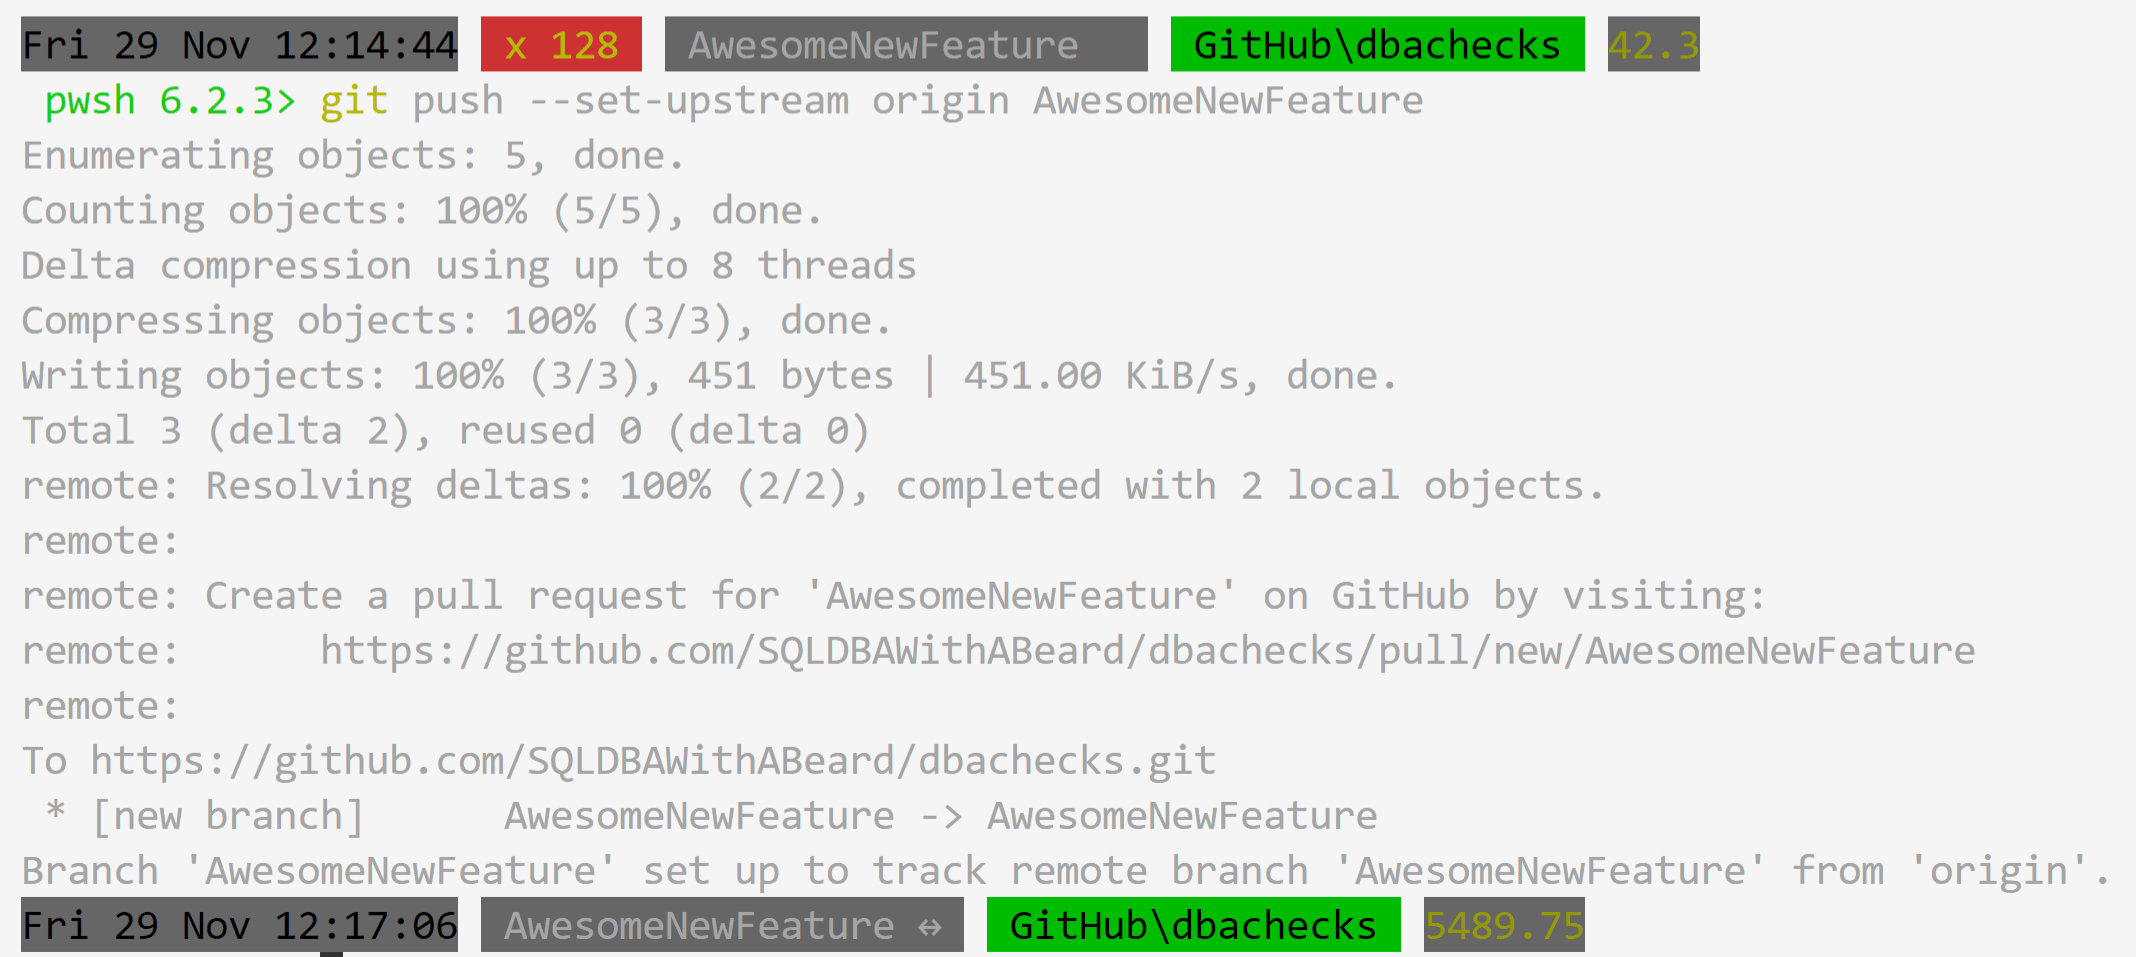
At the command line you can push the branch, if you do that, you will have to tell git where the branch needs to go. If you just type git push it will helpfully tell you

fatal: The current branch AwesomeNewFeature has no upstream branch.
To push the current branch and set the remote as upstream, use

    git push --set-upstream origin AwesomeNewFeature
So you will need to use that command
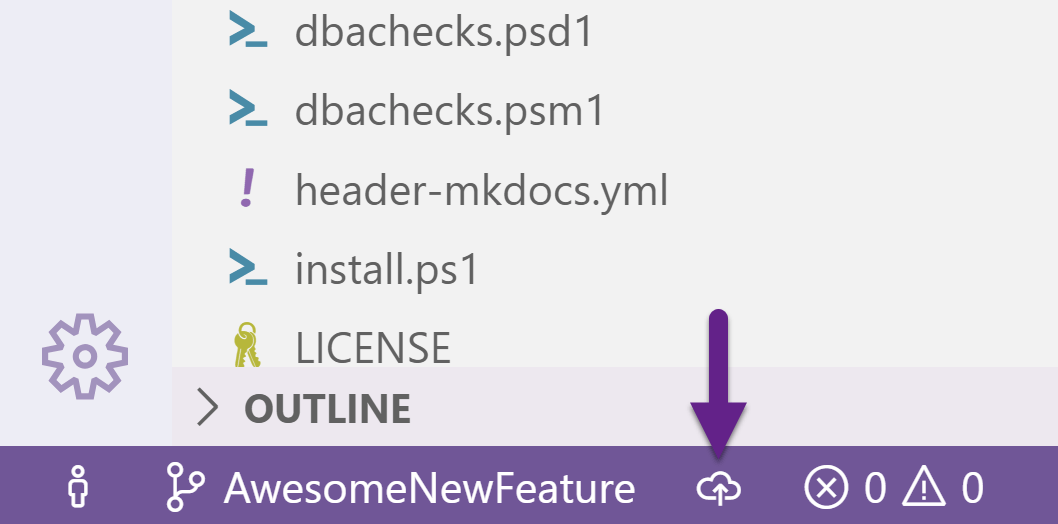
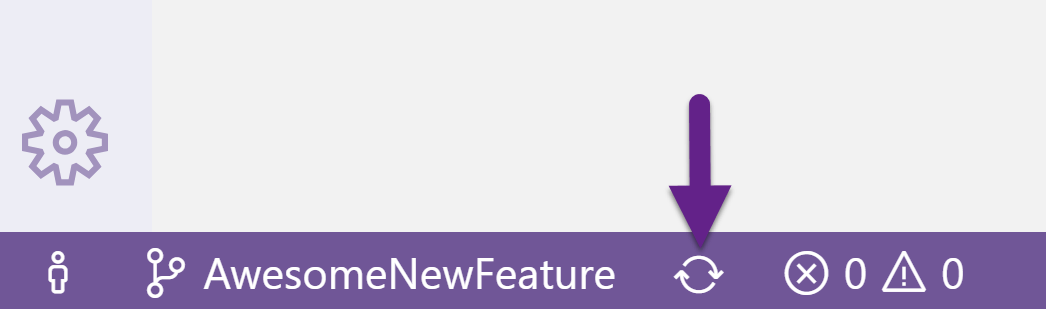
You can see in the bottom left that the icon has changed
and if you read the output of the git push command you will see what the next step is also.
Create a Pull Request from your repository back to the original one
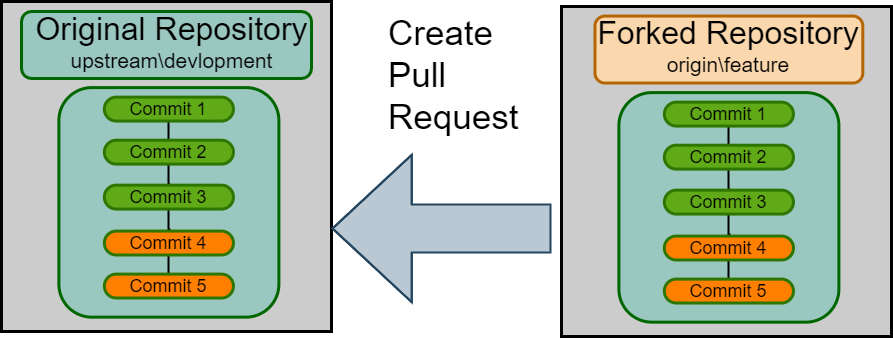
You can CTRL click the link in the git push output if you have pushed from the command line or if you visit either you repository or the original repository in your browser you will see that there is a Compare and Pull Request button
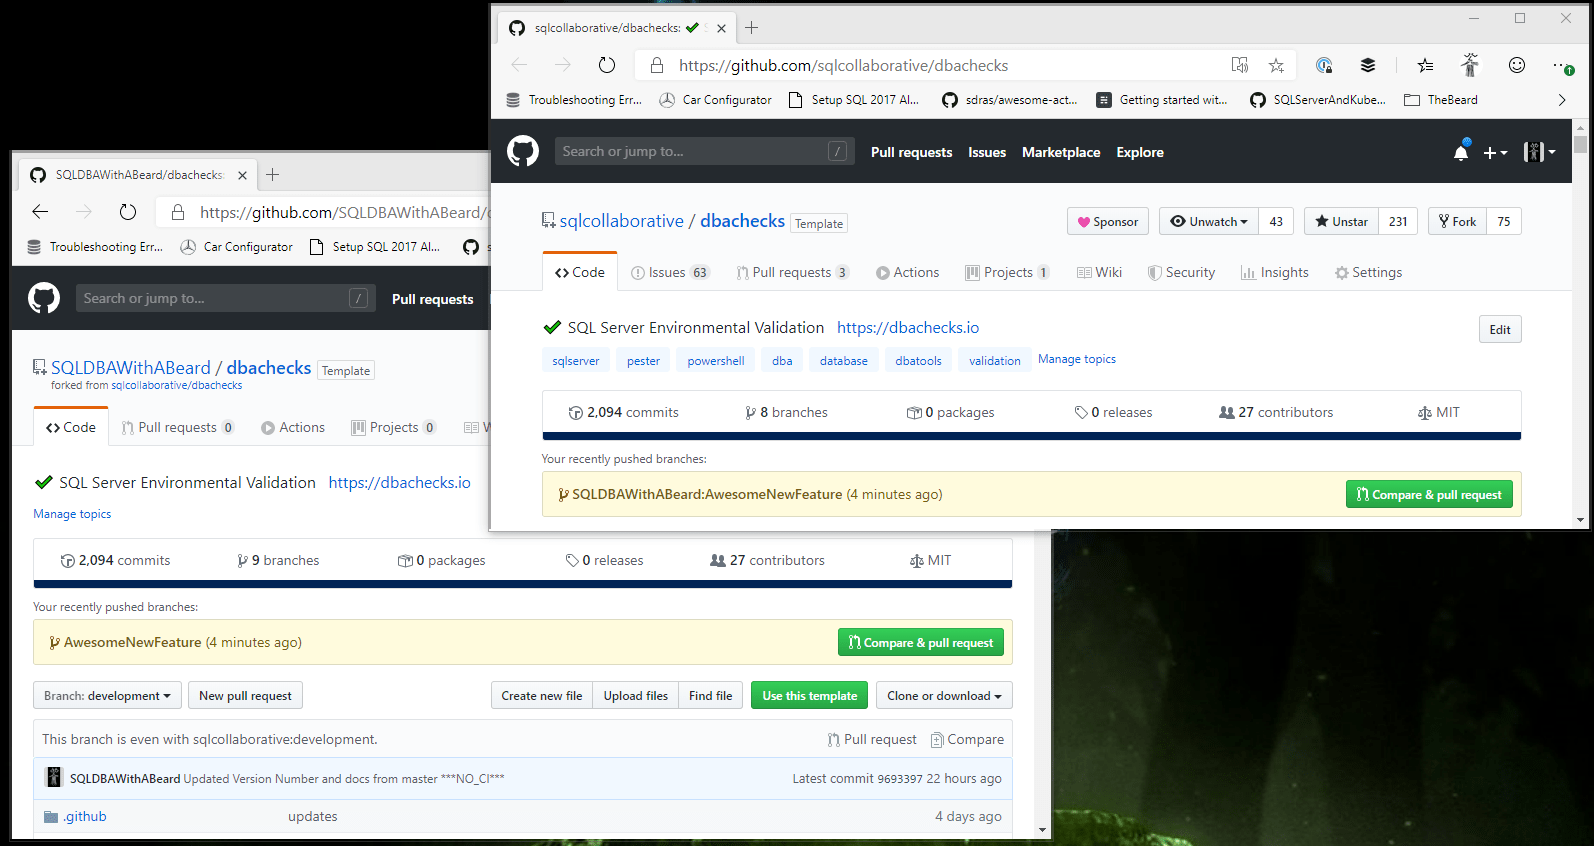
You click that and let GitHub do its magic
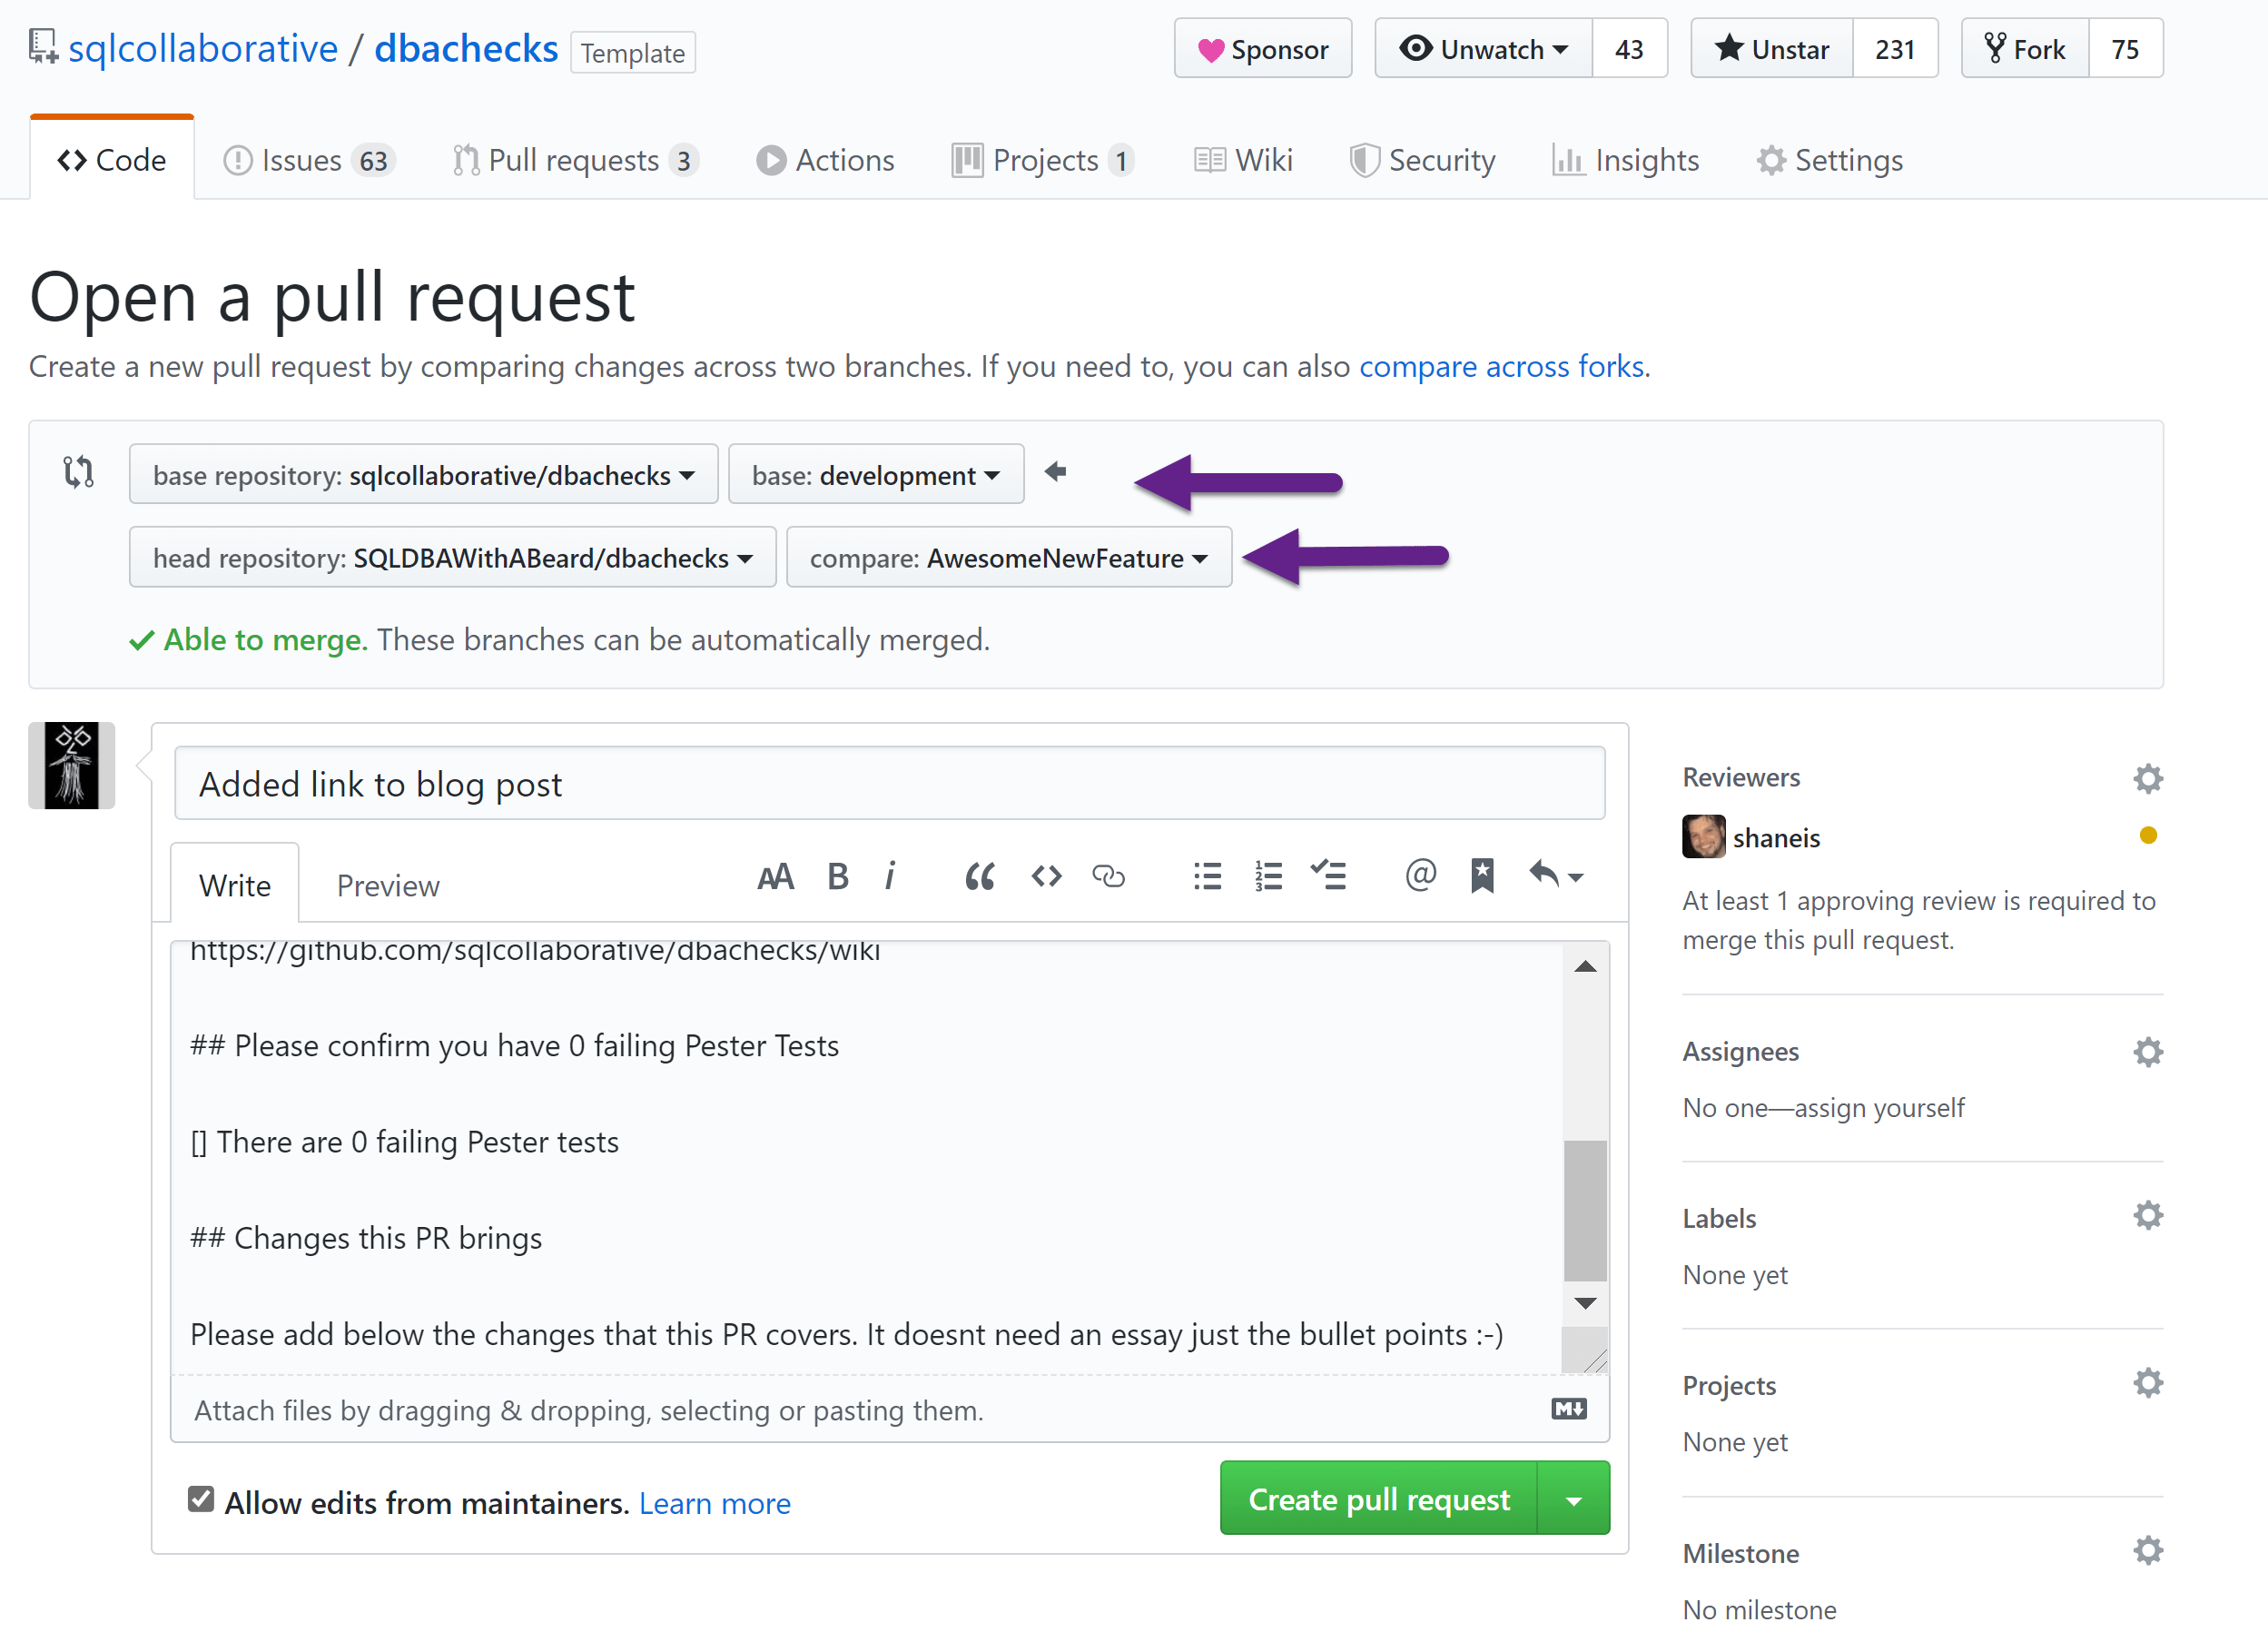
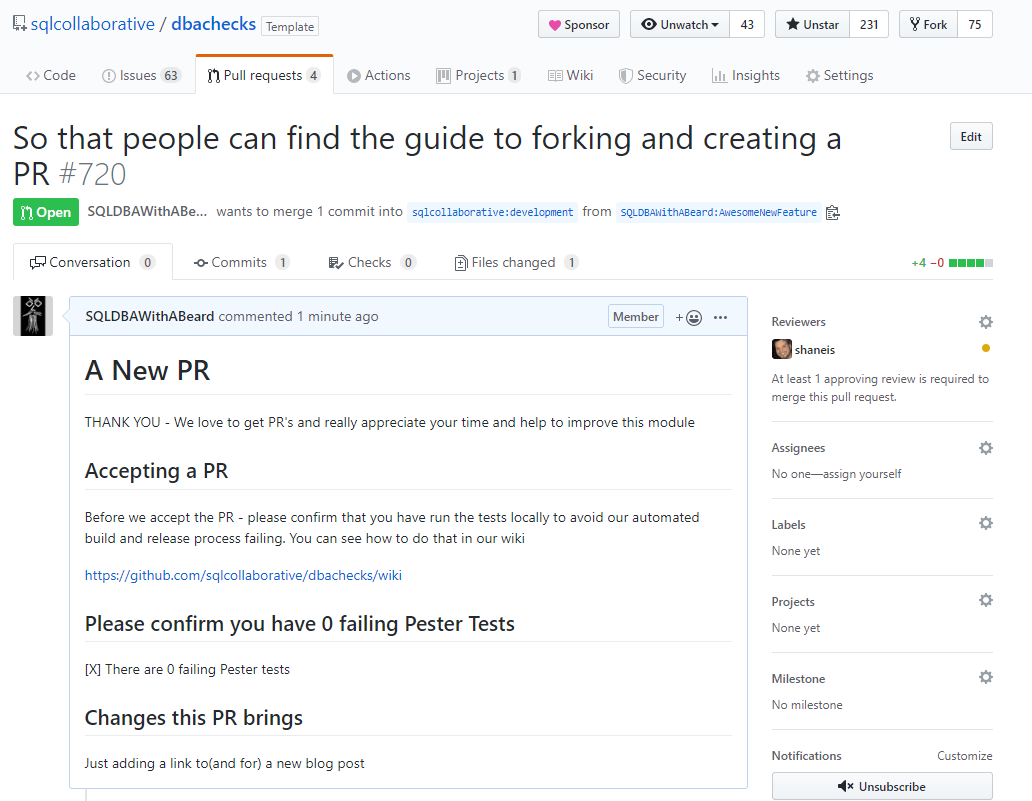
and it will create a Pull Request for you ready for you to fill in the required information, ask for reviewers and other options. Once you have done that you can click Create pull request and wait for the project maintainer to review it and (hopefully) accept it into their project
You can find the Pull Request that I created here https://github.com/sqlcollaborative/dbachecks/pull/720 and see how the rest of this blog post was created.
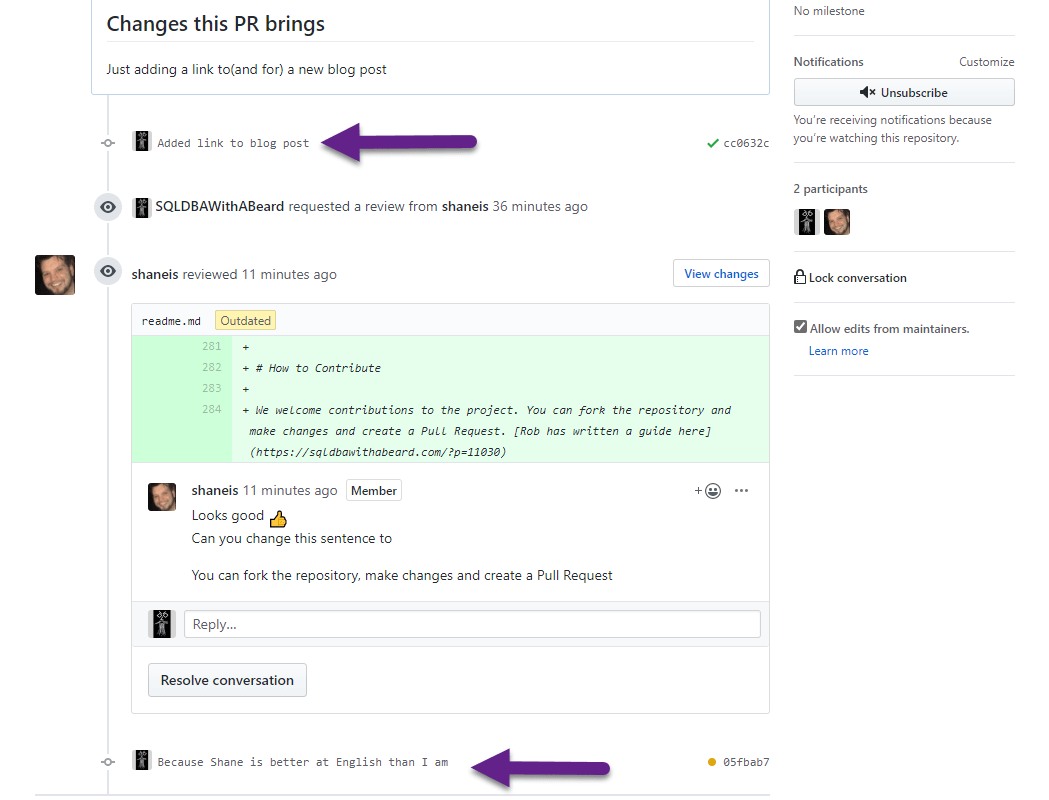
If you make more changes to the code in the same branch in your local repository and push them, they will automatically be added to this Pull Request whilst it is open. You can do this if the maintainer or reviewer asks for changes.
Shane has asked for a change

So I can go to my local repository in Azure Data Studio and make the requested change and save the file. If I look in the source control in Azure Data Studio I can again see there is a change waiting to be committed and if I click on the name of the file I can open the diff tool to see what the change was
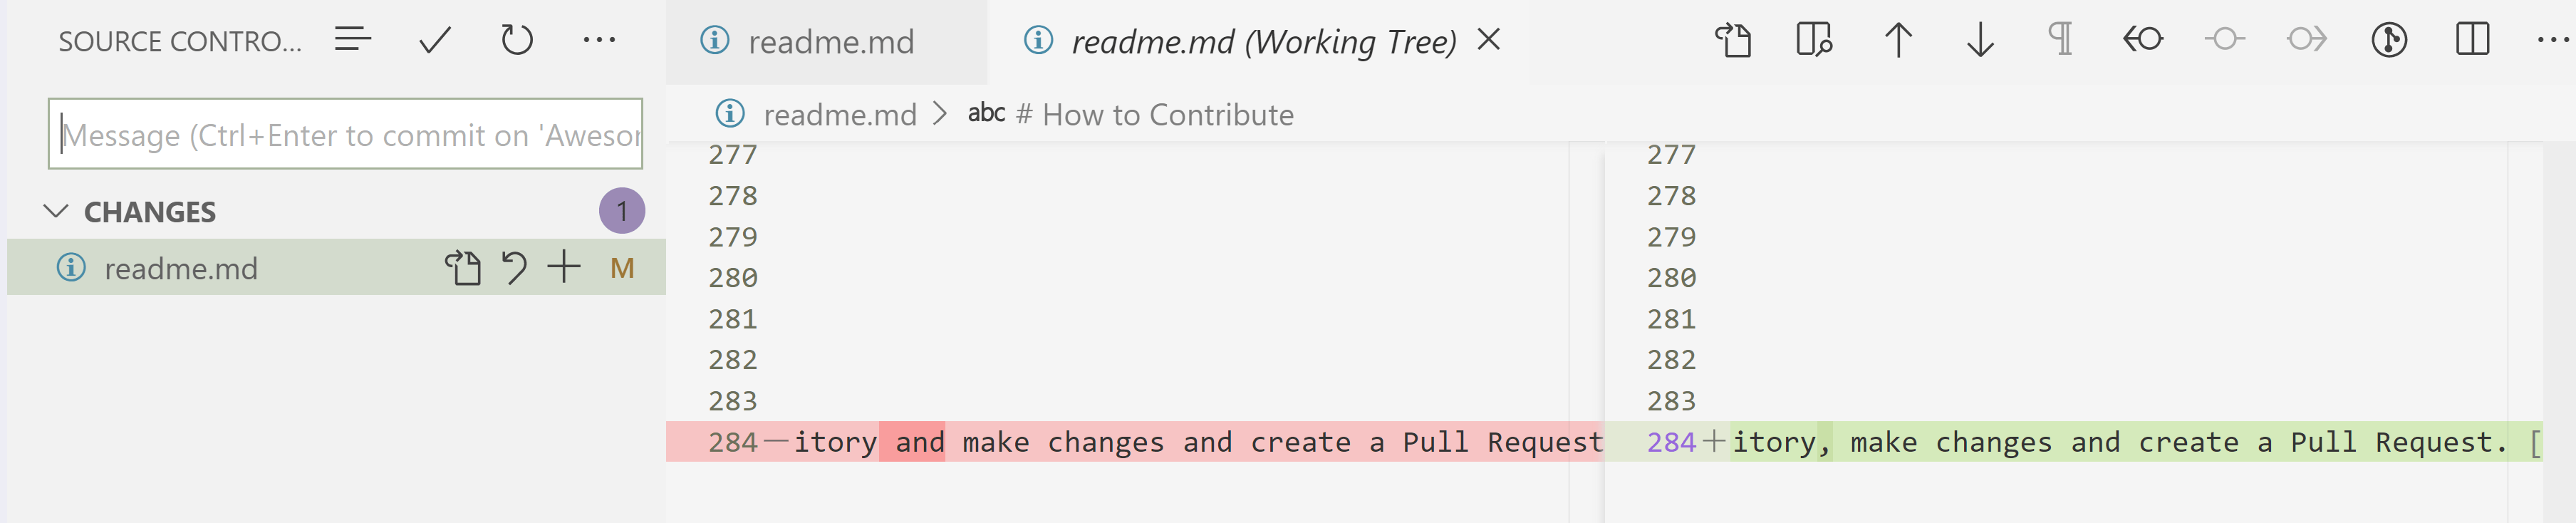
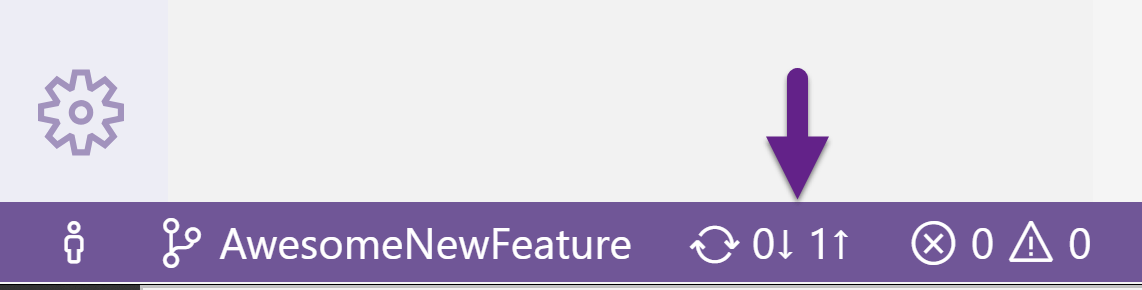
Once I am happy with my change I can commit it again in the same way as before either in the editor or at the command line. The icon at the bottom will change to show that I have one commit in my local repository waiting to be pushed
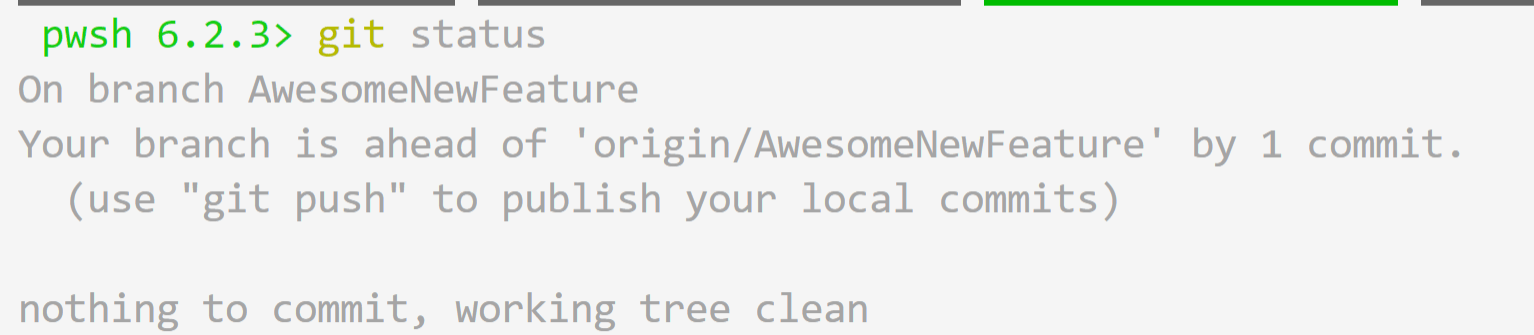
To do the same thing at the command line I can type git status and see the same thing.
I can then push my change to my remote repository either in the GUI or by using git push
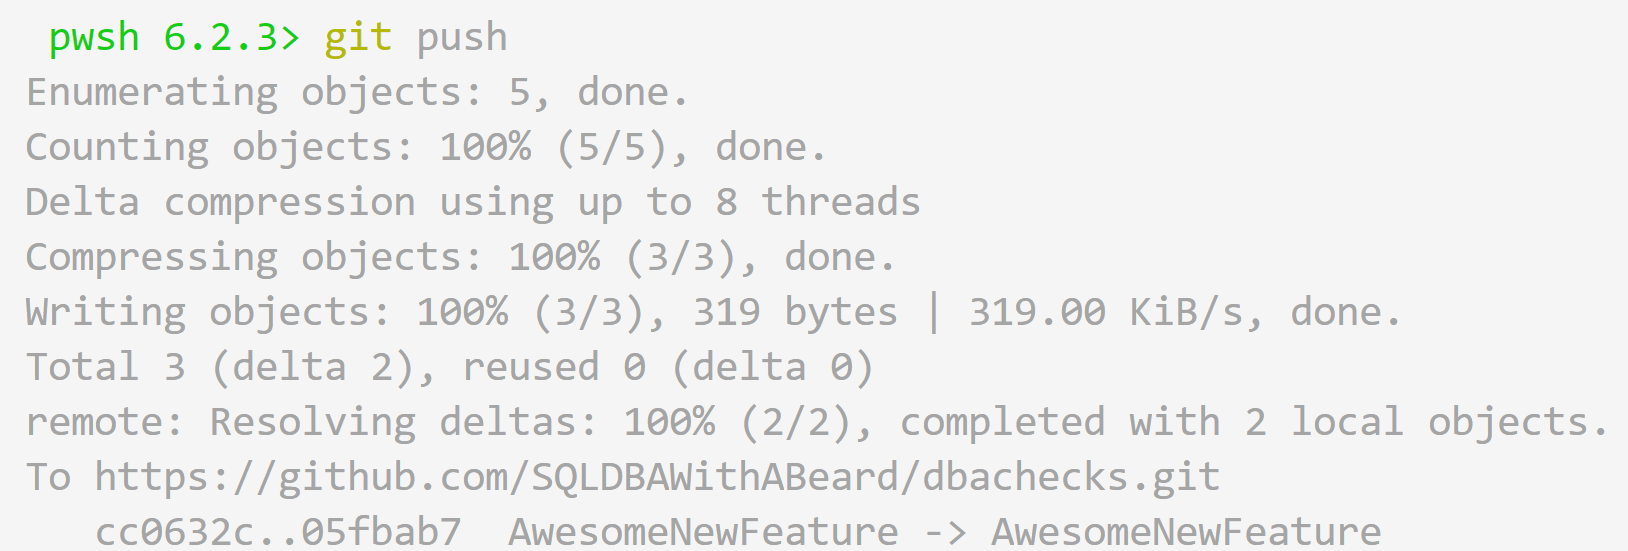
and it will automatically be added to the Pull Request as you can see
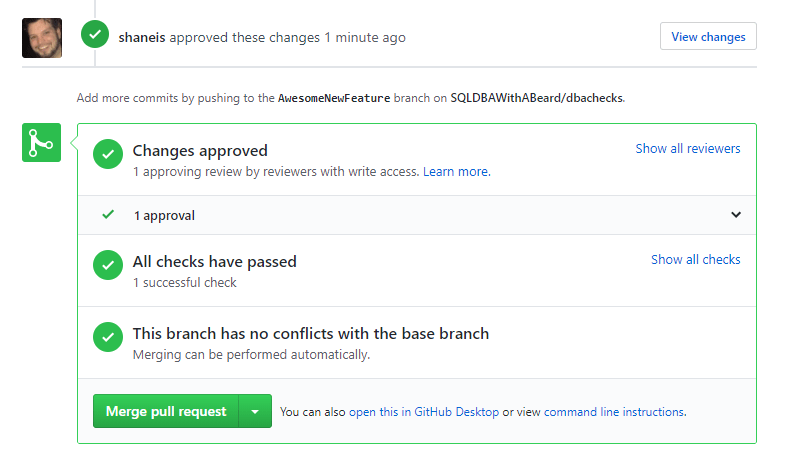
Now that the required changes for the review have been made, the review has been approved by Shane and the pull request is now ready to be merged. (You can also see that dbachecks runs some checks against the code when a Pull Request is made)
Many, many thanks to Shane b | t who helped with the writing of this post even whilst on a “no tech” holiday.
Go Ahead – Contribute to an Open Source Project
Hopefully you can now see how easy it is to create a fork of a GitHub repository, clone it to your own machine and contribute. There are many open source projects that you can contribute to.
You can use this process to contribute to the Microsoft Docs for example by clicking on the edit button on any page.
You can contribute other open source projects like
- PowerShell by Microsoft
- tigertoolbox by Microsoft Tiger Team
- dbatools
- dbachecks
- ADSNotebook
- PSDatabaseClone
- OpenQueryStore by William Durkin and Enrico van de Laar
- sqlwatch by Marcin Gminski
- SQLCop by Redgate
- sp_whoisactive by Adam Machanic
- sql-server-maintenance-solution by Ola Hallengren
- SQL-Server-First-Responder-Kit by Brent Ozar Unlimited
- Pester
- ReportingServicesTools
or go and find the the ones that you use and can help with.