Last weekend I was thinking about how to save the tweets for PowerShell Conference Europe. This annual event occurs in Hanover and this year it is on April 17-20, 2018. The agenda has just been released and you can find it on the website http://www.psconf.eu/
I ended up creating an interactive PowerBi report to which my good friend and Data Platform MVP Paul Andrew b | t added a bit of magic and I published it. The magnificent Tobias Weltner b | t who organises PSConfEU pointed the domain name http://powershell.cool at the link. It looks like this.
During the monthly #PSTweetChat
Reminder that we do this chat the first Friday of every month from 1-2PM Eastern which I think is 6:00PM UTC #pstweetchat
— Jeffery Hicks (@JeffHicks) February 2, 2018
I mentioned that I need to blog about how I created it and Jeff replied
Yes, please. I’d love to setup something similiar for the PowerShell+DevOps Summit. #pstweetchat
— Jeffery Hicks (@JeffHicks) February 2, 2018
so here it is! Looking forward to seeing the comparison between the PowerShell and Devops Summit and the PowerShell Conference Europe 🙂
This is an overview of how it works
- A Microsoft Flow looks for tweets with the #PSConfEU hashtag and then gets the information about the tweet
- Microsoft Cognitive Services Text Analysis API analyses the sentiment of the tweet and provides a score between 0 (negative) and 1 (positive)
- Details about the tweet and the sentiment are saved in Azure SQL database
- A PowerBi report uses that data and provides the report
You will find all of the resources and the scripts to do all of the below in the GitHub repo. So clone it and navigate to the filepath
Create Database
First lets create a database. Connect to your Azure subscription
## Log in to your Azure subscription using the     Add-AzureRmAccount command and follow the     on-screen directions.

 Add-AzureRmAccount

## Select the subscription

Set-AzureRmContext -SubscriptionId YourSubscriptionIDHere
Then set some variables
# The data center and resource name for your     resources
$resourcegroupname = "twitterresource"
$location = "WestEurope"
# The logical server name: Use a random value     or replace with your own value (do not     capitalize)
$servername = "server-$(Get-Random)"
# Set an admin login and password for your     database
# The login information for the server You     need to set these and uncomment them - Dont     use these values

# $adminlogin = "ServerAdmin"
# $password = "ChangeYourAdminPassword1"

# The ip address range that you want to allow     to access your server - change as appropriate
# $startip = "0.0.0.0"
# $endip = "0.0.0.0"

# To just add your own IP Address
$startip = $endip = (Invoke-WebRequest 'http://    myexternalip.com/raw').Content -replace "`n"

# The database name
$databasename = "tweets"

$AzureSQLServer = "$servername.database.    windows.net,1433"
$Table = "table.sql"
$Proc = "InsertTweets.sql"
They should all make sense, take note that you need to set and uncomment the login and password and choose which IPs to allow through the firewall
Create a Resource Group
## Create a resource group

New-AzureRmResourceGroup -Name     $resourcegroupname -Location $location
Create a SQL Server
## Create a Server

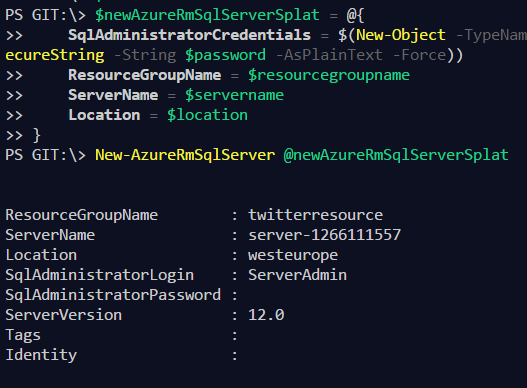
$newAzureRmSqlServerSplat = @{
    SqlAdministratorCredentials =     $SqlAdministratorCredentials
    ResourceGroupName = $resourcegroupname
    ServerName = $servername
    Location = $location
}
New-AzureRmSqlServer @newAzureRmSqlServerSplat
Create a firewall rule, I just use my own IP and add the allow azure IPs
$newAzureRmSqlServerFirewallRuleSplat = @{
    EndIpAddress = $endip
    StartIpAddress = $startip
    ServerName = $servername
    ResourceGroupName = $resourcegroupname
    FirewallRuleName = "AllowSome"
}
New-AzureRmSqlServerFirewallRule     @newAzureRmSqlServerFirewallRuleSplat

# Allow Azure IPS

$newAzureRmSqlServerFirewallRuleSplat = @{
    AllowAllAzureIPs = $true
    ServerName = $servername
    ResourceGroupName = $resourcegroupname
}
New-AzureRmSqlServerFirewallRule @newAzureRmSqlServerFirewallRuleSplat
Create a database
# Create a database

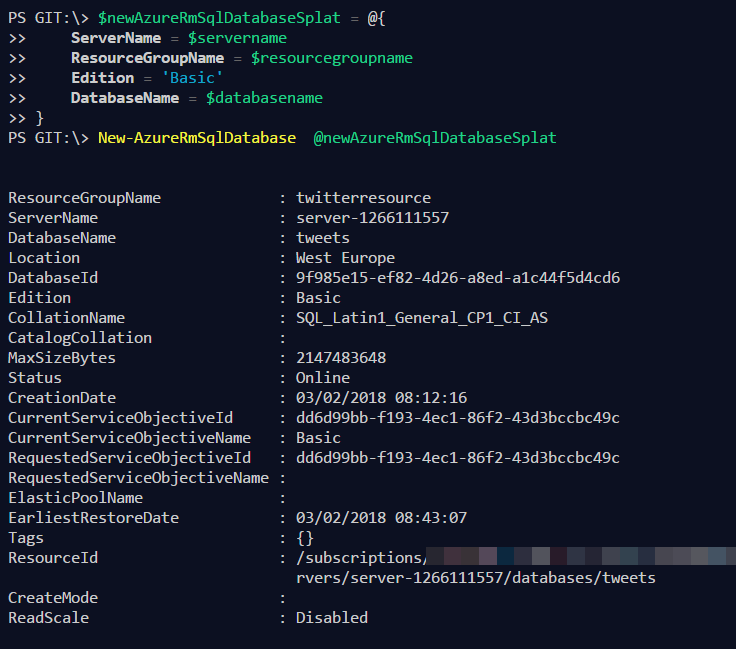
$newAzureRmSqlDatabaseSplat = @{
    ServerName = $servername
    ResourceGroupName = $resourcegroupname
    Edition = 'Basic'
    DatabaseName = $databasename
}
New-AzureRmSqlDatabase  @newAzureRmSqlDatabaseSplat
I have used the dbatools module to run the scripts to create the database. You can get it using
Install-Module dbatools # -Scope CurrentUser #     if not admin process

Run the scripts

# Create a credential

$newObjectSplat = @{
    ArgumentList = $adminlogin, $    (ConvertTo-SecureString -String $password     -AsPlainText -Force)
    TypeName = 'System.Management.Automation.    PSCredential'
}
$SqlAdministratorCredentials = New-Object     @newObjectSplat

## Using dbatools module

$invokeDbaSqlCmdSplat = @{
    SqlCredential =     $SqlAdministratorCredentials
    Database = $databasename
    File = $Table,$Proc
    SqlInstance = $AzureSQLServer
}
Invoke-DbaSqlCmd @invokeDbaSqlCmdSplat
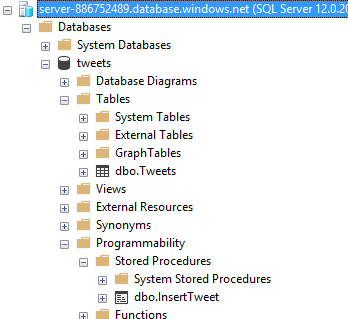
This will have created the following in Azure, you can see it in the portal

You can connect to the database in SSMS and you will see
Create Cognitive Services
Now you can create the Text Analysis Cognitive Services API
First login (if you need to) and set some variables
## This creates cognitive services for     analysing the tweets

## Log in to your Azure subscription using the     Add-AzureRmAccount command and follow the     on-screen directions.

Add-AzureRmAccount

## Select the subscription

Set-AzureRmContext -SubscriptionId YOUR     SUBSCRIPTION ID HERE

#region variables
# The data center and resource name for your     resources
$resourcegroupname = "twitterresource"
$location = "WestEurope"
$APIName = 'TweetAnalysis'
#endregion

Then create the API and get the key

#Create the cognitive services

$newAzureRmCognitiveServicesAccountSplat = @{
    ResourceGroupName = $resourcegroupname
    Location = $location
    SkuName = 'F0'
    Name = $APIName
    Type = 'TextAnalytics'
}
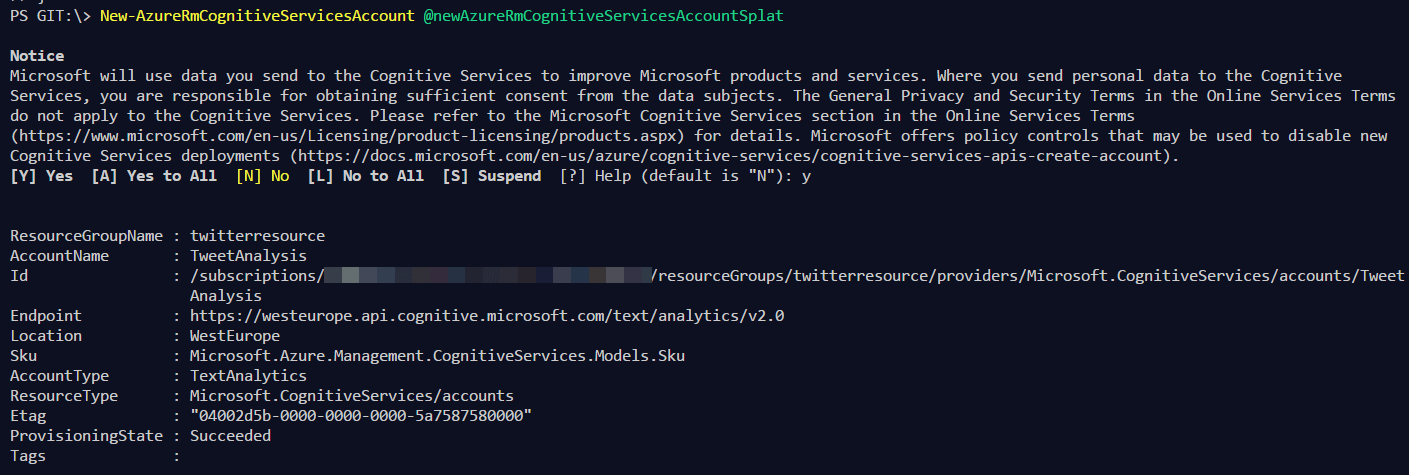
New-AzureRmCognitiveServicesAccount     @newAzureRmCognitiveServicesAccountSplat

# Get the Key

$getAzureRmCognitiveServicesAccountKeySplat = @    {
    Name = $APIName
    ResourceGroupName = $resourcegroupname
}
Get-AzureRmCognitiveServicesAccountKey @getAzureRmCognitiveServicesAccountKeySplat
You will need to accept the prompt
Copy the Endpoint URL as you will need it.Then save one of the keys for the next step!
Create the Flow
I have exported the Flow to a zip file and also the json for a PowerApp (no details about that in this post). Both are available in the GitHub repo. I have submitted a template but it is not available yet.
Navigate to https://flow.microsoft.com/ and sign in
Creating Connections
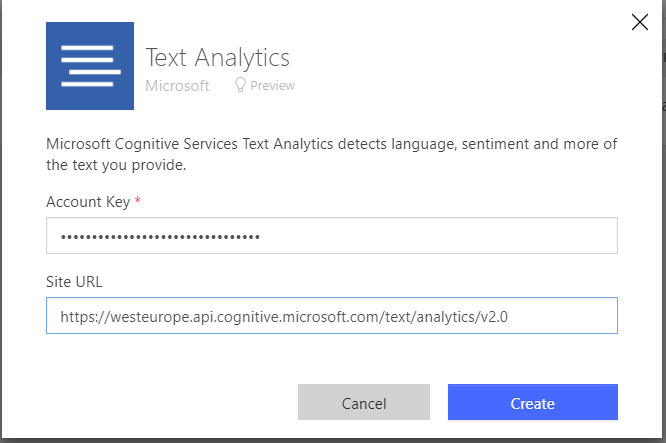
You will need to set up your connections. Click New Connection and search for Text
Click Add and fill in the Account Key and the Site URL from the steps above
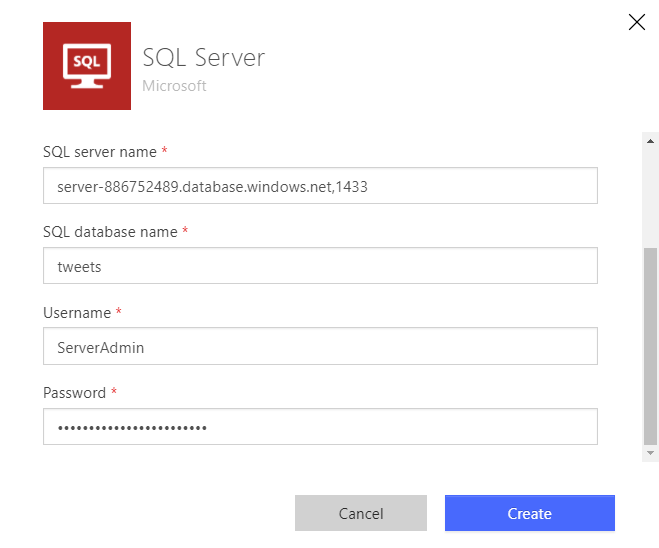
click new connection and search for SQL Server
Enter the SQL Server Name (value of $AzureSQLServer) , Database Name , User Name and Password from the steps above
Click new Connection and search for Twitter and create a connection (the authorisation pop-up may be hidden behind other windows!)
Import the Flow
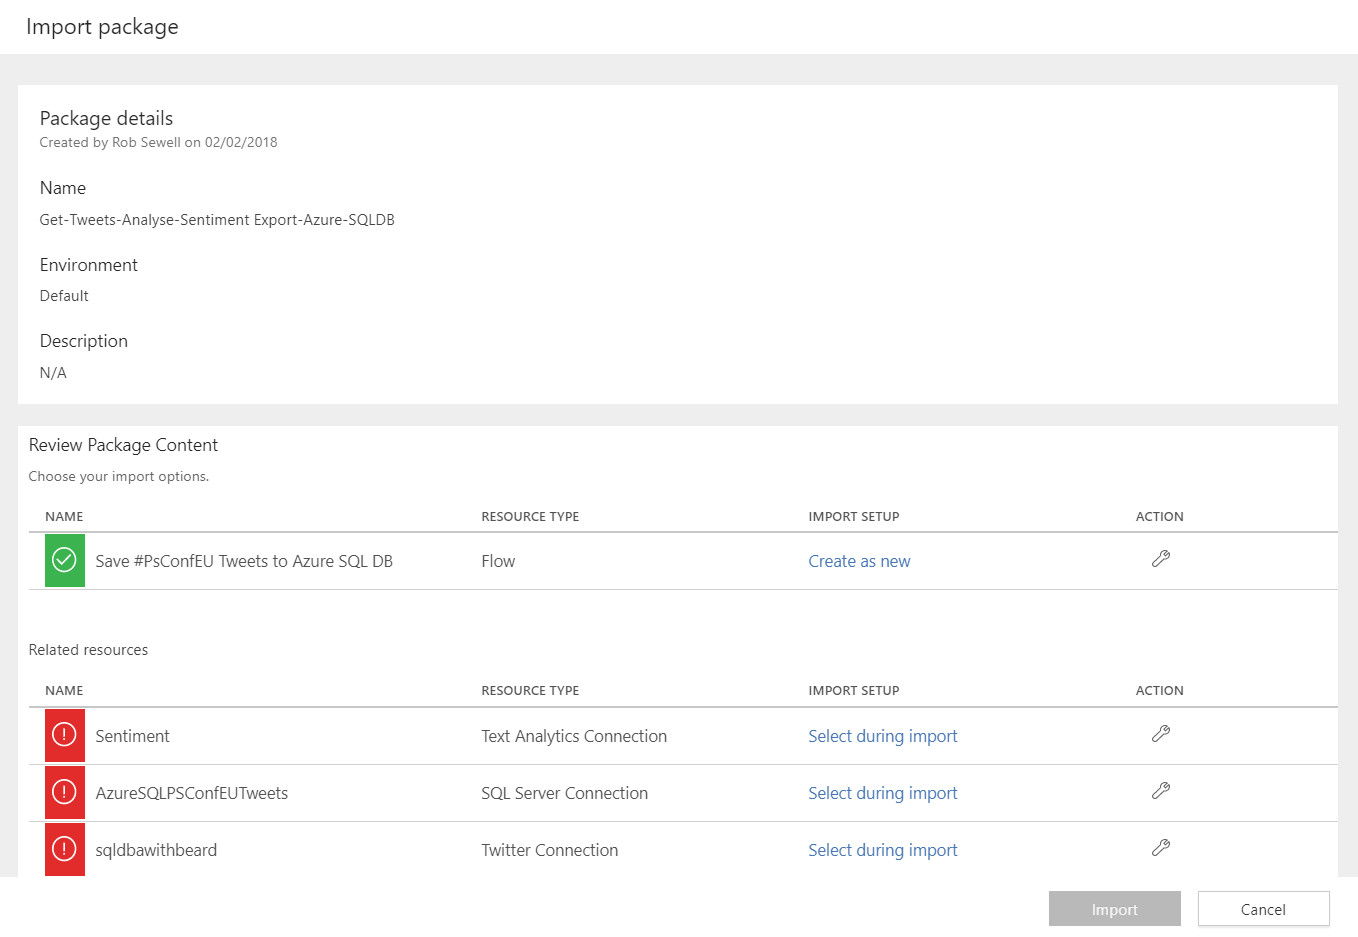
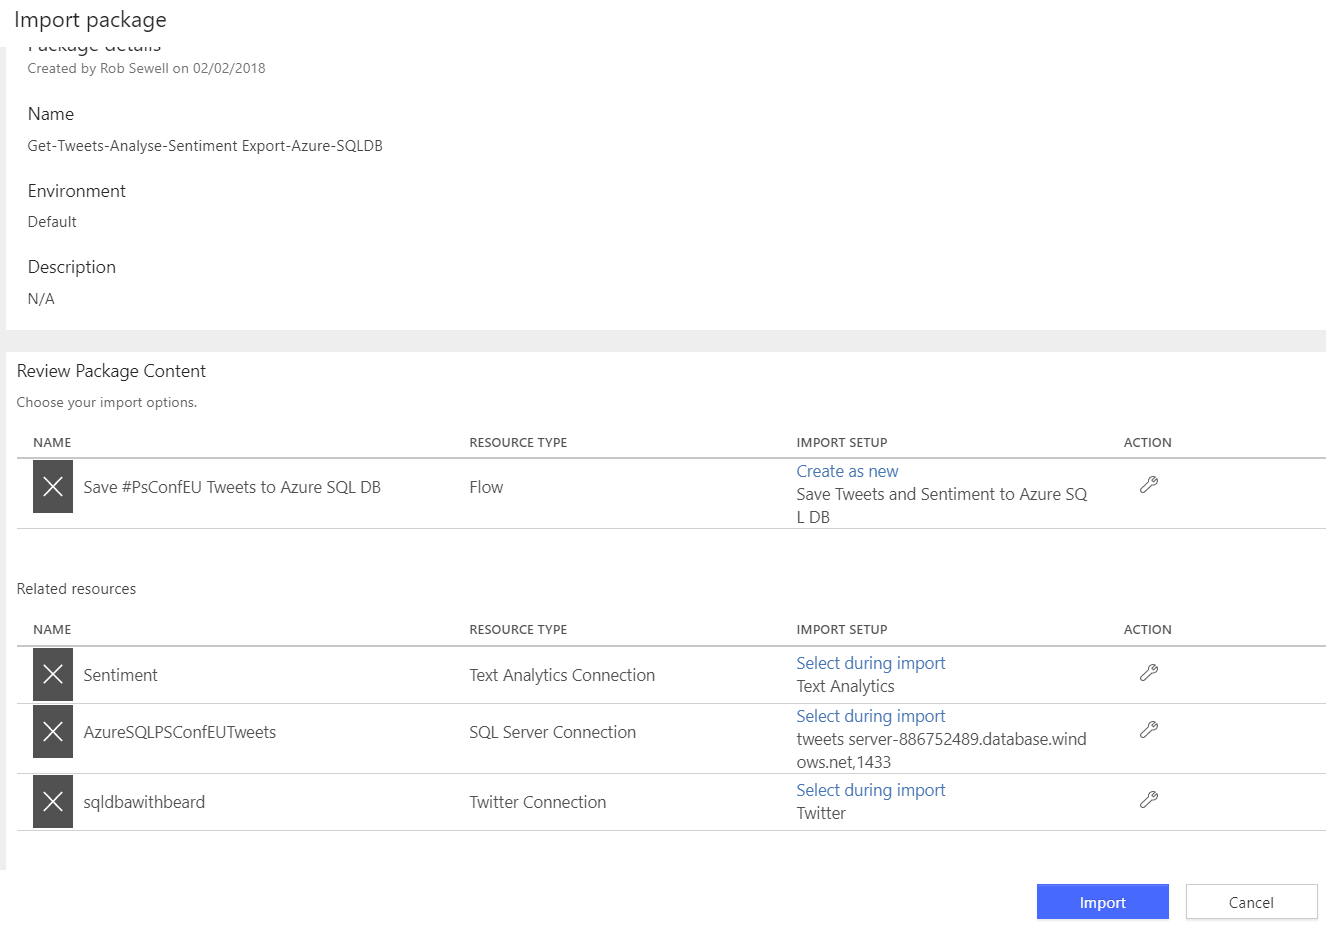
If you have a premium account you can import the flow, click Import
and choose the import.zip from the GitHub Repo
Click on Create as new and choose a name
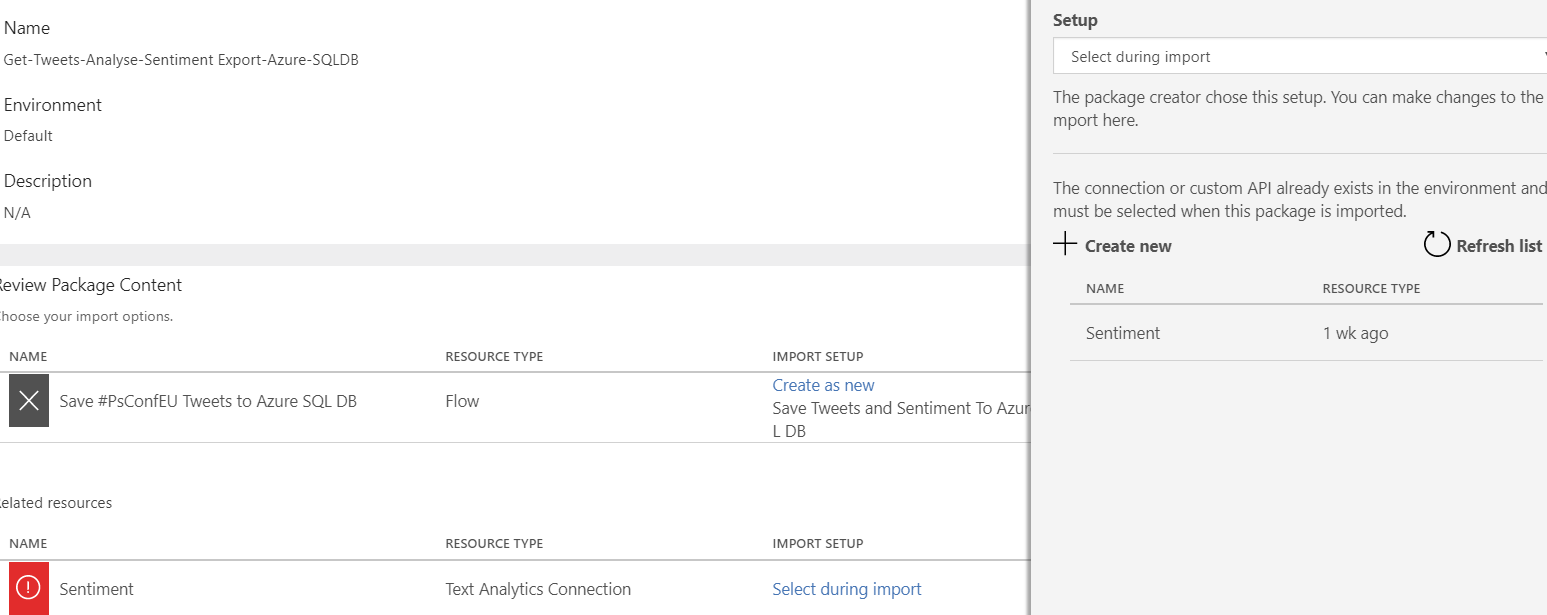
Click select during import next to Sentiment and choose the Sentiment connection
Select during import for the SQL Server Connection and choose the SQL Server Connection and do the same for the Twitter Connection
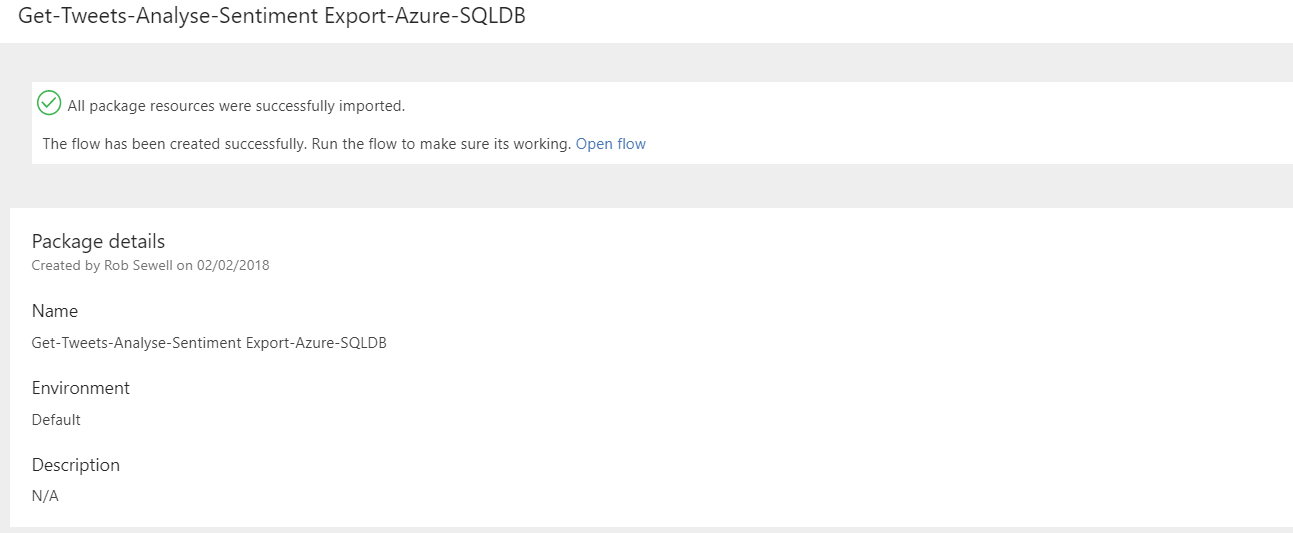
Then click import
Create the flow without import
If you do not have a premium account you can still create the flow using these steps. I have created a template but it is not available at the moment. Create the connections as above and then click Create from blank.
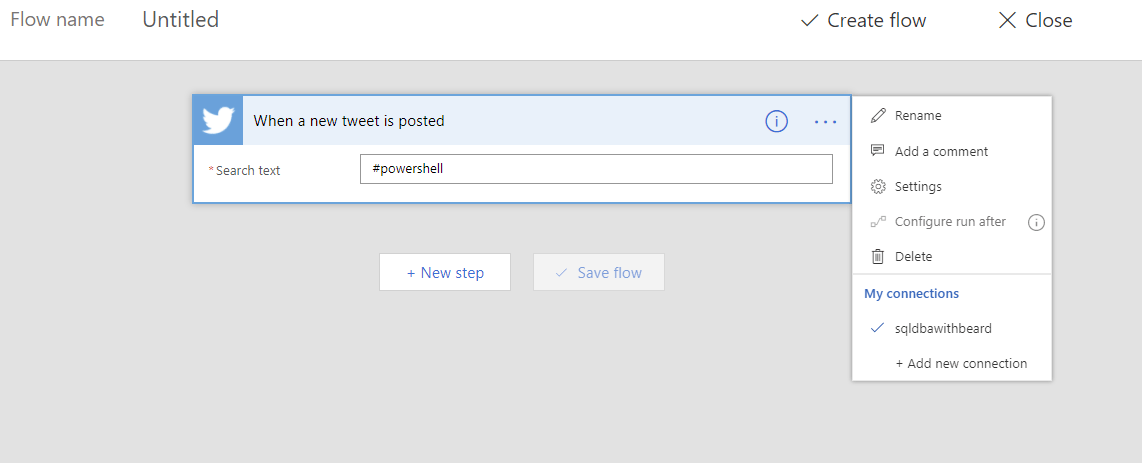
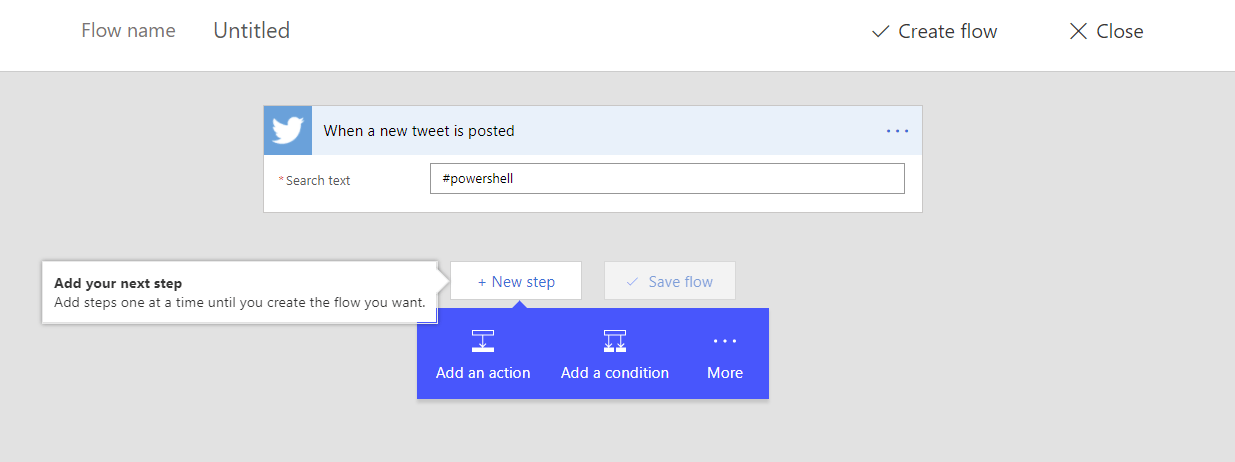
Choose the trigger When a New Tweet is posted and add a search term. You may need to choose the connection to twitter by clicking the three dots
Click Add an action
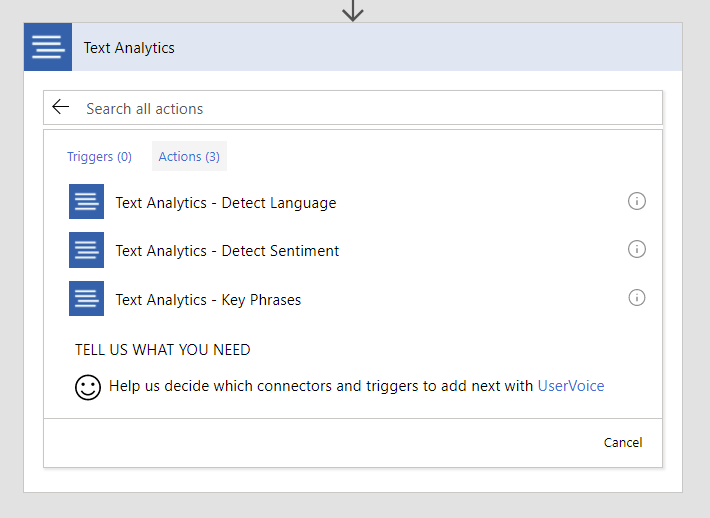
search for detect and choose the Text Analytics Detect Sentiment
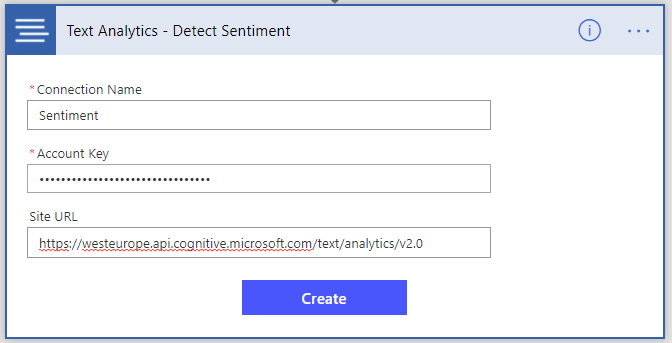
Enter the name for the connection, the account key and the URL from the creation of the API above. If you forgot to copy them
#region Forgot the details

# Copy the URL if you forget to save it

$getAzureRmCognitiveServicesAccountSplat = @{
    Name = $APIName
    ResourceGroupName = $resourcegroupname
}
(Get-AzureRmCognitiveServicesAccount     @getAzureRmCognitiveServicesAccountSplat).    Endpoint | Clip

# Copy the Key if you forgot

$getAzureRmCognitiveServicesAccountKeySplat =    @ {
    Name = $APIName
    ResourceGroupName = $resourcegroupname
}
(Get-AzureRmCognitiveServicesAccountKey     @getAzureRmCognitiveServicesAccountKeySplat).    Key1 | Clip

#endregion
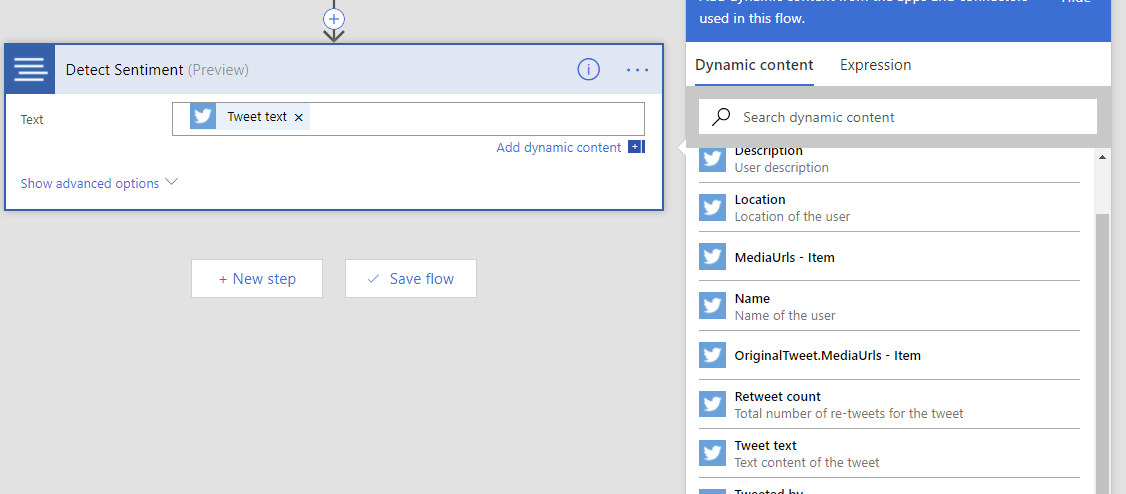
Click in the text box and choose Tweet Text
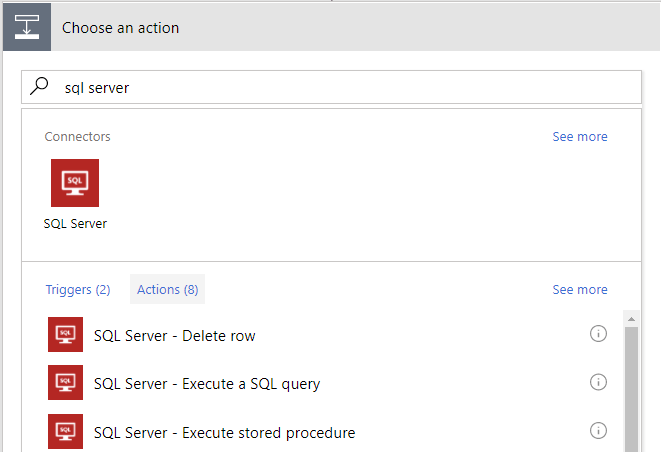
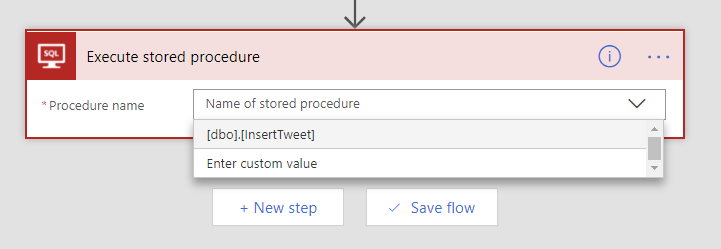
Click New Step and add an action. Search for SQL Server and choose SQL Server – Execute Stored Procedure
Choose the stored procedure [dbo].[InsertTweet]
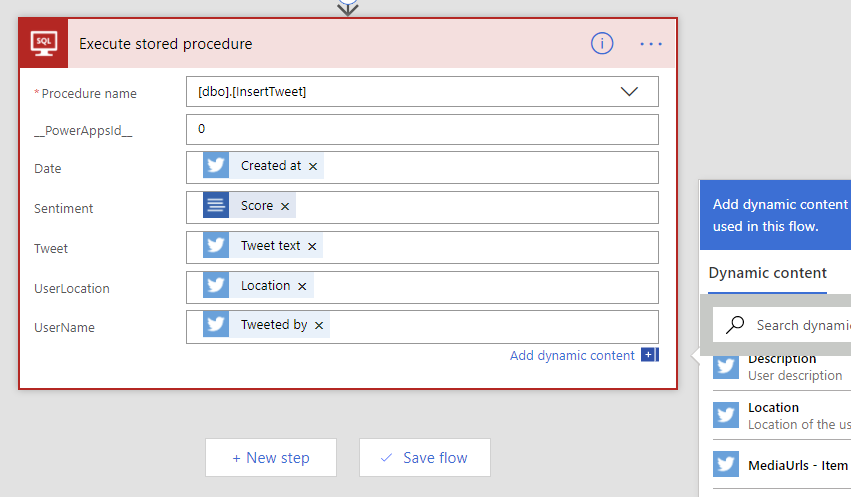
Fill in as follows
- __PowerAppsID__ 0
- Date Created At
- Sentiment Score
- Tweet Tweet Text
- UserLocation Location
- UserName Tweeted By
as shown below
Give the flow a name at the top and click save flow
Connect PowerBi
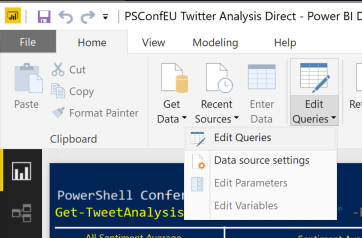
Open the PSConfEU Twitter Analysis Direct.pbix from the GitHub repo in PowerBi Desktop. Click the arrow next to Edit Queries and then change data source settings
Click Change source and enter the server (value of $AzureSQLServer) and the database name. It will alert you to apply changes
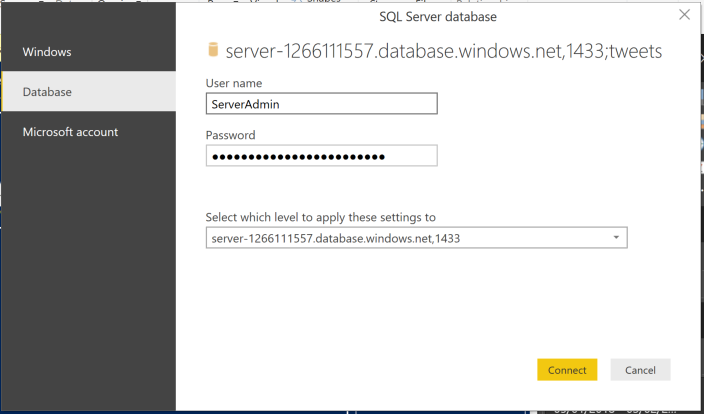
It will then pop-up with a prompt for the credentials. Choose Database and enter your credentials and click connect
and your PowerBi will be populated from the Azure SQL Database 🙂 This will fail if there are no records in the table because your flow hasn’t run yet. If it does just wait until you see some tweets and then click apply changes again.
You will probably want to alter the pictures and links etc and then yo can publish the report
Happy Twitter Analysis
Dont forget to keep an eye on your flow runs to make sure they have succeeded.


